This here is my Brother Nouvelle 1500S. It has an obvious problem.

It's naked.
This will be a bit of a lengthy post, so more after the break.
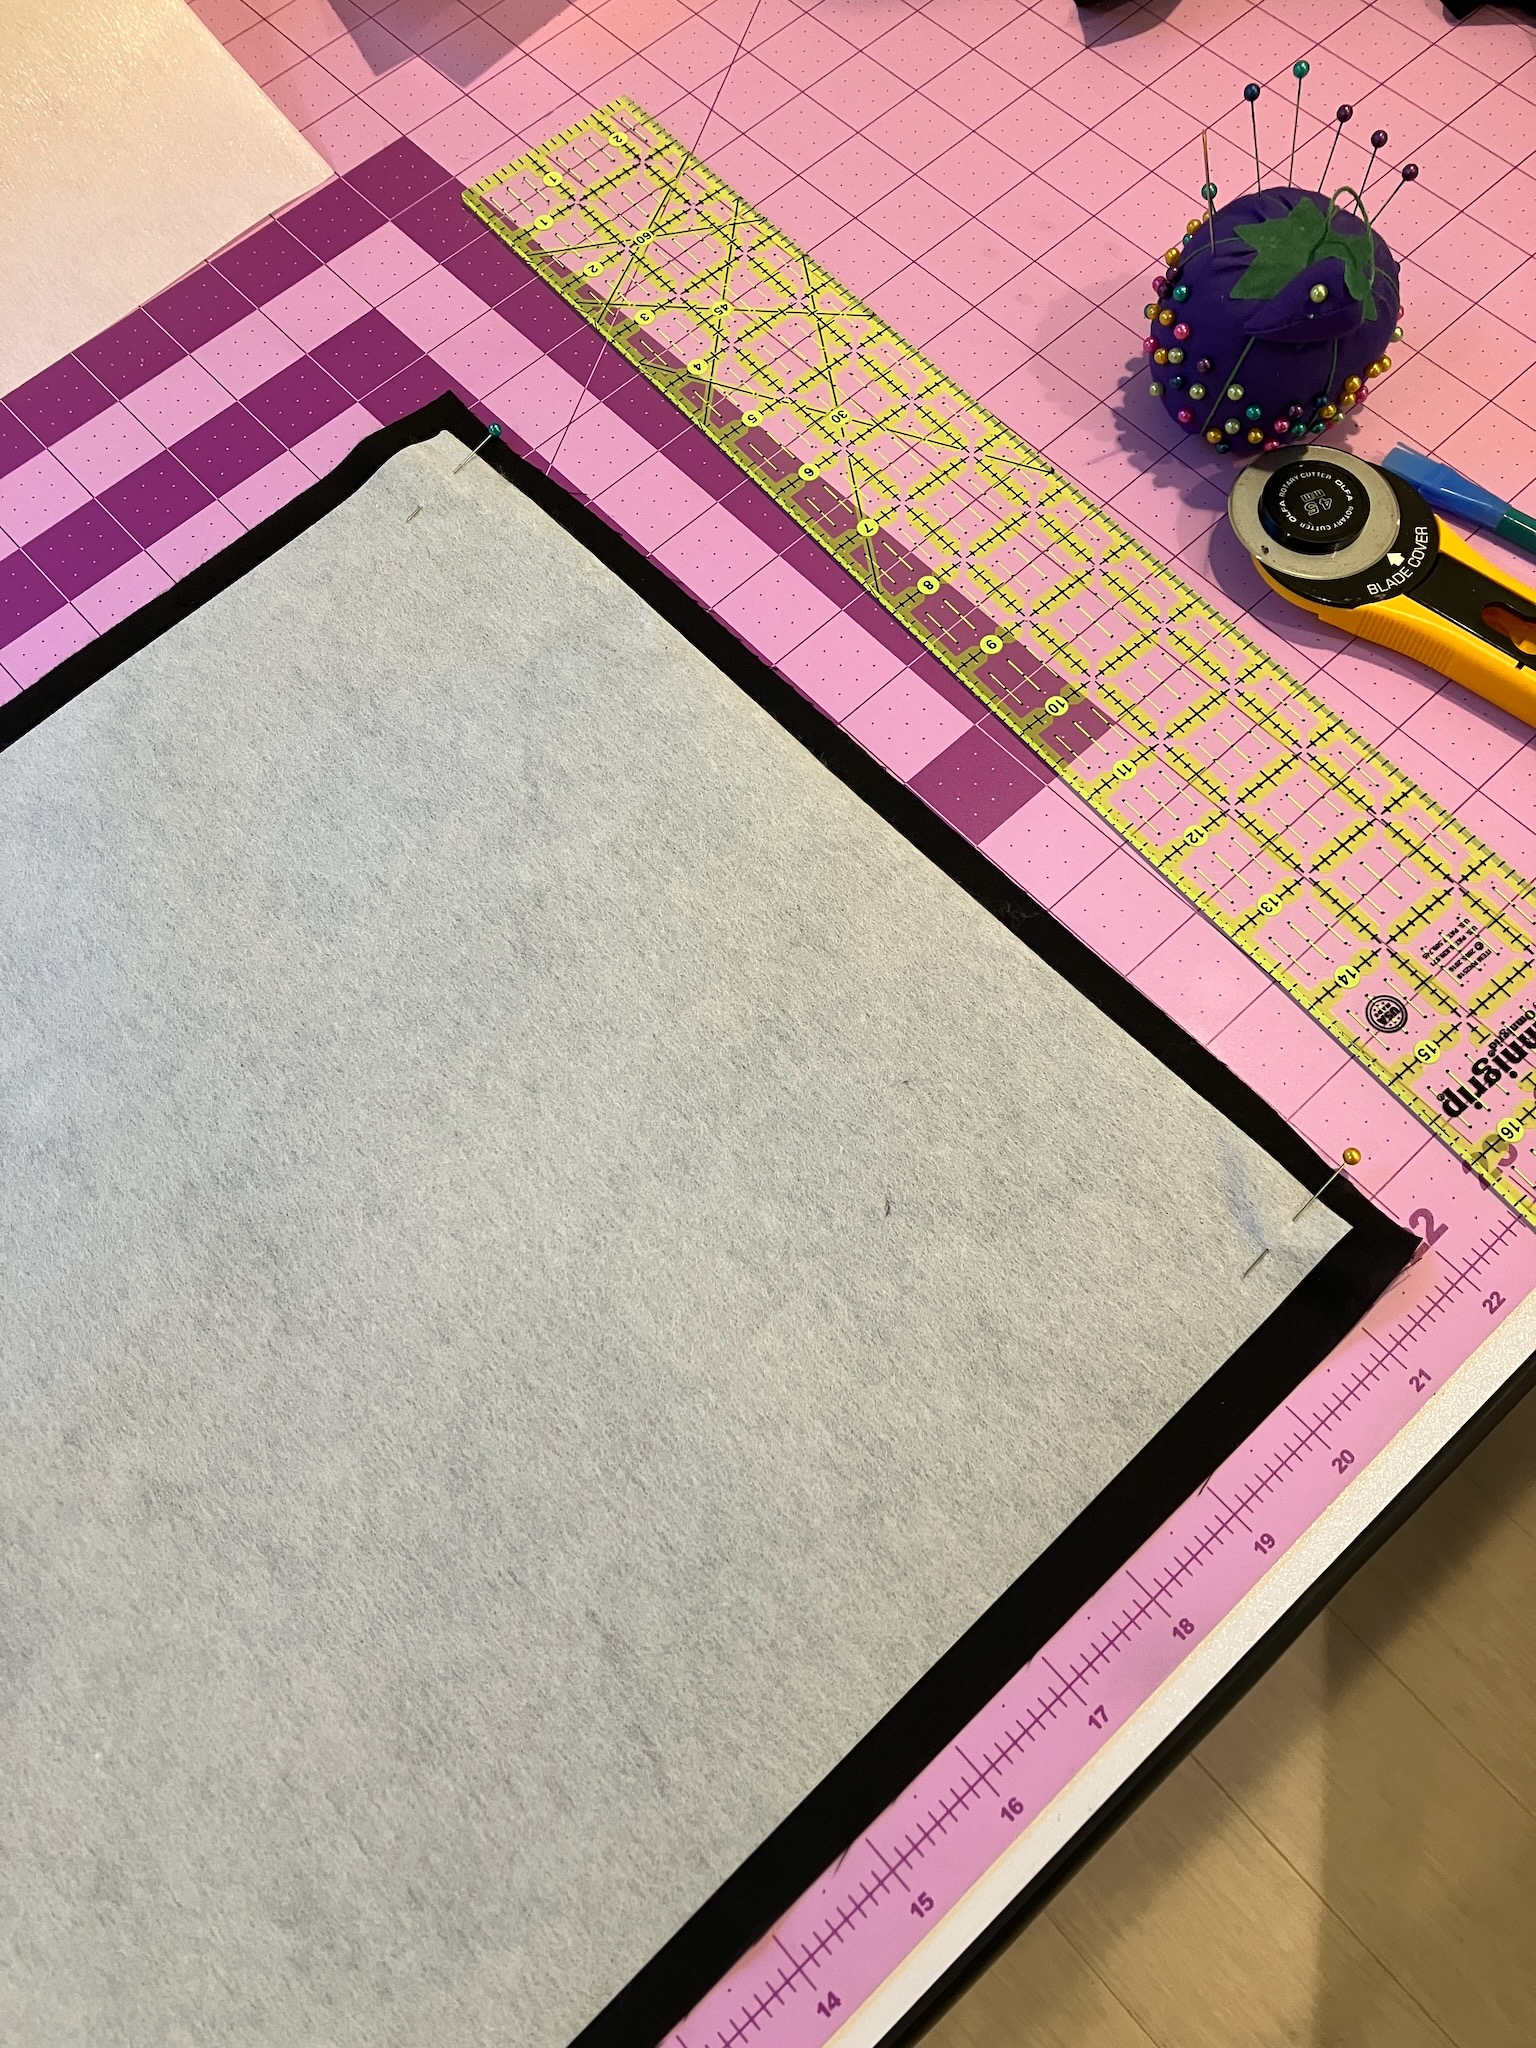
Luckily I have the technology required to fix this issue, in the form of fabric. So let's get cutting.
I measured out the approximate prismatic volume of the machine, added an inch of ease, and then an inch total (half an inch on each side) for seam allowance.

Already we're seeing a dramatic improvement, but I think things can still use a little work.

So we'll continue.
Now the main purpose of this project, other than clothing my sewing machine, is to get some practice with a few different sewing techniques. One of these techniques is sewing with welting.
Of course you can't just throw the welting at the fabric and expect it to do something useful; instead you have to encase it in a strip of fabric. That strip needs to wrap around the welting and have a half inch of seam allowance left over. If you think that sounds like it would involve an awful lot of math to figure out how wide to cut that fabric, you'd be correct.

But thankfully we can also just measure it.

And as it happens, 1-1/4" works out nicely for this 1/8" welt cord.
So now we've got the boxing, the front and back panels, and hopefully enough welt casing to make it around both seams.

But if we just put this together how it is right now, it'd be awfully floppy and soft. So, more technology to the rescue.

This time in the form of heavy-duty interfacing. This material gets heat bonded to the fabric and serves to stiffen it either dramatically in this case, or moderately, if a lighter weight interfacing is used.
So let's cut out some pieces.

I cut these to fit just inside the seam allowance, but that honestly turned out to be a mistake. If I were to redo this project, I'd put the interfacing edge-to-edge.
But since I haven't yet learned that lesson on this project yet, let's press on.

Quite literally, that is. We're going to press the interfacing onto the fabric.
Once it's in place, the fabric is transformed from loose and drapey to almost as stiff as card stock.

Which stands to reason, given we've just glued something not unlike card stock to the back of it.

The fabric definitely does not do this when it's cut fresh off the bolt.

Somehow I managed to not get a very good picture of this, but to sew the welting into the seam, I've fitted a welting foot to the machine, which has a groove just to the left of the needle for the welting to pass through, and I've fed the welting, wrapped in its casing, into that groove, sandwiched between the two pieces of fabric being sewn together.

There will be a better shot of this later on in this blog post.
Anyway, attaching the front and back panels to the boxing panel gives us the basic shape of the cover.

And turning it inside out shows that it does in fact fit onto the machine, which is good.

However the fabric I'm using is really prone to fraying, and so I need to do something about finishing the seams.

That something, of course, being pinking.

So now we run into the first struggle with the interfacing: the fact that it doesn't stick extremely well to this fabric. Maybe it doesn't stick well to any fabric? I don't know. But with this fabric, a bit of rough handling causes it to start peeling up pretty quickly, and so I really need to go around and topstitch the edges down.

I also tried giving it another pressing, which helped a little, but mostly just made it kind of wrinkly, in case you're wondering about that.
Of course, upholstery-like projects such as this are one of the reasons that I picked up this Juki LS-321 machine.

It's absolutely possible to sew this kind of project on a flatbed machine, but having a cylinder arm means that you're not sewing "in the bucket", with the majority of the project wrapped up over the head of the machine, as you try to peer down inside to see where you're actually sewing.

Instead I've got great visibility, even in the middle of a seam like this.

Another nice feature of this machine is that it uses Class M bobbins, which hold more thread than a standard domestic machine bobbin. This is very helpful when you're playing bobbin-chicken.

I mean I could have sewn a whole extra inch or two here before running out completely.
Anyway, for the front and back panels I just sewed through the fabric and interfacing, making a largely decorative seam (other than it holding down the interfacing at the edges, of course). For the boxing side, though, I decided to sew down the seam allowance to keep it neat and tidy.

Of course, as much as a cylinder arm machine helps with sewing projects like this, sometimes you do still end up sewing in-the-bucket a little, with parts of the project obscuring your view.

But it's manageable.
Anyway, the results look pretty nifty if I do say so myself.

And speaking of making things look nifty, we do need to tidy up the bottom edge of the project. So, let's get the welting foot back on and load it up with the welt cord and the casing.
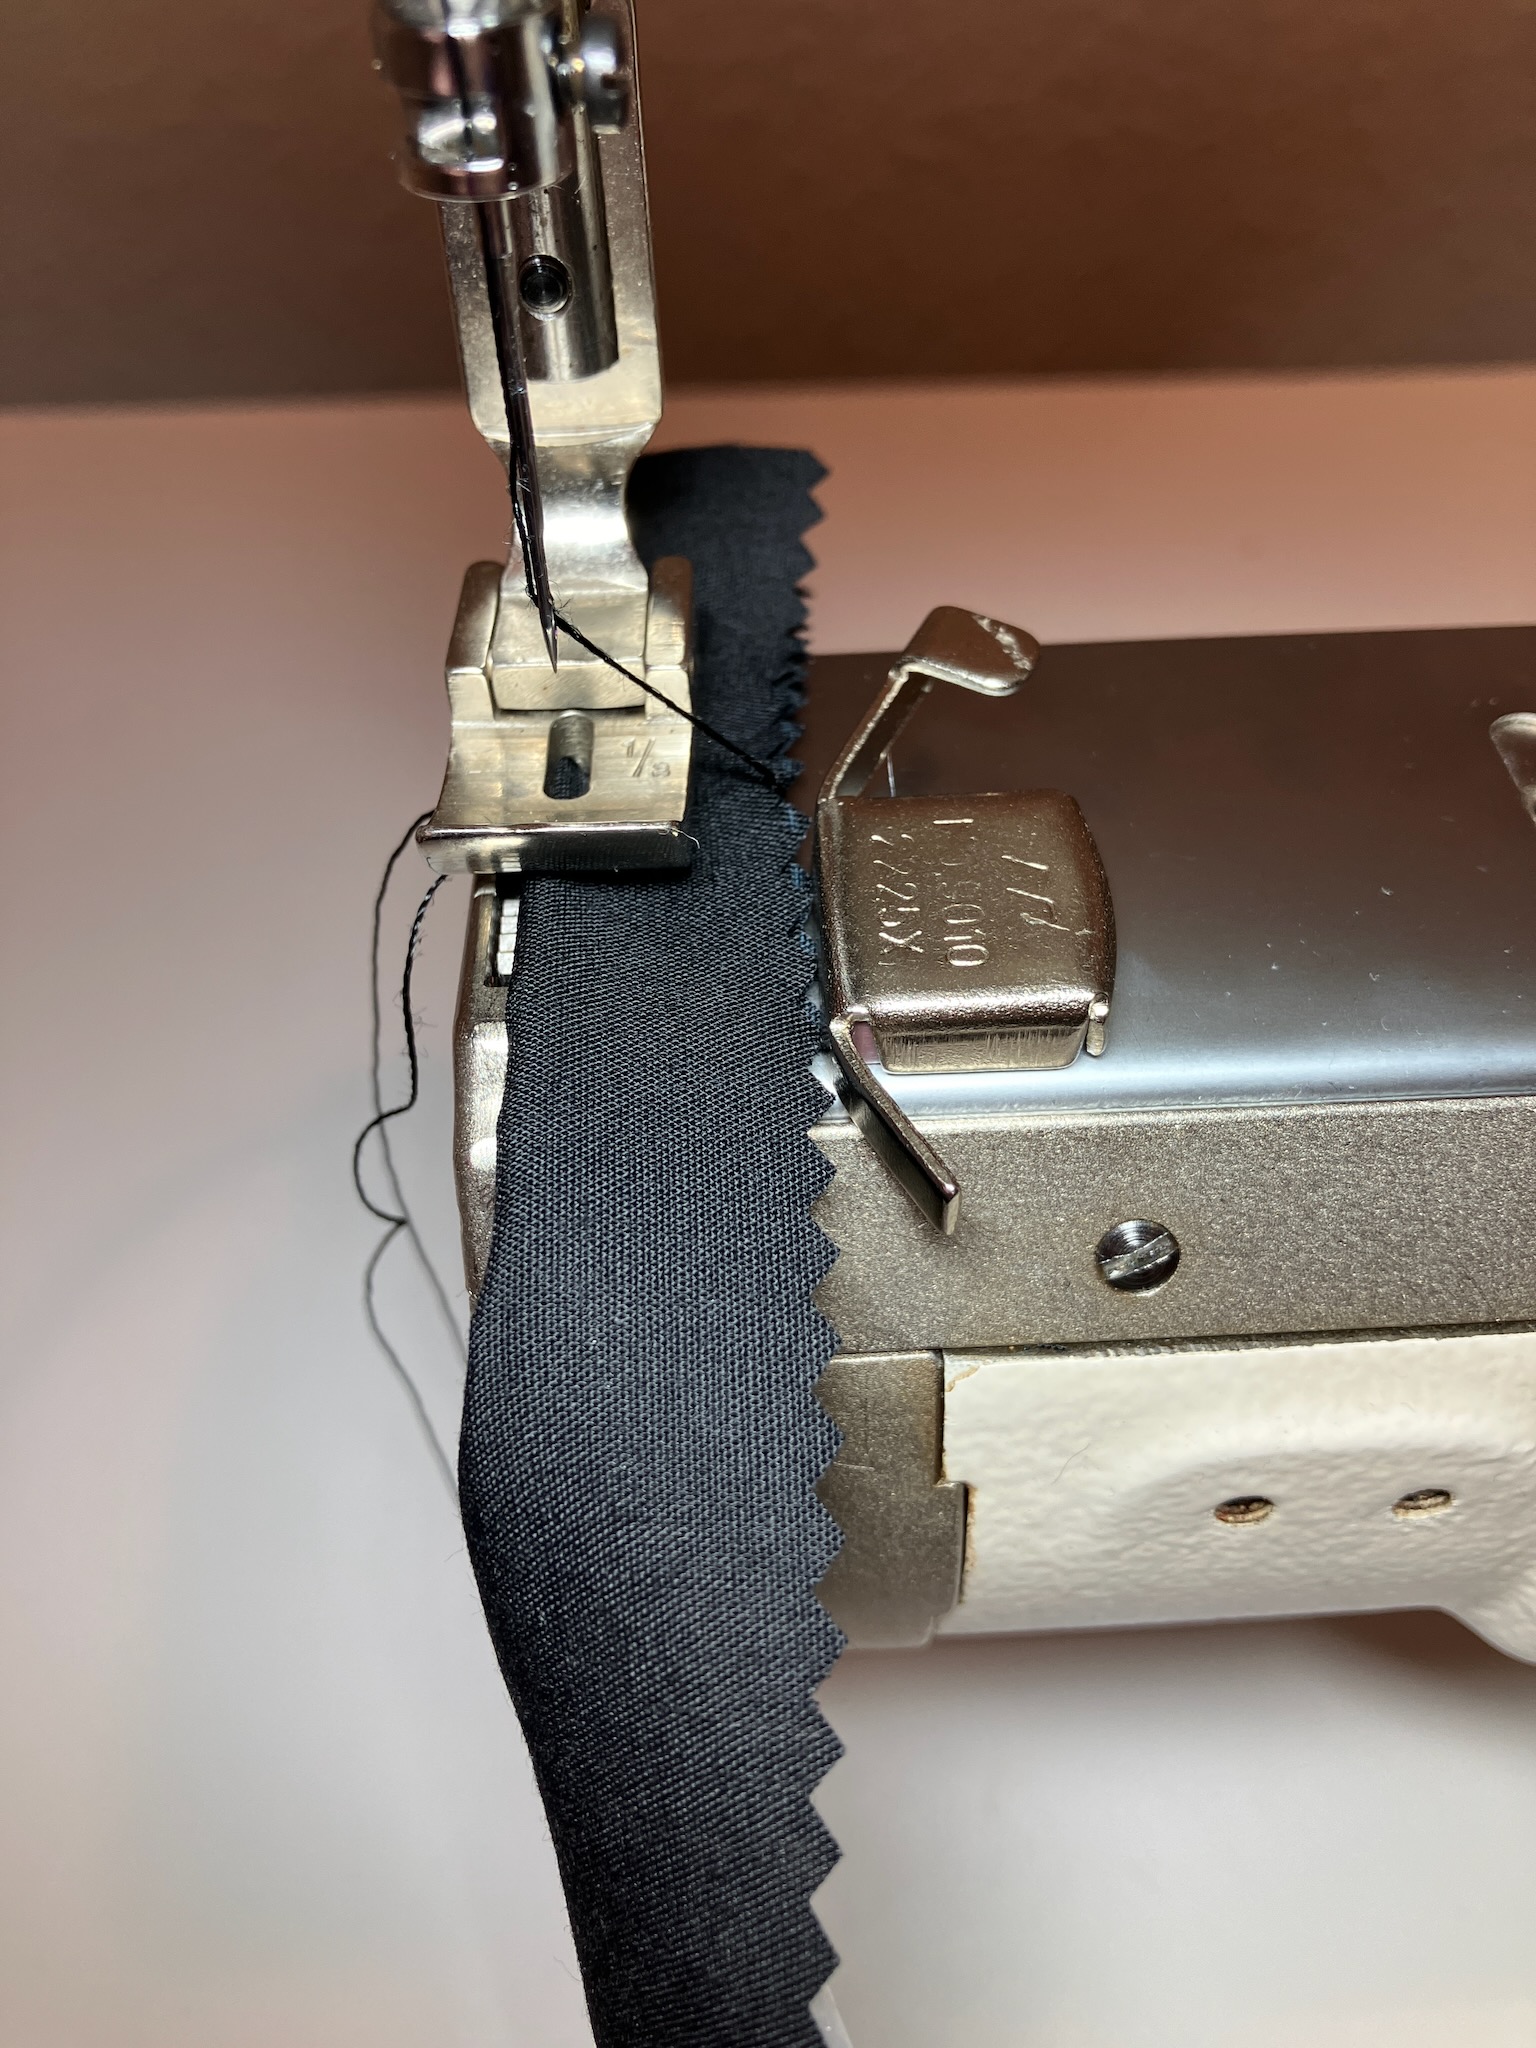
For this, we're only doing a single-sided hemming seam instead of piecing two panels together, so it's a little easier to see what's going on.

But we are sewing in a circle, so it's important to leave the start of the welt casing unsewn, so that we can join it to the end once we get back around.
To manage this, we stop a few inches short at the end, and then mark the overlap of the start and end of the welting with a cut. We then align the cut mark on both pieces while rotating them 90 degrees to each other, right-sides facing, and sew across the diagonal.

Then we trim off the excess, cut the welt cord to length so that it lays nicely end-to-end, and sew it down to complete the hem.

Once it's stitched down and trimmed, you'd never know it from any other join in the welt casing.

Now we don't really want the pinked edge showing here, so now that the welting is in place, we'll fold it up and stitch the seam allowance down into a proper folded hem.

And that gives us a very clean looking finish.

On both the outside as well as the inside.

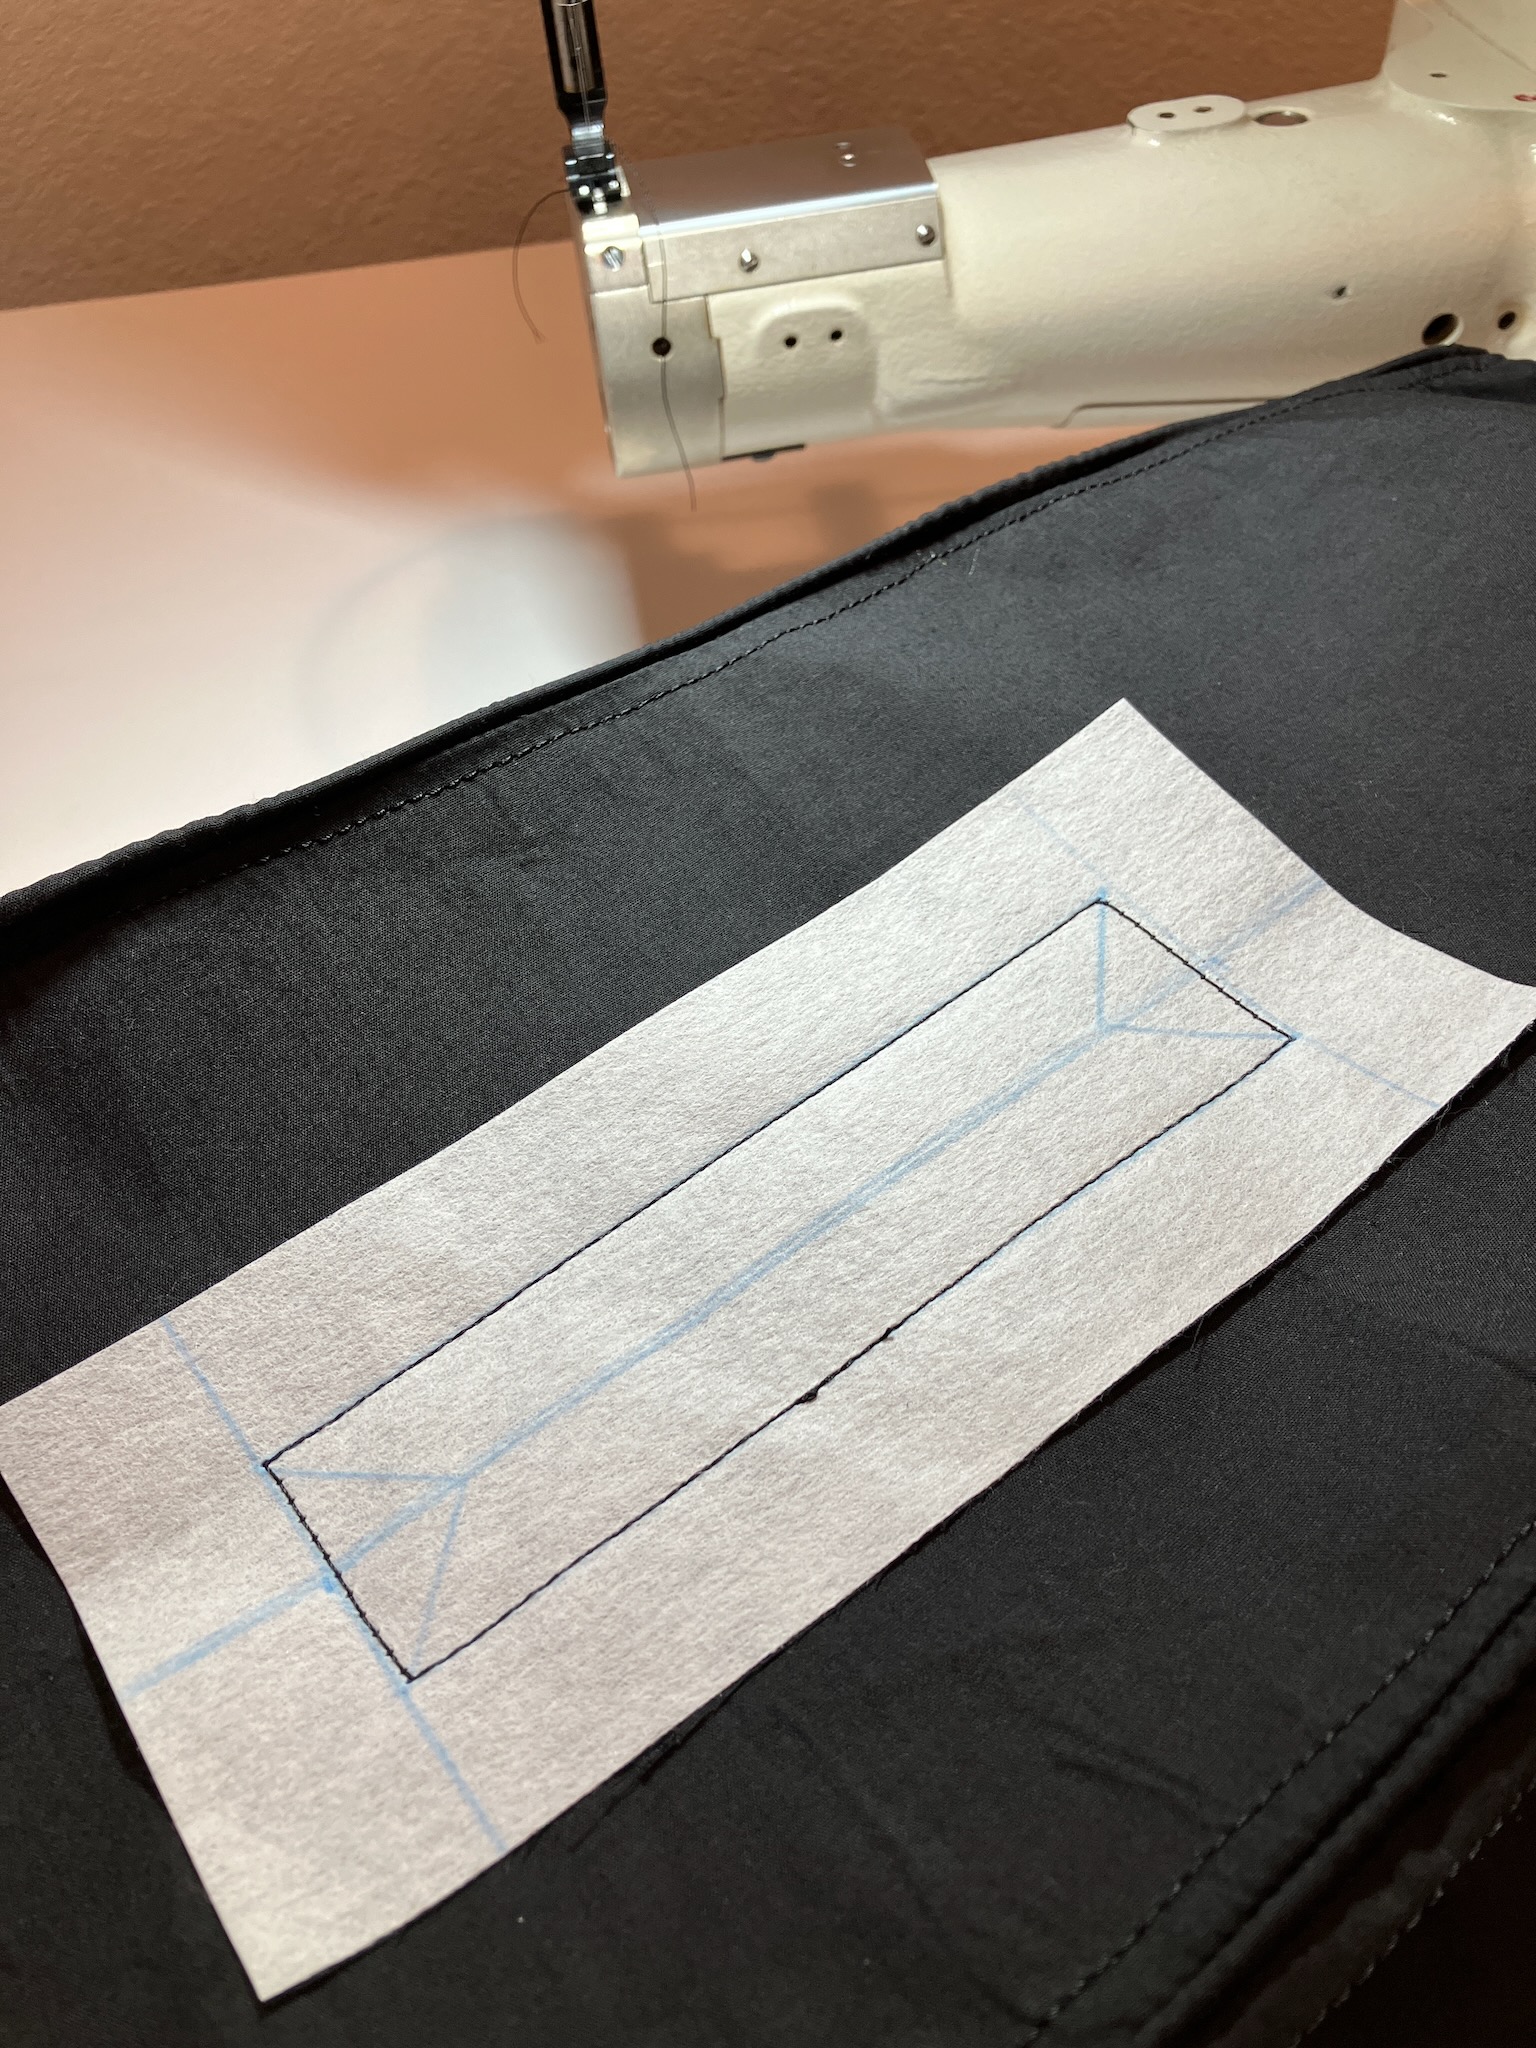
We're on the home stretch now, and while I could call the project done at this point, I really want to have a cut-out on top for the machine's handle. So let's get that done by preparing a facing.

We'll lay this out on the cover where it'll line up with the handle.

And pin it in place so it doesn't go wandering.

This is another place where having a cylinder arm really helps.

It makes it really easy to sew around the outside, around the outside, around the outside.
A little tip here, while I'm thinking of it: if you're sewing a circle, skip the back-stitching at the beginning and end of the seam and instead just overlap the start and end a little ways. This will lock in the seam in exactly the same way that back-stitching does, and especially for a situation like this, will prevent an excessive buildup of stitches.
Anyway, if we want the handle to be able to come up through here, we're gonna need to make a hole for it to fit through.

And of course I'm going to pink it.
It's not going to sit super flat when it' folded around to the inside.

But a bit of careful pressing will smash it down into place.

Then we just give it a nice matching topstitch to keep it there.

And that's it, the project is done, and the Nouvelle is ready to be clothed.

And on it goes.

Ah, decency at last.
No comments:
Post a Comment