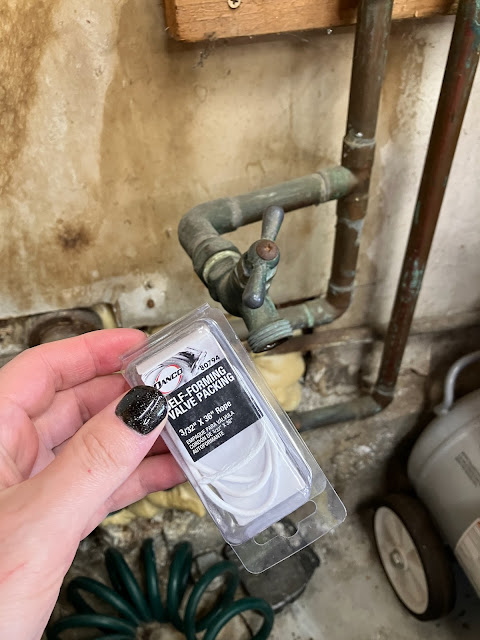
I have three hose bibs around my house. There's one in the front yard, one in the back yard, and one in the car hole.
They always leak from the stem and naturally the main seal has hardened up over the years so they need to be cranked down pretty hard to not leak through there too. So, let's go ahead and fix those leaks.
By throwing out these garbage hose bibs and installing brand new quarter-turn ones that don't leak.
This one has a 3/4 pipe thread connection, so replacing it will be the most straightforward. Just unscrew the old one and screw in the new one.
A little dab of pipe dope on the new threads...
And in it goes. The secret to these pipe threads is to thread them in finger tight, and then stick a wrench on it and spin it an additional number of times, which varies by the size of the fitting. For a 3/4 like these, the spec is I believe 1.5 to 3 turns, but with clean, fresh threads and good pipe dope you can probably get away with just 1 turn.
With the new valve in place, it's a simple matter to spin the quick-release back on and we're good to go.
Though it admittedly looks a bit silly with how far past the fitting the threads go.
Ok, that's one down, two to go. Let's hit up the one in the front yard.
This one does not thread into place, and is instead soldered. Now in theory you're supposed to be able to disassemble the valve body to remove the temperature sensitive components while you're heating it, but this thing has been corroding into place for 60+ years so there's really no hope of doing that. Since it's going straight in the bin, I'm just going to cook it and not care about it.
But first I'm going to need a threaded fitting to go in its place, and it just so happens that I have one left over from the previous plumbing project. I just need to free it from its pipe.
A little bit of thermal magic from the torch gets it loose.
And then it just needs a quick scrub to clean off the old paint and oxidation.
And it's good as new. Now let's melt off the old hose bib.
Wait hold up a second.
Oh, it's that kind. Well, the good news is that I have some spare 3/4 copper pipe laying around too. So let's clean off a section, cut off a little nub, put the fitting back onto the end of it, and solder it into place.
Ah, that's reassuring. I was starting to worry that I had lost the ability to screw up a sweat copper joint. I wonder what went wrong?
Oh right, lead-free solder. That explains why my tap water hasn't been tasting as sweet these days. Sigh.
Anyway, I'm pretty sure that what happened was that there was a little bit of oxide built up on the surface of the solder of the recycled fitting, which caused a little void to form in the joint. Pulling it apart, cleaning it, fluxing it and melting it back together solved the issue.
So with that mess out of the way, let's get to hose bib number three, in the back yard.
Since I don't want to melt that ATT box (not that there's anything inside of it) or set fire to my house, I'll unscrew the fitting from the wall and tuck one of those fireproof cloths in behind it.
Then apply heat again.
And as we can see the house did not burst into flames, nor did the ATT box melt.
So now we pop in a new fitting along with a little stub of pipe, since I only had one used fitting to recycle.
The new fitting was thankfully a little less tricky to install, and the solder joint ended up pretty much flawless.
All that's left to do is screw in the new hose bib.
And we're done. No more leaks, no more worries. Plus if anything ever does go wrong with these, the replacement process will be much easier. Except the one in the car hole, that one will only be equally as easy, because it already had a threaded fitting.


No comments:
Post a Comment