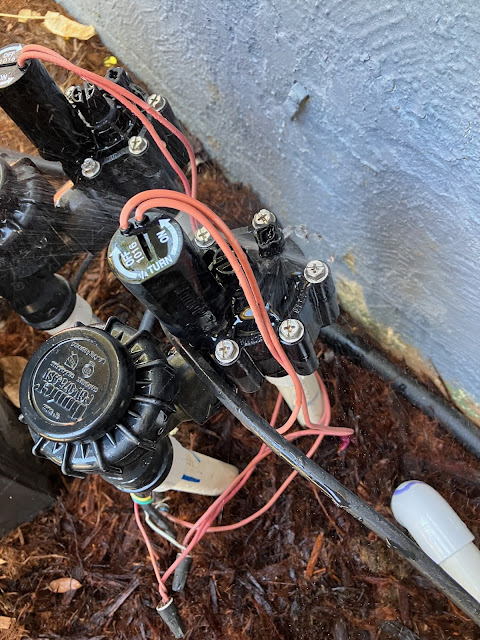
So one of the upgrades I made this week to my irrigation system was installing a water hammer arrestor. For whatever reason, the hammer has evaded arrest and is still at large. However, while I was poking around the valves this morning I did notice a slight hissing noise that was indicative of a leak, and given that there was no sign of water dripping anywhere it was clear that the leak was going through one of the sprinkler valves.
These are a coaxial diaphragm valve, and the way they work is that the incoming water passes up through the center of the valve and out around the edges. The diaphragm itself holds a small disc with a washer which, in the off state, is pressed down against a seat cutting off the water flow. The pressure behind the valve is maintained by a small bleed port in the middle of the small disc that allows higher pressure water to leak into that chamber, and the large area of the diaphragm ensures that the downward force from the pressure in the chamber exceeds the upward force from the incoming water. To turn the valve on, a second bleed port leading from the chamber into the outlet tube is opened, releasing the pressure in the diaphragm chamber, which allows the disc to lift off of the seat and thus unblock the flow of water.
So let's pop open the valve and see what that looks like.
Making sure to turn the water off first, of course.
So here we can see the valve disc supported by the diaphragm, including the rubber washer that had a bit of grit embedded in it that I cleaned away before taking the photo. On the left side you can see the bleed port that allows the valve to be opened, and in the background you can see where the valve seat is in the center, as well as a white plastic support cone that keeps the water pressure from bursting the diaphragm.
Removing the diaphragm, we can see a small spring which assists the valve in closing, and an adjustable plastic spacer that limits how far the valve is allowed to open. A knob on the top can be wound in or out to control how much water flow goes through the valve. Importantly we can also see the bleed port, which naturally needs to be clean and free of debris.
If the diaphragm is damaged or the rubber washer is worn out and/or hardened, a replacement diaphragm can be installed at this point for about $10 or so.
Once the valve is put back together, we need to get the air out of the diaphragm chamber, and we do that by opening up the bleed screw on the right hand side, and letting it burp out any air bubbles. If this step is skipped, the valve won't operate correctly.
So, after spending 10-15 minutes cleaning crud out of the valves, they're both back in service and there's no sign of any more leaking. I'm also hoping that this might have some effect on the water hammer, but honestly I have no idea at this point. I was really expecting the water hammer arrestor to work.


No comments:
Post a Comment