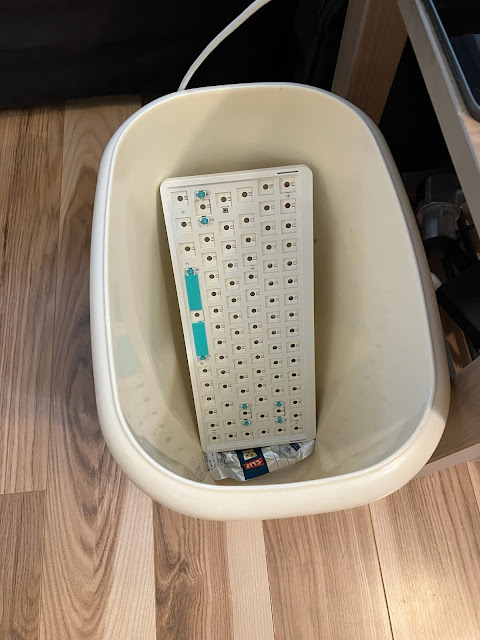
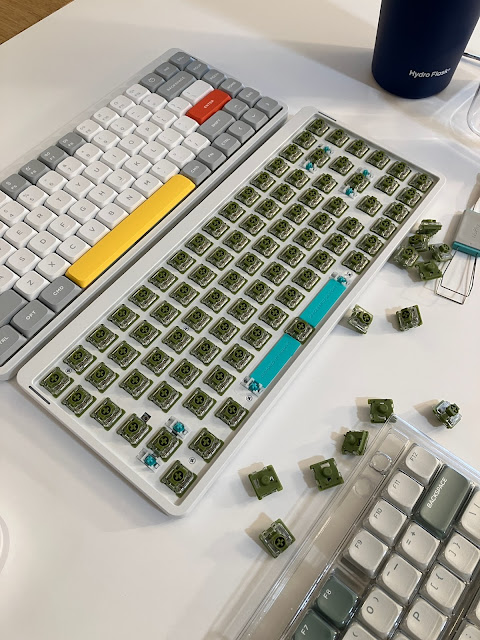
So as we remember from a previous episode of "I'm spending too much time talking about keyboards", I got a replacement keyboard, or at least most of a replacement keyboard, sent to me for free when the NTC wire on the battery connector pulled out.
We're talking about this keyboard, specifically.
Well that replacement finally arrived.
And so begins the process of transplanting the switches and keycaps from the old to the new, making use of this lovely keycap and switch puller.
Which is apparently a bit of an overachiever, occasionally removing both at once.
But no matter, one key down, and like a billion left to go.
Thankfully most of the keycaps were a bit less sticky.
Fast forward a little bit, and we have a fully transplanted keyboard.
So we just have to do something with the old keyboard.
Well that was easy, job done.
But wait, what if...
What if we just happened to get a new set of keycaps? And a new bucket of switches?
These are the "Moss" switches which, unlike the "Blue" clicky switches I had originally equipped the keyboard with, are a tactile switch. Most keyboard warriors will be familiar with the "Brown" tactile switches, which contain a little tactile "bump" in their travel, but without the more crisp snap sound of the "Blue" clicky switches. The downside of the "Brown" switch is that the tactile point has a lower spring force than the bottom out, and so rather than your finger really falling into the key after the tactile point, you just kind of feel a bump and have to keep on pushing. The "Moss" switches reverse this, making the tactile point the highest force point in the travel, which I find I prefer greatly.
Anyway, now that we've got some switches, we need to put them into the keyboard.
Now yes, this does look a bit chaotic, but trust the process. Give it a shake and the switches will settle down into their respective holes.
Now just brush away the extra switches and, wait, hold up.
One of the switches didn't quite make it into place.
This can happen sometimes, but just give it another shake and it'll settle into position.
Then we put the keycaps in.
Some mossy keys for some mossy switches.
And some mossy backlighting, which really does not photograph well.
It does at least show up on camera in a dark room, but again looks nothing like what it looks like in person. Oh well. The important thing is it looks lovely and works great!


No comments:
Post a Comment