Saturday, April 27, 2024

The Changing of the Oil

Back in 2020 when the world ended, I needed to get the oil changed on my bikes. Most of them, at least. I had decided when I bought Gregg that I would do all the maintenance myself, but I had been using the dealer to change the oil on Orthrus, Rabbit Season and Scooty-Puff.

Conveniently, due to the world ending, BMW decided to pay for pick-up/drop-off service and so I made use of that to get all three of my BMWs picked up from my door, the oil changed, and then dropped back off and the experience was a delight... though still rather expensive, given the shop rates around here.

Then a year later in 2021 the bikes needed another change of oil. Well, "needed" in a broad sense, in that they'd gone a year since their last oil change. Did they really need it? Maybe not so much, given I hadn't put that many miles on them.

But since the last oil change had gone so smoothly, I decided to call up the dealer again to take advantage of their lovely pick-up/drop-off service... only to find that they had discontinued it. I had to bring the bikes in myself, which was very lame as it meant making multiple trips to pick them up and drop them off, on top of paying through the nose for the local shop rates.

Well, 2022 came around and I decided I'd had enough. I wasn't putting enough miles on the bikes for an annual oil change to make sense, so I just kept riding them. Then 2023 came around and I figured that 2 years was probably kind of pushing it so I really should change the oil on them, which mostly resulted in me not getting around to it, and basically just not doing any motorcycle riding that year.

However, by August or so I finally decided to get off my butt and at least go buy the supplies so I'd be one step closer to having the job done. Those supplies then sat around in my car hole for about 9 months but now, finally, I have put them to use.

The first bike to get a change would be Gregg. It was a familiar beast by now, as I'd been taking care of this task from new, and so it would be a good candidate to refresh my memory on all the ins and outs. Not that there's many, really.

Things went smoothly, other than spilling a little bit of oil on the floor of my car hole when I made a bit too eager use of my air ratchet. Surprisingly, it blows air out the end when you use it, and that air tends to blow oil all over the place when there's a drain pan full of it just below the wrench. Who could have predicted it?

Anyway, other than that little hiccup the procedure went smoothly.

Next to get a change would be Scooty-Puff. This one was a bit trickier because I had to remove a few body panels to even get to the parts of the engine where the oil lives, but other than that things were mostly just like any other bike.

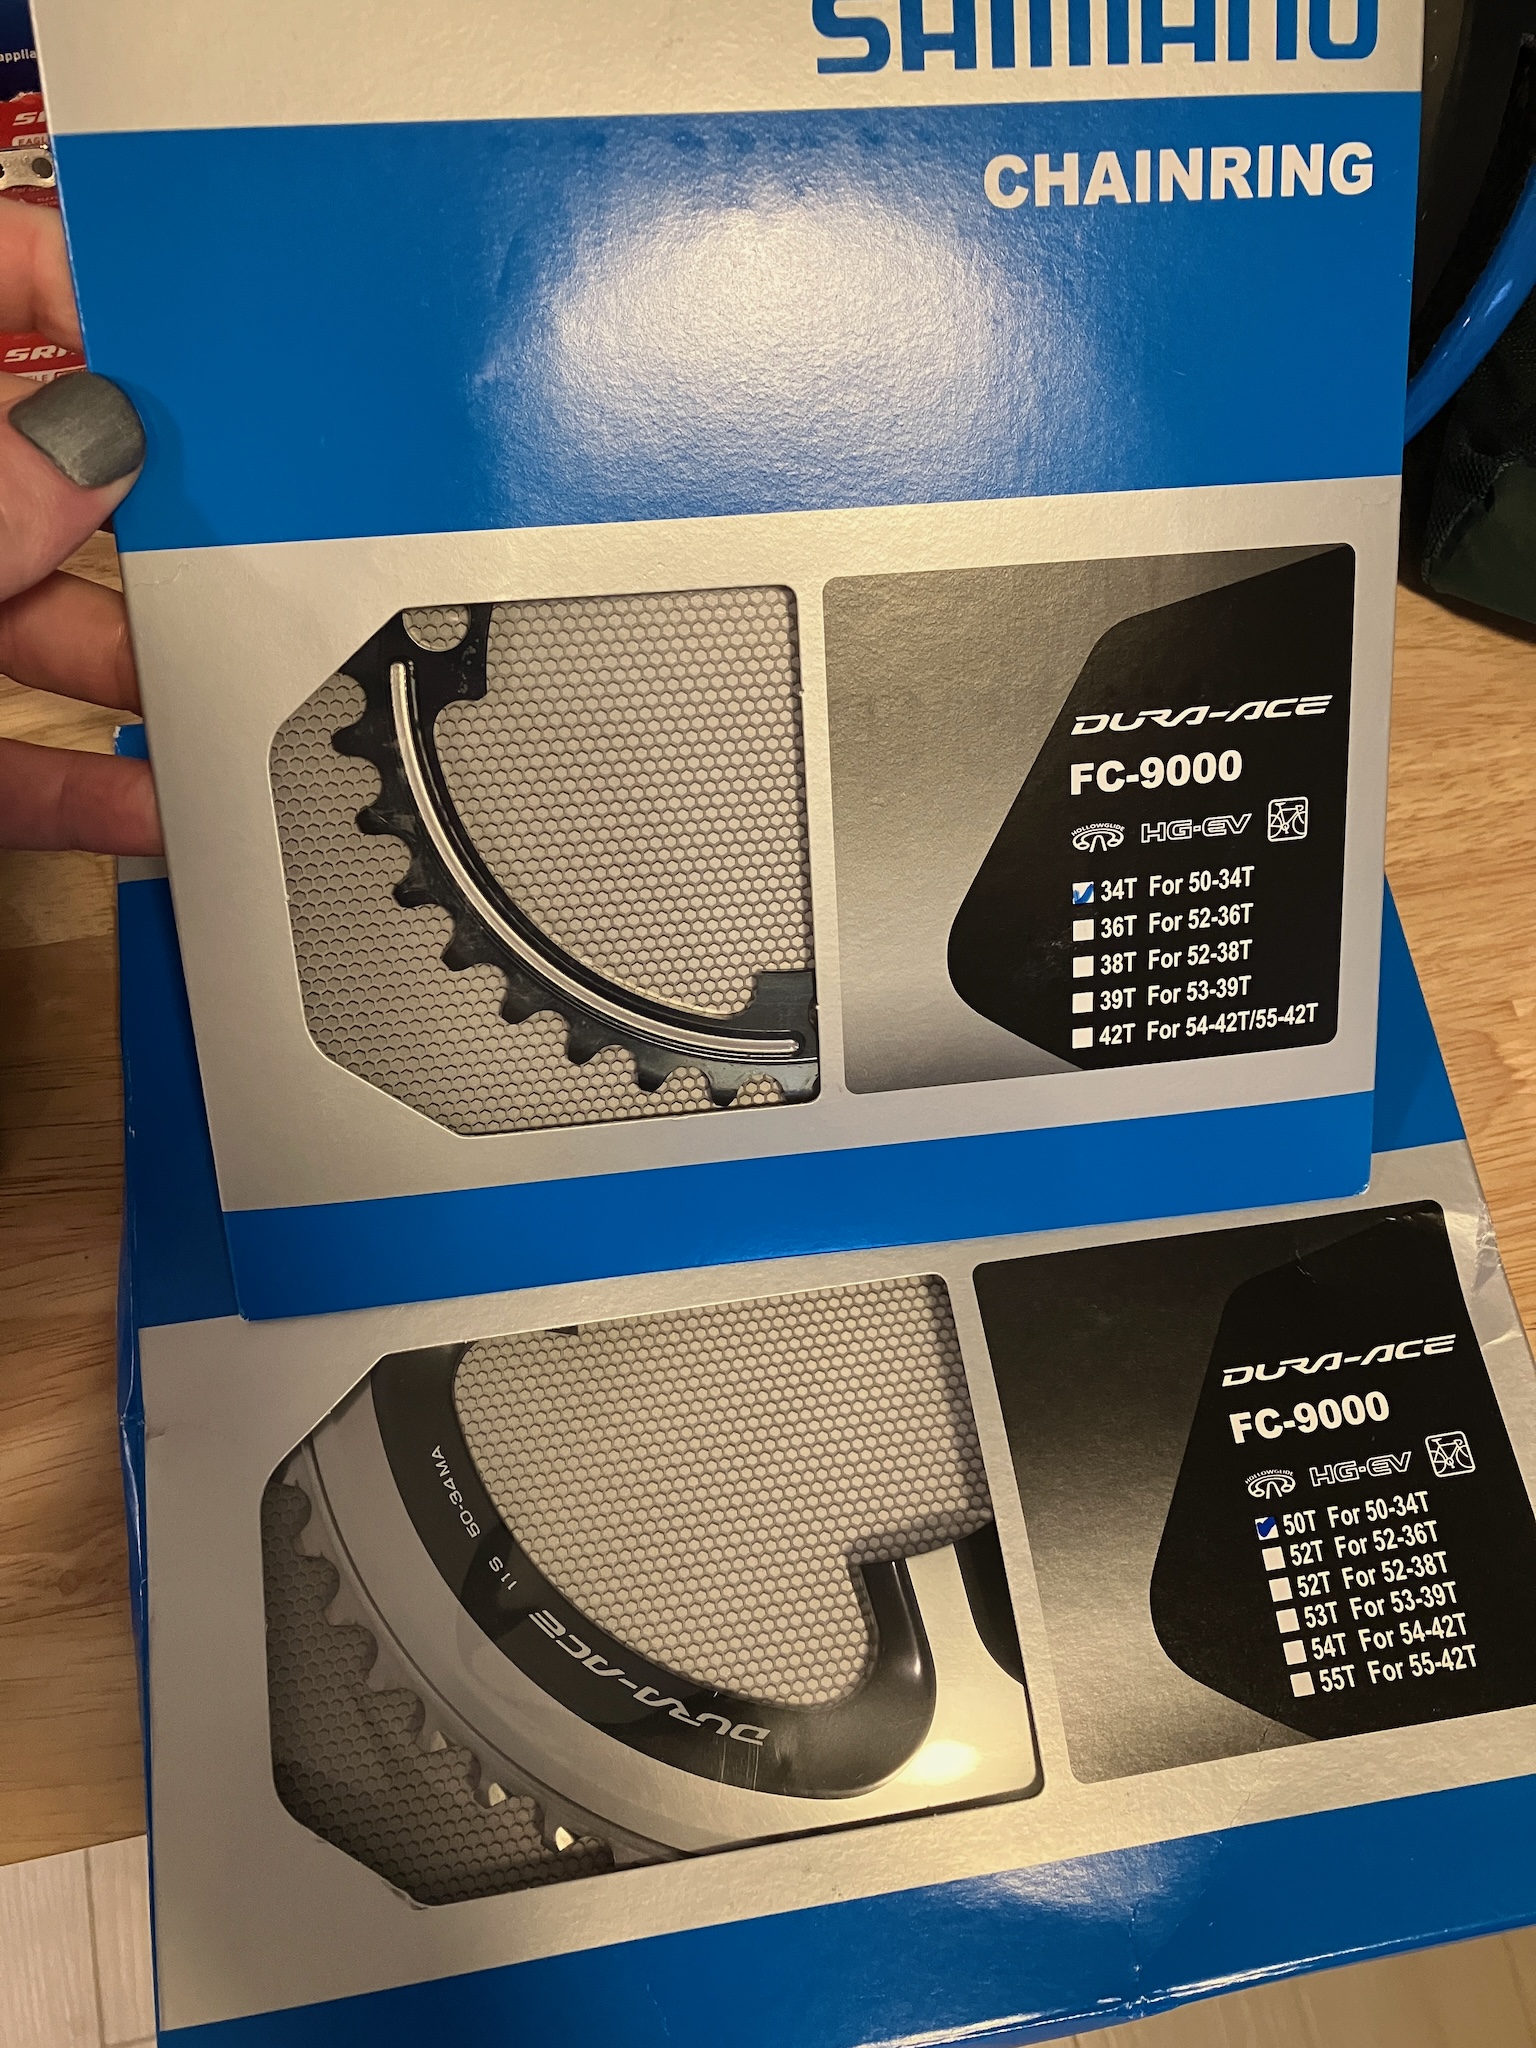
Except when I got to the oil filter. You see, way back when I did the first oil change on Gregg, I picked up a set of oil filter sockets that fit over the end of the filter and allow you to use a 3/8" ratchet to remove or install them. This is handy when the wrench-apes down at the local service center decide to spin the filters on with full-gronk rather than tightening them down to the appropriate, quite low, torque spec.

But for whatever reason, instead of using a design with 14, 15 or 16 flats on it that my universal oil filter socket set would fit on, it instead used a series of 12 flutes, which required a completely different socket.

Well, I didn't have that socket, but thankfully the wrench-apes who had done the last service hadn't gone full-gronk on the filter so with the help of some rubber-coated gloves for extra grip I was able to spin the filter off by hand. Phew. Crisis averted.

But that wasn't the only peculiarity. You see, Scooty-Puff, being a scooter, has a very low-slung engine. To achieve this, they use what is essentially a dry-sump system, where the oil reservoir is split into two separate chambers instead of all just hanging out below the engine in an oil pan. This resulted in some confusion when I went to fill the oil back up, as pouring in the specified amount of oil resulted in the oil level reaching right up to the brim of the dipstick hole, which looked an awful lot like it was dramatically overfilled.

However, I knew that this oil level would go down a little bit when the oil circulated through the engine, and particularly when it filled up the oil filter, so I reached over to turn the bike on and crank the engine.

That's when I remembered, shortly after hitting the starter, that the pistons would displace about 650cc of air in the crank case, which would then eject 650cc of oil out the dipstick hole, since I had neglected to screw the dipstick back in.

Whoops.

On the bright side, this turned out to be the perfect opportunity to learn about diatomaceous earth oil absorbent which is really a miracle product. I had always assumed that oil absorbents would soak up the bulk of an oil spill, but would probably fight with the concrete's own capillary action and be unable to clear out the shiny spot that usually remains after wiping up some spilled oil. Well, little did I know that some wizards have enchanted this kitty litter to somehow suck the oil right up out of the concrete, and as a result it leaves a perfectly dry, clean spot where the oil once was. Fascinating.

Anyway, that turned out to be enough excitement for one weekend. I took Gregg out for a little test ride, which I covered in a previous post, and called it good.

But I still had two bikes left to go, so today the first patient on the bench would be Rabbit Season.

Now luckily, after running into issues with the oil filter on Scooty-Puff, I had thought ahead to check the filter on Rabbit Season. It had the usual flats rather than weird fluted notches, and there were 14 of them, just like the filter on Gregg. However, it was 74mm, which was slightly larger than Gregg's filter, but no worries: I had a whole set of oil filter sockets. So I grabbed the next size up, which included a 74mm size and... it was 15 flats, not 14.

So it was a good thing I checked, as I was able to order two sockets rather than just one, and it arrived in time for the oil changes this weekend.

Anyway, other than having to hose off a bit of rat poop from the bike, the oil change went very smoothly. Also you'll be thrilled to know, I'm sure, that the rat who left that poop is no longer among the living, having snacked on some of the rat poison that I had set out especially for them to dine on.

With that out of the way, I only had one bike left to do: Orthrus.

Draining the oil from Orthrus went quite smoothly, but when I got to the filter things took a bit of a turn. On the R65, the oil filter isn't the usual modern spin-on type, but is rather a filter element that slides into the side of the oil pan through a little access plug in the right-hand side. There's nothing wrong with that, it just means pulling out 3 bolts and removing the plug instead of unscrewing one filter.

However when I pulled the plug off the oil pan, I noticed that the gasket had been buttered up with a grey sealant, no doubt in an effort to avert any potential future oil seepage. I found that kind of curious.

But then I also noticed that the large white o-ring, which provides the primary seal for the plug, had been crushed clean in half, due to it having slipped out of place during installation. Yes, I think there's little doubt in my mind why that particular wrench-ape had so many poor experiences with oil seeping out of gaskets. Needless to say, I was not impressed.

Anyway, I scraped off the remains of the gasket sealant and cleaned up the chunks of sheared o-ring (and luckily the gasket kit came with a new o-ring, shim and gasket), changed out the filter element, and finished off the oil change with no more major incidents.

Finally I tidied up the tools, took Rabbit Season out for a little test ride, and called it a job well done.

Sunday, April 21, 2024

Smooth or Chunky

So it used to be that jams were, for the most part, made for purpose. Fruit would be minced and macerated into a relatively smooth paste, mixed with sugar and extra pectin, and canned to preserve it in a shelf-stable form. This would result in a product that could be easily spread on toast, mixed into oatmeal, dolloped onto a slice of cake or a serving of yogurt, or used in whatever way you might fancy.

But then people got upset about their food being "too processed". Food that wasn't physically reminiscent of its original form was considered evil and unhealthy, and food that retained some resemblance of its constituent ingredients was wholesome and enlightened.

Let me be very clear about this point: No matter what it looks like inside, these...

...are just fancied up jars of sugar. They might have a vitamin, they might have some traces of fiber, but the majority of it is just plain old sugar, and not any good kind either. They are, as Based Cookie Monster would call it: sometimes foods.

Anyway, this process of wholesome-washing meant that many jams no longer contain finely minced and macerated fruit, but instead feature large chunks of fruit in order to try to fool you into thinking you're eating something healthy.

This means that while trying to spread a nice thin layer of jam on a piece of toast, let's say, you'll often find yourself trying to spread out an entire half of an apricot that got stuck in the jar, put there only to give it a rustic ambiance.

To be fair, for some fruits this isn't a great burden. Wild blueberries, for instance, are small enough that the whole fruits are largely inoffensive.

And marmalade has a long and well established history of being correctly minced, so it is rarely troublesome.

But when we come to jams that contain plums, pineapple, cherries or apricots?

Oh, that's when all hell breaks loose.

You see this? These are chunks of apricot, floating stealthily in the otherwise smooth and spreadable jam.

And it's time for them to meet their maker.

Now we can't just buzz the jam in the food processor and then call it done. For one thing, it whips a bunch of air into the jam, which makes it opaque and light coloured, and increases its volume fairly significantly.

And it also, of course, whips in all sorts of ambient mold spores that are floating through the air around us, which could, despite refrigeration, cause early spoilage.

Luckily there's a solution to both of these problems.

We just need to boil it (with an extra tablespoon of water to make up for the evaporation). The boiling kills off enough of any contamination to make it fridge stable again, and also boils out the fine bubbles that the food processor has whipped into the jam.

Depending on the specific jam there will still be a little bit of foam left on top, but the majority of the tiny bubbles will burst during this process, and the remainder will float to the top in the jar and not be any major concern.

So we repeat that process four more times for the plum, pineapple-passionfruit, cherry and apricot jams.

And now we finally have the jams in the form that they should have been in the first place.

Saturday, April 20, 2024

It's Free Monts

I wanted to put some miles on Gregg today, now that I finally changed the oil, so I took a little trip up to the top of Fremont Peak, the southiest south of the south bay, which is named after the famous Gordon Freeman, a leading figure at Black Mesa.

The weather was a bit more brisk than I had counted on down in the valleys, but once I popped up above the marine layer the temperature rose and the skies cleared up nicely.

The views up there are really quite lovely, and I hadn't realized until I got up there that it's actually a giant campground with a bunch of drive-up campsites, which is kinda neat.

Perhaps one day I should camp there; it would make for a decent test run of my van, once I finally get around to doing something with it.

Perhaps.

Thursday, April 18, 2024

The Power Within

So I've let my motorcycles sit for probably somewhere around a year at this point? Maybe more? Time is an illusion. Needless to say it's been a hot minute since I put some miles on any of them, and while they've handled their unscheduled nap quite well, for the most part, it has taken its toll here and there.

This is the battery from Gregg, my CB650F. It was measuring 3 volts before I put it on the charger for 24 hours. Now it's up to 7.3v. This is a great voltage reading for a 6 volt battery, it's just a shame that it's supposed to be a 12 volt battery.

Anyway, this is the original battery that Honda shoved into this bike back in 2018, so it's high time for replacing it with something newer, and what better opportunity to also upgrade to something more modern?

This LiFePO4 replacement is much lighter than the original sealed lead acid, and as a bonus to that upgraded chemistry you can actually pack the same performance into a much smaller package. In fact, previous LiFePO4 batteries I've installed have been comically small compared to the OE battery they replaced, and simply came with some self-adhesive foam blocks for you to stick onto the sides to pad it out to fit into the original space of the lead acid it was replacing.

Thankfully the product design has come a long way since then, and now we get a battery that's actually sized to fill the appropriate amount of space (even though it's mostly air inside) plus a stack of injection-molded spacers that adapt it to a variety of different standard SLA sizes.

Of course I don't actually need any of those spacers for my bike, so they ended up just going straight into the recycle bin, but I suppose it helps cut down on SKUs.

Anyway, on with the show.

The CB650F has a pretty classic layout with the battery under the seat.

The old battery was already removed, so it's just a matter of dropping the new one into place and strapping it down.

Unfortunately this is where the first slight wrinkle comes in: the connectors on this bike are designed specifically for the 3-way terminal blocks on SLA batteries, and the manufacturer of this LiFePO4 battery decided to get a little creative and move the screw inboard a little ways, meaning that this tab on the edge of the connector which would usually hang over the edge of the terminal now prevents the connector from sitting flush.

But it's easy enough to just flatten that out.

Since the negative connector comes in from a different angle, the tab isn't an issue there, and so connecting things up from here is a snap.

With the battery just sitting there and the bike powered on but not running we see a very healthy voltage.

And everything looks good with the bike idling as well.

So now it's all ready to ride.

Thankfully I didn't have to discover this right before I was about to go out on a ride, which would have spoiled my fun. I actually noticed it when I was changing the oil, for the first time in about 4 years. That might sound neglectful, but I'd only put about 450 miles on the bike in that time, so really it was more like a premature waste of oil.

Ah well, oil is cheap and it's better to be safe than sorry, and I at least put more miles on this bike than on Scooty-Puff, my BMW C600; whose oil I changed at the same time (Rabbit Season and Orthrus are going to have to wait for next week because I ran out of oil recycling containers).

Speaking of Scooty-Puff, it does have a LiFePO4 battery in it already, and despite sitting for just as long, it not only still had a charge left in it, but in fact had enough charge to easily start the bike right up.

Colour me impressed.

Saturday, April 13, 2024

Turn Down For Watts

A fair few years ago I purchased a power meter off of Ivor, a cow-orker at Google. It was my first power meter, which I dutifully mounted to my CAAD 10 road bike, and it started me down the road of quantifying my on-bike fitness in real time.

When my CAAD 10 frame cracked, I ended up building an S-Works Tarmac to replace it, and the power meter was one of the parts I brought along. It's been serving me well ever since.

However, serving me well doesn't mean serving me perfectly. Since I bought the power meter second-hand, I wasn't able to pick the configuration to exactly match my preferences, and so I've been making do with these Shimano Ultegra chainrings.

What's wrong with them? Well, first off they're a 52-36 combo, which is commonly known as "mid-compact". It was created as a middle ground between what was previously the standard chainring setup of 53-39, and the newer compact chainrings that sported a 50-34 tooth count.

Those extra two teeth aren't the end of the world, but given that I spend a lot of my time in the hills and exactly zero time drafting in a group, I really wasn't getting any benefit from the taller gears.

Also, must more importantly, they're the wrong colour.

You see, the Quark Dfour power meter was designed to match up aesthetically with the Shimano Dura-Ace R9000 chainrings, which have a silver-on-black colour scheme and a different shaping where they meet the spider. They're also lighter, which is nice, and more expensive, which is why most people don't bother.

But I bothered.

So let's get these on the bike!

The first step is to take the pedals off. This might seem like a peculiar first step, but there's a method to the madness here, which I'll come back to in a bit. These are XTR SPD clipless pedals, so they come off using an 8mm hex in the back side.

Next we remove the drive-side crank arm so that we can pull the crankset from the bike. If you've ever removed a SRAM/Quarq crank arm, you'll know what the right tool for the job is.

No I am not kidding.

Now we reveal why I removed the pedals: I'm going to swap the power meter from this set of crank arms to the S900 crank arms that I used to build up my CAAD 12. The reason for this is that I've standardized on 170mm crank arms, and the ones that came on this power meter are 172.5. It's not a huge difference, but since I have the parts I might as well do the swap.

Except...

Yeah, I forgot about that part. The S900 uses the 3-bolt mount for the spider, whereas the Quarq uses the newer 8-bolt mount. RIP.

Oh well, 172.5 isn't all that bad. Plus having everything apart and the pedals out of the way makes it easier to clean things up nice and shiny, so it wasn't a complete waste.

Anyway, getting back on track, I mentioned that the Dura-Ace chainrings are lighter, and here's the proof.

Mind you it would be alarming if they weren't lighter, given that the DA chainrings are also physically smaller in this case, but it's nice to see that there's a meaningful difference between the two.

With that out of the way, it's just a matter of reassembling things, adjusting the front derailleur, and we're good to go.

Now that I've got this smaller chainring set, what effect will that have on my riding? Well, on the low end I'll be going from a 36:32 ratio to a 34:32 ratio, which means that if I'm grinding up a hill at about 60rpm I'll go from 5.3mph to 5.0mph. On the high end, I'm going from 52:11 to 50:11, so if I'm pedalling my legs off with a tail wind at 100rpm, that'll drop me from 37.2mph down to 35.8mph.

Is it a big difference? No, no it is not. But it's a difference in the right direction, and more importantly it looks way, way better now that the spider and chainrings aren't mismatched. My only regret is that the Quarq spider hides the silver ring on the 34t chainring in the back.

Loafing Around

So as I do every second week, I made a new batch of bread.

This time I apparently decided to make the loaves slightly too long, so they ended up a bit squiggly, but that's beside the point.

I used largely the same recipe as usual, but as a bit of a change I decided to try the yudane method. This is where you set aside about 5-10% of the flour and mix it 1:5 with boiling water (also set aside from the original recipe, not added on to it). The recipe I use calls for roughly 500g of flour and 170g of water (more water comes from the eggs, which isn't useful right now), and so that limited me to 34g of flour if I used all the water for the yudane. This was about 7% of the total flour, a perfectly reasonable amount.

Anyway, this yudane mixture is just incorporated into the dough with the rest of the ingredients, and everything else proceeds as normal.

The bread came together quite nicely and the dough was noticeably firmer and easier to handle when kneading and rolling, which is a nice bonus.

The real test, though, is the texture and shelf life. The yudane is supposed to improve the texture, making it softer and more pillowy, as well as increase the shelf life before that texture starts to go hard and stale.

I ate the bread as I normally do throughout the week, and largely I came away impressed. The texture was quite good, and it wasn't until Friday that I noticed the bread starting to go a bit stale. I probably could have toasted that last slice, and perhaps for this week's loaf I'll do just that.

In all, I'd say this experiment was a success.

Saturday, April 6, 2024

Gay Goblins

So it snowed on Thursday, so you know what that means!

It means it's time to do some spring planting. This corner of the yard at the end of my motorcycle parking pad used to house a half-rotten maple tree. I got it cut down and the stump ground out I guess a few years ago now, and that made for some fantastically fertile soil here.

But it's just been sitting there under a blanket of mulch ever since then while I waited for the ground up stump bits to decompose.

Well, I decided that today would be the day to actually plant something here, finally.

To start off with, there's this Japanese Boxwood.

I had initially planned to get some cherry laurel as a test run for planting some against the back fence, but they didn't have any in stock. I had a little browse around and almost grabbed some black stem pittosporum but they only had those in the larger size which would have cost about $45 each vs the $15 for these boxwood. Since I wasn't in a rush to get a lot of growth here, the smaller size made a lot more sense.

These boxwood are up against the north side of a fence, so I'm expecting that the foliage along the bottom will eventually thin out and die back, so to help fill in below it, I got this plant.

It's a Gay Goblin Pieris. Which is a varietal name that I don't think someone would come up with these days. But I dunno, I'm not a botanist.

Anyway, this corner should fill in nicely, and in a few years the boxwood should give my motorcycles a bit more shade.

Possibly quite a few years, the boxwood is apparently pretty slow growing.

While I was out plant shopping, I also got a few more lantana to replace the ones that died from the frost, again.

There's two in the back along the sidewalk, and two in the front along the driveway, plus one right between them, the sole survivor that has made it through two winters without succumbing to the frost. These stupid lantana just have to survive one winter to get themselves established enough to keep from completely dying every year, and one of these years they're going to make it.

Until then, it's a good thing they're cheap.