Monday, August 29, 2022

Air Might Go On The Inside

When we last left off with our tubeless adventure, I thought I might have, maybe, got things figured out.

Well, then my front tire went flat while it was sitting out in the sun, drying off after being hosed down, much like it had been on Friday when the rear tire went flat.

I did a little thinking a little hummin' and hawin', and decided to retape the front rim too.

While I did so, though, I made sure to pay special attention to the condition of the tape as I removed it, since I had a little suspicion that there might have been a problem with the way the rim was taped.

For reasons of supply chain issues, the rim was taped with two wraps of a narrower tape rather than a single wrap of a wide tape. While this did indeed result in the spoke holes being covered by the tape, along with the rest of the inner rim surface from bead to bead, it did mean that there wasn't a single piece of tape that spanned the entire spoke hole.

These spoke holes alternate slightly from side to side, so on most of them you'd have about 75% coverage with one wrap of the tape, and something very close to 100% coverage with the other wrap. Sometimes it'd be a little more than 100%, sometimes it would be a little less.

In the image above, you can see what happened when it was just a little bit less: the unsupported edge of the tape stretched, air and sealant got between the two layers, and then spilled out through the spoke hole.

Here's another example.

On this one, the top layer of tape was covering about 75% of the hole while the bottom layer was covering maybe 99%, still enough of a gap there to allow the air out once it had worked its way under the unsupported edge of the tape. Not good.

As a comparison, here's what it looks like when the tape didn't lift at a spoke hole.

No sealant leaking under the edge of the tape, no air leaking out the spoke hole. If they all looked like this, my tire wouldn't have gone flat.

So I think, and hope, that this should settle the matter. I taped up the rim with the new rim tape, much like I had done for the rear, and so far it's holding air. With any luck that trend will continue and I can finally put this issue behind me.

I do want to add that I'm still reasonably sure that the valves and the taping and parting line flash near the valve hole were also contributing factors. It's really hard to say if there were multiple failures or not, as it's almost impossible to directly observe where a leak like this is occurring.

Sunday, August 28, 2022

Air Goes On The Inside

And it would be nice if it stayed on the inside. But sometimes things don't work out the way we'd like them to, as is the case with the rear wheel on The Stig.

After a lovely first ride, I hosed the dust off the bike and left it out in the sun to drip dry. When I came back a few hours later, I found the bike mostly dry, but also sitting a little low in the rear; the tire having gone completely flat.

A bit of examination revealed no issues with the tire itself, or the seal of the bead on the rim. That left only two possibilities: either the air was getting under the rim tape and leaking out a spoke hole, or it was leaking out around the valve stem.

I pulled the tire off to have a look, and the rim tape itself didn't seem to be showing any major issues. When I removed the valve stem though, I observed that the valve stem was wet with sealant, and that the rim tape around the valve stem hole was curiously puckered and uneven.

The rim tape had also been applied in a way such that the edge of the tape intersected with the edge of the valve stem hole, and that certainly wasn't helping things any.

Lacking any better options, I pulled off the rim tape to get to the source of the unevenness that I felt around the valve stem hole, and discovered that some parting line flash had not been smoothed down in this area.

Anywhere else on the wheel this wouldn't be a huge issue, as the rim tape would just lay over top of it without issue, but here at the valve stem it was making the edge of the valve stem hole uneven and possibly contributing to a poor seal.

Thankfully it wasn't too difficult to buff it down flat with a needle file, followed up with a bit of fine grit sandpaper to remove any scratches.

Another contributing factor was the design of the valve stem itself. The ones that came from the factory use a conical wedge shaped plug to seal against the valve stem hole.

This works fine on a mountain bike rim, where there's plenty of room in the center channel for the wedge to seat down into the hole, but on a narrower road or gravel rim things don't quite work out so smoothly compared with the alternate hotdog-bun-shaped plug.

The good news is I had a pair of the latter on hand, so I swapped one in on the front (pictured above) and then ordered up some new rim tape for the rear.

Sadly Amazon hasn't invented package teleportation, yet, so I had to wait until Sunday for the rim tape to arrive. But, arrive it did.

I cleaned the rim squeaky-clean with some alcohol and lint-free wipes and then set about stretching the new tape into place.

#NotSponsored.

The new tape and valve seemed to do their job holding the air on the inside instead of letting it squirt out to the outside, so here's hoping that trend keeps up.

It kinda sucks that I couldn't go for a longer ride this weekend thanks to this issue, but there's always next weekend.

Friday, August 26, 2022

That's a Wrap

So it's about time to wrap up this bike build.

And by "wrap up" I mean wrap the bars in bar tape. First though, let's stick the bar gels on the drops, to smooth out those rough descents.

The bar tape I chose for this build is rather vibrant, and at first glance you might think that it would look jarring next to the almost pastel purple of the frame, but there is a method to my madness.

If you want to tie a color scheme for a bike together, you have to use the color in at least two places. In this case, the rainbow bar tape matches the cassette and chain, and serves to unify the front and back of the bike with a continuity of accent colors. The whole bike then becomes a harmony of purple, black and rainbow, the same notes over and over, and it all comes together.

But for that to happen we first need to get the tape onto the bars, and the start is always the trickiest part.

So I cheated, by applying a wrap of double-stick tape.

If you've never wrapped a handlebar before you might wonder what's so tricky about the first few wraps, and the answer is that most bar tapes only have a narrow strip of adhesive down the very center of the tape, and that adhesive ends up spiraling off the end of the bars on the first wrap, leaving nothing to grip the bars at all. This Shimano/PRO tape goes one step further and replaces the adhesive with a strip of some silicone-like material with only the slightest suggestion of tackiness, so I'm really going hard mode here. Anyway, the double-sided tape here ensures that the first wrap or two doesn't move when I'm applying the bar tape, nor when I fold the loose end into the bar and install the bar plug.

Now I was only born with two hands, so it's sort of impossible to take good in-progress photos of the bar tape wrapping, so you'll have to excuse me for fast forwarding past that part and just showing the result of wrapping the first side.

The end is just hanging loose right now with a bit of electrical tape to hold it while I do the other side, so that I can come back to make any needed adjustments to make them match.

Speaking of the other side...

It went just as smoothly as the first.

I should mention here that there's essentially four different ways to wrap handlebar tape, all of which produce basically the same result. You have two choices for the spiral direction, wrapping towards the bike frame or away from it as you come over the top of the bars, and two choices for which end to start from, either starting at the bar ends and wrapping towards the stem or starting at the stem and wrapping towards the bar ends. I chose to wrap starting from the bar ends and spiraling away from the bike frame, but that's just a personal choice, and you should feel free to use any of the other three incorrect methods if you so please.

Also, in case you're curious, the black rod in the picture is a flop stop which, as the name suggests, stops the handlebars from flopping around when doing work like this. It's well worth the modest investment.

Anyway, as you can see, the wrapping went great and I will fully admit to using a cheater strip to cover the gap that naturally forms when crossing over the levers.

Some people prefer to omit this strip, and simply leave this part of  the bars bare. If you see someone riding that, the best thing to do is to call the police as this person is almost certainly a psychopath.

The real measure of a wrapping job, though, is how even it turns out, and I think I'd have a hard time getting it any more even than this.

Also I have a garmin mount here. I didn't take a picture of it earlier, but here it is.

While we're putting the finishing touches in place, let's take care of the bottle cages and accessories.

We've got a pair of Specialized Rib Cage III in a lovely gloss black carbon fiber, a Specialized Zee Cage in matte black plastic holding a Topeak tool pouch, and a Lezyne mini pump / inadvertent valve core extractor to round things out.

I'm not 100% sure if I'm going to keep this tool pouch arrangement long term vs using the Dakine Hot Laps Gripper (what a name) that I use on most of my other bikes, but the cage mount happened to be here and I figured I'd give it a shot. Mostly I'm concerned that it might foul with the front fender that I'm planning to mount for winter riding. We'll see how it goes I guess.

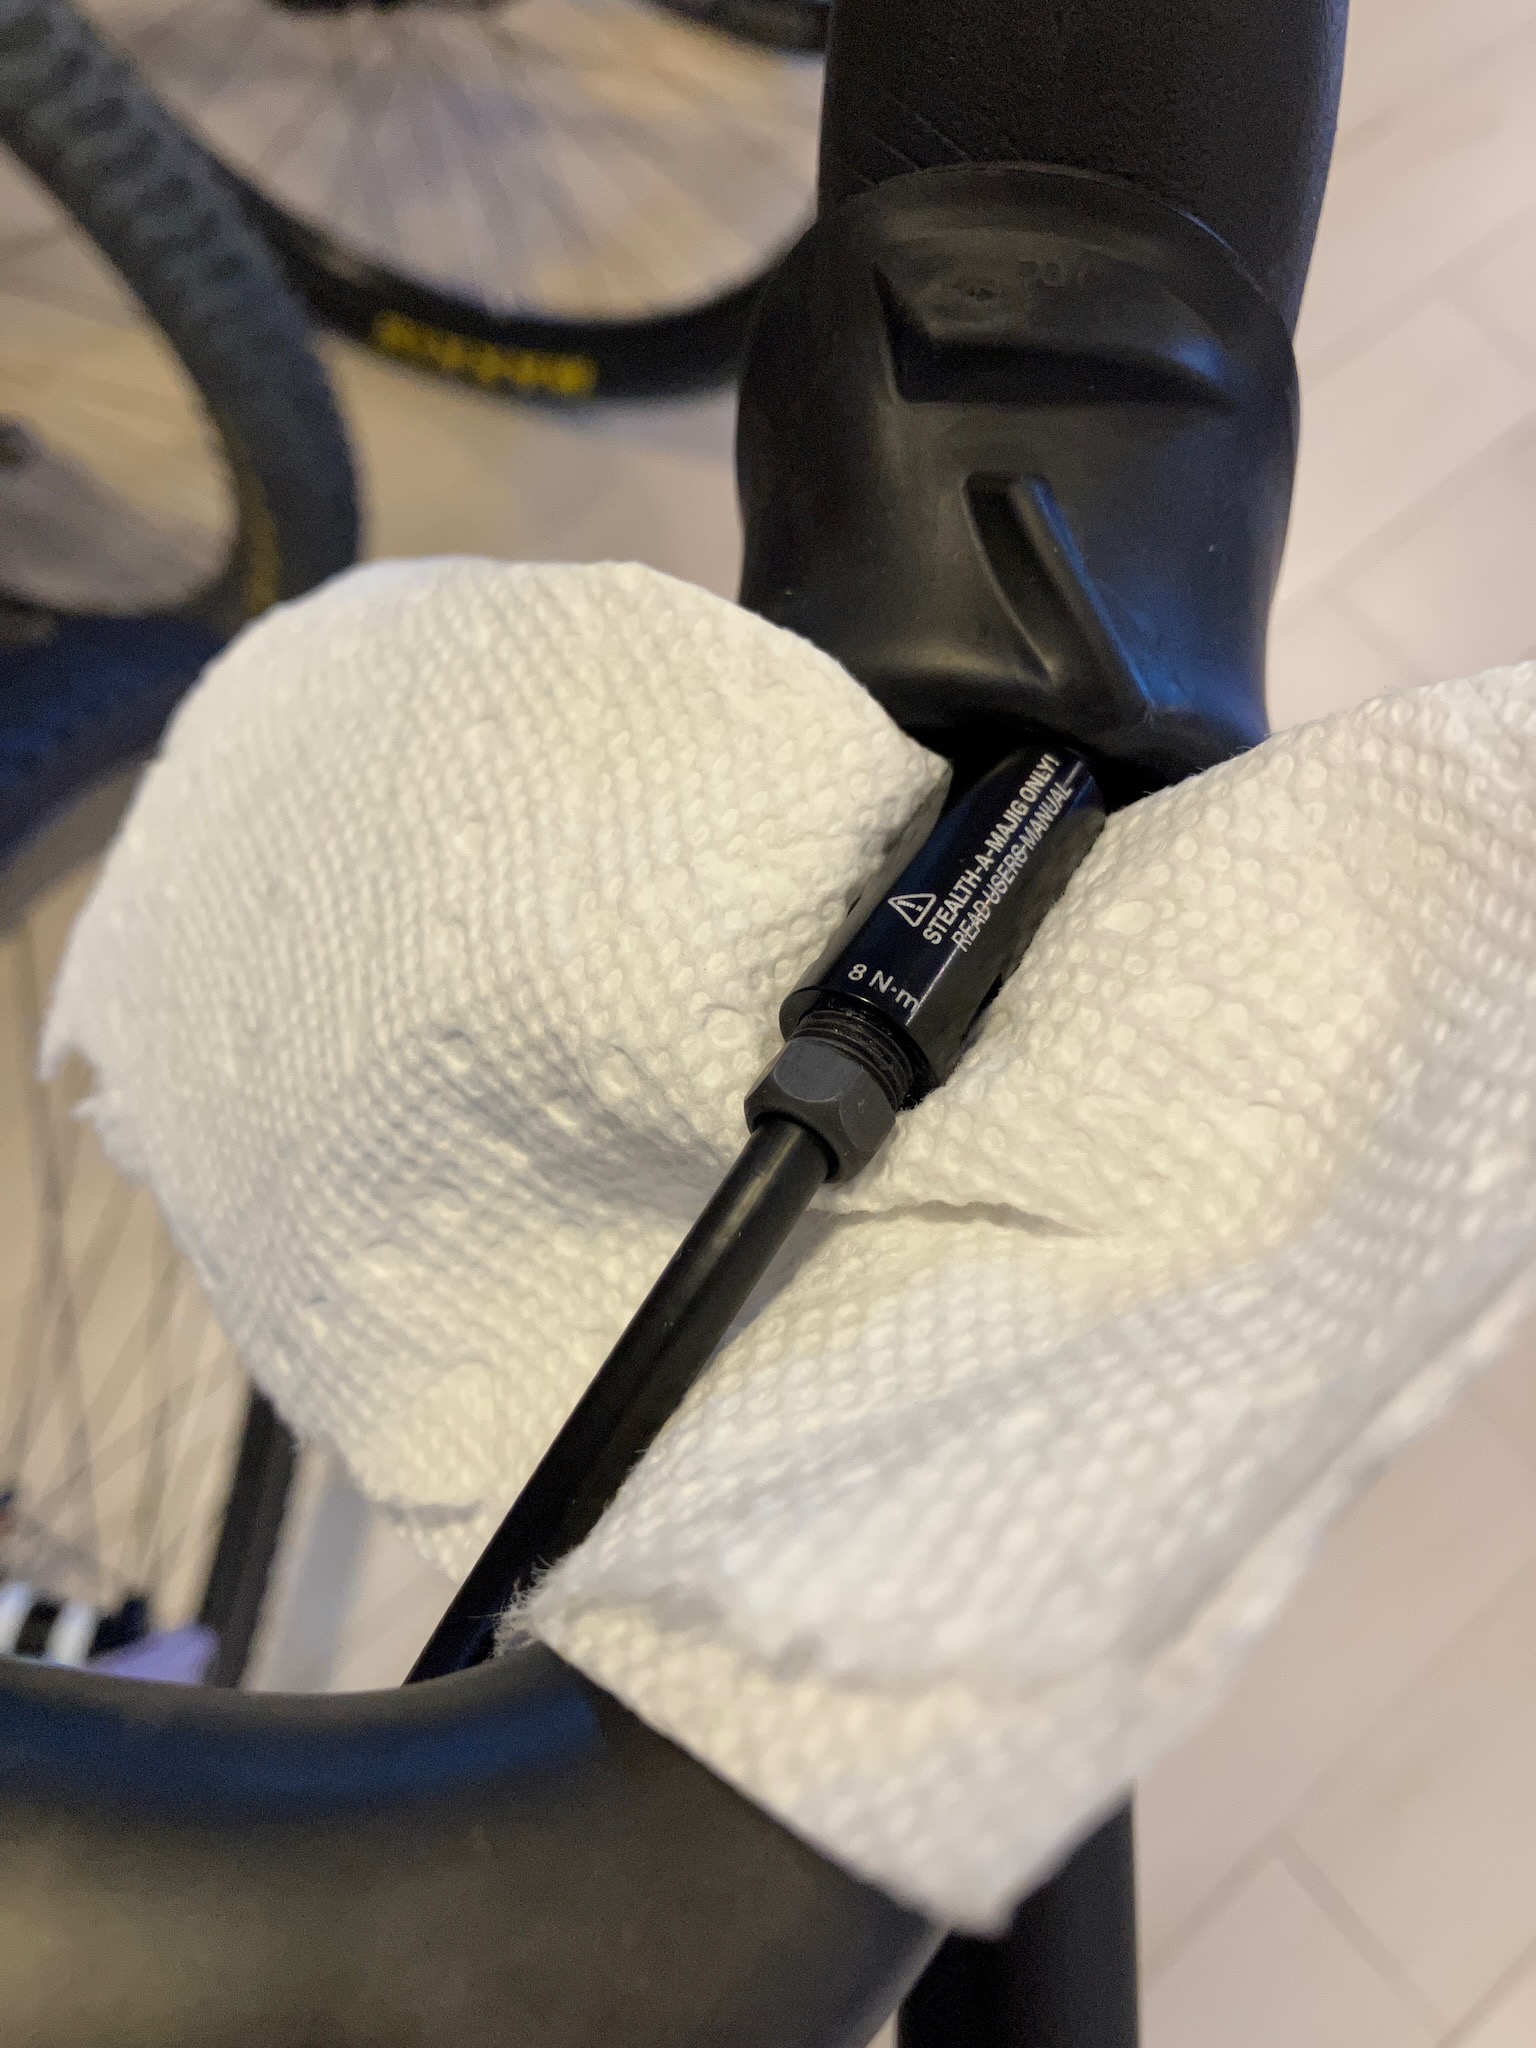
But before it goes, it needs to stop. Thankfully the new lockrings came in.

It's pretty easy to see how they'd give more clearance to the frame, and they just simply install with a cassette tool rather than a bottom bracket tool (both of which I own).

However, that doesn't mean that things necessarily went to plan.

You see, I bought two of these, even though technically only one lockring needed replacement. My plan was initially to also replace the front lockring on Purple Haze, my Tarmac, as while it wasn't rubbing, it was awfully tight between the lockring and the fork.

But I quickly discovered a flaw in that plan. The axle cap on the DT 240 hubs on that wheelset, for whatever reason, has a slight taper to it, and the cassette tool jams against it before it's able to screw the lockring all the way tight. That's not ideal, not even a little bit.

Thankfully it's also not a huge worry for me, since the old lockring was working fine. I reinstalled it and just left it be, and turned my attention back to the new bike.

Thankfully the axle cap on the DT 350 hubs I opted for didn't have the same taper issue, and I was able to install the lockring with no trouble whatsoever. However, I decided that it would be nice if the lockrings matched between the front and rear, and since I now had a spare matching lock ring, I went ahead and tried to install it...

Only to discover that the axle cap is too long on the rear hub, and the cassette tool bottoms out on it before it gets anywhere close to screwing the lockring in place.

So I guess that settles it, the lockrings are going to be mismatched.

At least the front wheel spins now.

So with all the parts in place, there's only one thing left to do: weigh it! According to my not-at-all-suspect discount amazon fish scale, this beast is being pulled towards the earth with a sum total of 19 freedom pounds of force. This compares with 16 lbs for Purple Haze, my Tarmac, and 21 lbs for Dirty Dozen, my CAAD12. Very respectable.

Ok, now for the real one thing left to do: ride it. For a bike like this, the only natural thing to do is to ramble down a dusty country road, past rustic, untamed wilderness 100 miles from nowhere.

Some say it knows two facts about ducks, and that both of them are wrong. But all I know is it's called The Stig.

Also it's probably worth mentioning that this dusty country road through rustic, untamed wilderness might actually be in the middle of San Jose, which at least qualifies as being something like 100 miles away from the nearest place that might be considered "nowhere".

But there's nice views at least.

I'll take it on a longer ride later.

Sunday, August 21, 2022

The First Quick Spin

I've finally gotten to the point where I was able to take the bike out for a quick test spin, but let's not get ahead of ourselves, there's still some work to recap.

First things first, we need to get the brakes in place. This involves mounting the calipers and the levers, and of those two it's much easier to mount the levers first, as it gives us a place to keep them safe while we're messing around with the calipers. So, on they go.

Alright, brakes are on, let's go for a ride!

Ok, ok, I'll install them properly. First job is to disconnect the lines at the stealthamajig. SRAM suggests doing this without draining the fluid from the system, and I'm at least willing to give it a shot.

With a little bit of insurance, of course.

Surprisingly, this insurance turned out not to be needed, as the port inside where the brake fluid passes through is small enough that the surface tension kept the brake fluid from gushing out all over my bike and the floor. Nice.

Anyway, let's get the rear hose run first, since I'll want to be in a good mood for this potential struggle.

Somewhat surprisingly, it wasn't that bad. I had to give it a little encouragement here and there but it only took maybe 5 minutes of faffing around (including the time taken trying to tape the hose to the little pre-run plastic tube, realizing that the combination was too large to fit through the cable port, undoing it and redoing it in a different way, etc). Honestly it feels like people who whine about internal cable routing just want something to complain about.

Now that the brake hose is in place we can bolt the caliper to the frame, just loosely for now as we'll need to adjust it with the wheel in place later.

Speaking of bolting things into place, do be sure to remember to install the port cover and compression nut before installing the barb and olive on the hose end, or you will probably cry.

Luckily there was no crying in this bike assembly.

Anyway, with the rear done and out of the way, the front went in with very little fuss.

Even though it won't have a caliper to grip until the new lockrings come in. But that's a problem for future-me. Present me needs to deal with shortening the brake hoses so that they're not flopping around in the breeze and getting caught on branches, car mirrors, stray elk and what have you.

They like to give you an ample amount.

Thankfully trimming isn't too tough of a job. Just takes a sharp utility knife to make a nice square cut, then you screw in the barb, and screw on the olive, and it's ready to bolt back in place.

You'd almost think I know what I'm doing. Here's the rear all shortened up.

With the hoods folded down, it's basically all ready to go, other than needing some bar tape.

But bar tape is also a future-me problem. Before we get to that, let's align the rear caliper. You can get it in the ballpark by loosening the bolts, squeezing the lever, and snugging them back up again, but that usually leaves the caliper a little off kilter. I find it's best to start with that, and then sight down between the pads and rotor to do the last little bit of fine tuning.

When you can see an even amount of daylight on both sides, that's when you know it's perfectly aligned.

The front... well, the front is gonna have to wait a bit for its final positioning.

Let's deal with the chain first, since we're on a bit of a roll.

I was initially planning to get the black chain, but then the rainbow one was in stock earlier so I just had to "settle" for it. Pity me, pity me.

Just a little off the top to get it to the right length.

The right tool for the job makes all the difference in the world.

The chain is covered with a sticky anti-rust coating, so we'll give it a bath in acetone to try to clean it off.

This doesn't actually work, by the way. The chain was just as sticky coming out as it was going in. It is a nice way to clean off the oil and road grime later on in the chain's life, though, so keep a jar on the shelf for that.

It's worth mentioning here, since I showed off my chain tool, that modern chains basically all use quick-links to join the two ends of the chain together, rather than the old-timey method of pressing the pin back into place. You might wonder why this is, and even question whether you can get away with doing it the old way. The answer is no, no you absolutely cannot.

Modern chains are actually riveted together at the pins, and the folded-over metal shears off when you drive the pin out of the link. You can actually hear this as a distinct cracking noise as you apply pressure with the chain breaker. Once that link is pushed out, it's not going back in. Ever.

And that's why we use quick links.

Anyway, the still sticky chain is back on the bike, and a bit of chain lube seems to have made it slippery enough that I don't really notice the packing grease residue, so whatever. It'll be fine after a few miles of riding.

It do look good, though.

And through the miracle of technology, my bike computer can even tell me what gear it's on.

Anyway, the quick spin around the block revealed that the bar and controls were basically in the right place, though the saddle needed a little adjustment both in tilt and height. I'm going to probably take one more quick spin to double-check for any last minute tweaks before putting the bar tape on, probably sometime this week.

Then once the lockring comes in I'll be able to mount the front rotor, align the front caliper, and tidy up the loose ends like mounting the bottle cages... and then it'll be a bike!

Saturday, August 20, 2022

And So It Continues

When we last left our heroes, we were facing a bit of a pickle. We had the wrong lockrings for the brake rotors (at least the front rotor) and we were missing a spacer for the cassette, and the bike was looking a little something like this.

Well as it turns out, one of those problems was a little easier to solve than the other. I remembered that I had a spare 9 speed cassette, which I had gotten for free when I picked up a used smart trainer from a cow-orker, sitting on Dirty Dozen's rear wheel for safe keeping. This is because Dirty Dozen spends basically all its time bolted to the smart trainer, which is where its usual 10 speed cassette is mounted.

Of course, mounting a 9 or 10 speed cassette on an 11 speed wheel requires a 1.85mm spacer, which just happens to be exactly the same 1.85mm spacer needed to mount an XD cassette on an XDR freehub.

So that was an easy fix, the cassette is back on.

While we're at it, I mentioned in the previous post that I had mounted the pedals, so here's a little glam shot of that.

And with that out of the way it's time to make some forward progress again, even if we're still waiting on a part.

On a bike like this, there are four, or three depending on how you count, things you need to trim to length, in order of increasing stress.

  1. The chain.
  2. The brake hoses (2).
  3. The steerer.

Since installing the chain makes it slightly more inconvenient to take the rear wheel on and off, I plan to do it last. The brake hoses will be coming up soon, but in order to make working around the front of the bike easier, it would be really nice to trim up the big 'ol chimney sticking out of the top of the stem.

So, we mark the proper length, install a spare stem and spacer as a makeshift saw guide, and chop it to length.

Measure once, cut twice, right?

Boy howdy, there's nothing quite like taking a hacksaw to your $3000 carbon frame to make you feel alive.

Now we just slip the fork back into the frame and...

Hmm.

Hmmmmm.

That's not right

I get a free do-over on this, right? Let me just google "how to saw something longer," gimme a sec to look this up. I'm pretty sure there's a way to do that...

Lol, just kidding.

Anyway, after sliding the fork back into the head tube properly and installing the expander bolt, we can slip the spacer and stem back on.

Then we twerk down the top cap to preload the headset bearings before tightening up the (self-sealing) stem bolts.

I figured that was enough excitement for one day, so I decided to knock an easy task off the list next: putting sealant in the tires.

I hadn't done this initially as I didn't know if I might have to remove the tires again for some reason (like due to some incompatibility between the wheels and frame, for instance. *cough*), but at this point it felt like it would be a reasonably safe step to take. It would also help the tires hold their air, as they were leaking down a little bit without the sealant helping to keep the air on the inside.

I also ended up topping up the sealant in Crimson Ghost (my trail bike) and Blackbirb (my XC bike) since it had been a few months since the last time, and that seemed like another good place to put a bookmark in things.

It's almost starting to look like a proper bike.