I've finally gotten to the point where I was able to take the bike out for a quick test spin, but let's not get ahead of ourselves, there's still some work to recap.
First things first, we need to get the brakes in place. This involves mounting the calipers and the levers, and of those two it's much easier to mount the levers first, as it gives us a place to keep them safe while we're messing around with the calipers. So, on they go.
Alright, brakes are on, let's go for a ride!
Ok, ok, I'll install them properly. First job is to disconnect the lines at the stealthamajig. SRAM suggests doing this without draining the fluid from the system, and I'm at least willing to give it a shot.
With a little bit of insurance, of course.
Surprisingly, this insurance turned out not to be needed, as the port inside where the brake fluid passes through is small enough that the surface tension kept the brake fluid from gushing out all over my bike and the floor. Nice.
Anyway, let's get the rear hose run first, since I'll want to be in a good mood for this potential struggle.
Somewhat surprisingly, it wasn't that bad. I had to give it a little encouragement here and there but it only took maybe 5 minutes of faffing around (including the time taken trying to tape the hose to the little pre-run plastic tube, realizing that the combination was too large to fit through the cable port, undoing it and redoing it in a different way, etc). Honestly it feels like people who whine about internal cable routing just want something to complain about.
Now that the brake hose is in place we can bolt the caliper to the frame, just loosely for now as we'll need to adjust it with the wheel in place later.
Speaking of bolting things into place, do be sure to remember to install the port cover and compression nut before installing the barb and olive on the hose end, or you will probably cry.
Luckily there was no crying in this bike assembly.
Anyway, with the rear done and out of the way, the front went in with very little fuss.
Even though it won't have a caliper to grip until the new lockrings come in. But that's a problem for future-me. Present me needs to deal with shortening the brake hoses so that they're not flopping around in the breeze and getting caught on branches, car mirrors, stray elk and what have you.
They like to give you an ample amount.
Thankfully trimming isn't too tough of a job. Just takes a sharp utility knife to make a nice square cut, then you screw in the barb, and screw on the olive, and it's ready to bolt back in place.
You'd almost think I know what I'm doing. Here's the rear all shortened up.
With the hoods folded down, it's basically all ready to go, other than needing some bar tape.
But bar tape is also a future-me problem. Before we get to that, let's align the rear caliper. You can get it in the ballpark by loosening the bolts, squeezing the lever, and snugging them back up again, but that usually leaves the caliper a little off kilter. I find it's best to start with that, and then sight down between the pads and rotor to do the last little bit of fine tuning.
When you can see an even amount of daylight on both sides, that's when you know it's perfectly aligned.
The front... well, the front is gonna have to wait a bit for its final positioning.
Let's deal with the chain first, since we're on a bit of a roll.
I was initially planning to get the black chain, but then the rainbow one was in stock earlier so I just had to "settle" for it. Pity me, pity me.
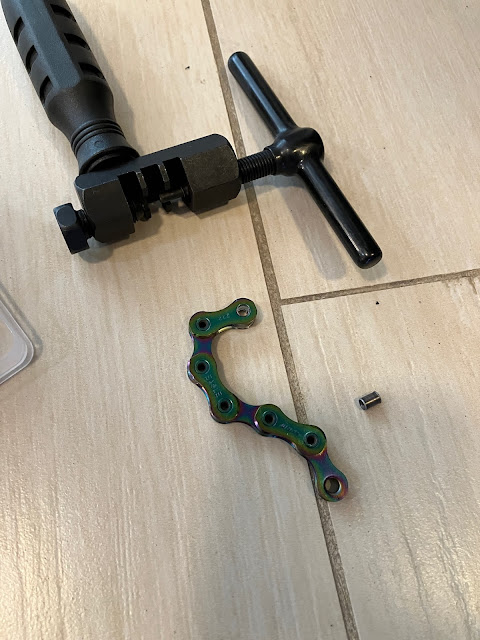
Just a little off the top to get it to the right length.
The right tool for the job makes all the difference in the world.
The chain is covered with a sticky anti-rust coating, so we'll give it a bath in acetone to try to clean it off.
This doesn't actually work, by the way. The chain was just as sticky coming out as it was going in. It is a nice way to clean off the oil and road grime later on in the chain's life, though, so keep a jar on the shelf for that.
It's worth mentioning here, since I showed off my chain tool, that modern chains basically all use quick-links to join the two ends of the chain together, rather than the old-timey method of pressing the pin back into place. You might wonder why this is, and even question whether you can get away with doing it the old way. The answer is no, no you absolutely cannot.
Modern chains are actually riveted together at the pins, and the folded-over metal shears off when you drive the pin out of the link. You can actually hear this as a distinct cracking noise as you apply pressure with the chain breaker. Once that link is pushed out, it's not going back in. Ever.
And that's why we use quick links.
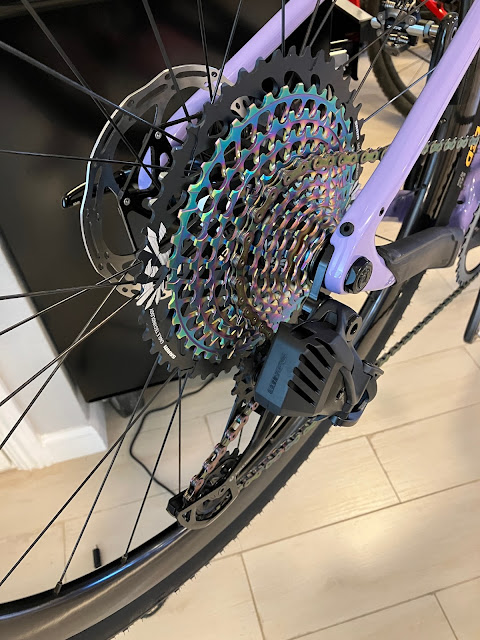
Anyway, the still sticky chain is back on the bike, and a bit of chain lube seems to have made it slippery enough that I don't really notice the packing grease residue, so whatever. It'll be fine after a few miles of riding.
It do look good, though.
And through the miracle of technology, my bike computer can even tell me what gear it's on.
Anyway, the quick spin around the block revealed that the bar and controls were basically in the right place, though the saddle needed a little adjustment both in tilt and height. I'm going to probably take one more quick spin to double-check for any last minute tweaks before putting the bar tape on, probably sometime this week.
Then once the lockring comes in I'll be able to mount the front rotor, align the front caliper, and tidy up the loose ends like mounting the bottle cages... and then it'll be a bike!


No comments:
Post a Comment