Saturday, December 26, 2020

Roop Loop De-Doop

Went on a little bike ride on Thursday. Decided to put some miles on Purple Haze and try out a stretch of road that a friend recommended to me. That road happened to be a good 30-ish miles away from me, so I made a sport of it and rode all the way there and back.

In all I spent 7:50 on the road, 6:15 of which was moving time. Not an amazing ratio but good enough to get the job done. When I rolled back in I was sitting at 89 miles, so I did a few loops around the neighbourhood to get a rounder number.

There were many lovely sights to see along the way.

I had a bit of fuelling trouble near the end. At about hour 5 I started feeling a bit queasy every time I needed to shove more sugar down my throat (protein and fats don't do shit while you're in the middle of exercise), so I ended up tapering off for the last 2 hours. I didn't really run out of energy so I guess it wasn't too bad but not ideal.

As for recovery, I took it easy on Friday and had a little extra nap, but I didn't really feel any worse for wear. Bit tired and a little stiff here and there, but nothing particularly sore or cramped.

I probably won't do a lot of rides like this, unless I somehow gain even more fitness, but it's nice to try every now and then.

Tuesday, December 22, 2020

I Can See Clearly Now

So I bought a lemon.

This purple and green and whatever mess in the corners of my monitor come courtesy of LG and their defective 32UD99-W display, and naturally just out of warranty. I've emailed their support drones in hopes of extracting some vengeance but I'm not holding my breath.

I've already replaced the monitor with a different model. Oddly enough, despite my best efforts, I landed on LG again. This is mostly due to the 32-ish inch 4k monitor scene being a bit sparse; most makers seem to be concentrating on making 27-inch panels for some reason. On the bright side the new one is a much cheaper model, the 32UL500-W, so if this one turns out to be a turd too I'll at least not have as big a hole in my wallet.

Looks good so far.

I took this picture before running it through a calibration with my colorimeter, not that you can tell in a photo or anything, but just figured I'd throw that out there. Naturally it took me longer to find the colorimeter than it did to run the calibration (not really, but it sure felt like it). Every few years when I get a new monitor I spend ages turning my house upside-down looking for the damn thing before remembering where its home is. Then after I use it I carefully put it back in its home so I can forget where it is for the next time I need it.

I'm not looking forward to trying to find it again when I buy my next monitor.

Friday, December 18, 2020

Putting A Stop To Things

I rode my bike up Mt Um last weekend and on the way down I had the opportunity to consider that my satisfaction with the performance of the brakes on Purple Haze was perhaps not as complete as I'd like it to be. I brought up this subject on the Google road biking group and one of the more technical members suggested that I might enjoy upgrading the brake pads to SwissStop brand pads instead of using the default SRAM pads that came with the brakes.

So, since pads are pretty cheap, I ordered a pair and dropped them in the front. I left the rears as-is because rear brakes don't really do a heck of a lot.

First up, they're a lovely yellow color, so I guess that's neat. As for braking performance; after bedding them in on one of the hills behind my house, I found that my impressions were really kind of unchanged. I'll keep them in there because there's no reason not to, but I think when they wear out (which might take a while, I've barely started to wear the original pads and these are supposed to last a lot longer) I might switch back to the SRAM pads I took out to see if I feel a dramatic difference.

So, tune in like 5 years from now for the follow-up to this post.

In other Purple Haze news, I also felt that my on-bike nutrition situation needed improvement. I had stashed my energy chews in my jersey pocket (which is on the back for cycling jerseys), and given I was wearing thick winter gloves (ok, "winter" gloves. It's still California here), and wearing a jacket over top of the jersey, I found that accessing the chews on the bike was less than ideal.

Simple solution, add a top-tube bag.

I actually have this same model bag on Crimson Ghost, though reversed and tucked under the seat to hold my multitool, pump, etc. This is more like how it's intended to be used, so we'll see how well it works out for me. I have high hopes for this one.

Getting Carried Away

One of the downsides to rolling around the Google campus on my electric scooter is that it's quite difficult to carry anything while I'm on it. It really does need both hands to pilot it, so without some additional cargo accommodations doing something as simple as carrying my lunch from one of the food trucks to the eating location can be a curious challenge.

Not that I've had this problem lately, but I figured since I had the scooter at home for reasons we won't discuss right now I took the opportunity to basket it up.

And when I don't need to carry anything, it folds up nicely out of the way.

I think it will serve me well. Eventually. Maybe by this time next year I'll have a good idea of how well it's working out.

A Refreshing Change

The last time I changed the oil in Gregg, my CB650F, was back in April. Of 2019. But given that not much riding happened between April of 2020 and now, I don't think that delaying the yearly oil change until now did much of any harm.

The process went smoothly and took maybe an hour from end to end all told. Very reasonable.

It's also about time to do a brake fluid flush, so I ordered up some bits and bobs for that and should be able to get that done over the xmas break too.

Tuesday, December 8, 2020

To Adventure

There's been much ado about Adventure Bikes over the past 10 or 20 years. Motorcycles that are designed to cover great stretches of pavement and dirt alike while carrying all your luggage and the kitchen sink. They are truly universal bikes.

But the truth is that any bike is an adventure bike, so long as you're having an adventure. In support of that point, on Friday I decided to take Scooty-Puff Sr on an adventure to scout out Mt Madonna road for a future bike ride.

Mt Madonna road is your standard "twisty bit of asphalt through the hills" for at least some of its length, but at a certain point when ascending from Redwood Retreat to Summit Road, it becomes somewhat less "asphalt" and quite a bit more "gravel". This also coincides with the point at which the landscape transitions from chaparral to a short stretch of oak forest before plunging into redwood forest.

And, for this trip in particular, also coincided almost exactly with sunset.

So it was that I found myself riding my motorcycle down a gravel road, with redwood trunks emerging from an abyss of darkness to my left to hold up a canopy of shadows against a patchwork of navy blue twilight, and a wall of dirt and gravel to my right to remind myself of the severity of the grade I was traversing. Whenever I dipped my bike into a corner, the meagre illumination of my headlight became a bright yet useless spot on the ground near my feet, leaving the curve ahead lost in an inky pool of blackness.

It was quite an experience indeed.

But I did find what I came for. You see, I had been told that the surface here was gravel, but it was not specified what type of gravel it was. I expected that it would either be hardpack gravel not unlike normal pavement in its consistency, or slushy gravel that would be a squirming nightmare to cross on any two wheeled vehicle. What I discovered was, instead, a continuous hardpack of washboard, which was a little bit unwelcome but not terribly disastrous. I would be able to ride up this on my road bike without issue, but descending would not be advised.

Luckily there are alternate routes off the top of Mt Madonna, so all is not lost. I think I will ride this road at some point, perhaps even over the xmas break if the weather cooperates.

In the meantime, I think Scooty-Puff got a bit of dirt on the rear wheel.

Friday, November 27, 2020

A Fishing Expedition

When we last left our hero, he had installed an ethernet jack but was foiled by a crawlspace too narrow to pass through. A truly unfortunate situation, but not one without hope.

I decided that the most logical way forward would be to cut a hole in the rim joist of the floor perpendicular to the wall I was installing the ethernet jack in, and use that access to fish the wires through from the furnace. This presented some challenges, but none of them proved to be insurmountable.

But first things first, I needed to gain access to the rim joist to cut a hole in it, so I set to removing the trim. First, the edging, which was stuck down to the tile with possibly a bit too much construction adhesive (which caused some of it to ooze out at the edges and collect a bunch of ugly dirt).

Once that was off I could start removing the snap-together flooring that had been used to cover up the old, ugly trim that formed the riser between the slab floor and the raised floor.

The secret to removing trim pieces like this is to get behind it with a flat bar, find the nails, and then hammer the flat bar against the nails to bend them out of the wood or shear them off. You don't want to pull them back through the trim as they'll usually make a mess of the surface when they pop back through, assuming you can even get them out that way in the first place.

With the second piece removed we've gained enough access to the rim joist, and also the remains of the orange shag carpet that was apparently covering the floor in some distant past. Lovely.

A hole saw theoretically would have made quick work of going through the trim board and the joist. Theoretically. It went through the trim board just fine, but when it came to punching through the rim joist I noticed it had a fatal design flaw: the hole saw was just a bit less than 1.5 inches deep inside. So it only made it through about 90% of the 2-by-whatever joist.

Thanfully 90% is close enough, and I was able to finish the job by just smacking the plug through with a hammer.

Unreachable corner of my crawlspace, reveal your secrets!

Ok, not many secrets there. The thing in the foreground that looks like a huge turd is just the slightly rusted bolt holding down the framing to the top of my foundation wall. It'll be fine. We can also see the lovely fir floor joist here, as well as a register box and flexible heating duct that was contributing to making this area almost impossible to get through.

Also cobwebs. The spiders are having a real party down there.

So, in goes the fish tape.

And by some miracle and a lot of swearing, out comes the fish tape!

I bent a piece of romex into a hook to be able to fish it up, since the access through the floor into the furnace room here was a bit less than what I might need to fit my arm through. The fuel hose pliers also really came in handy.

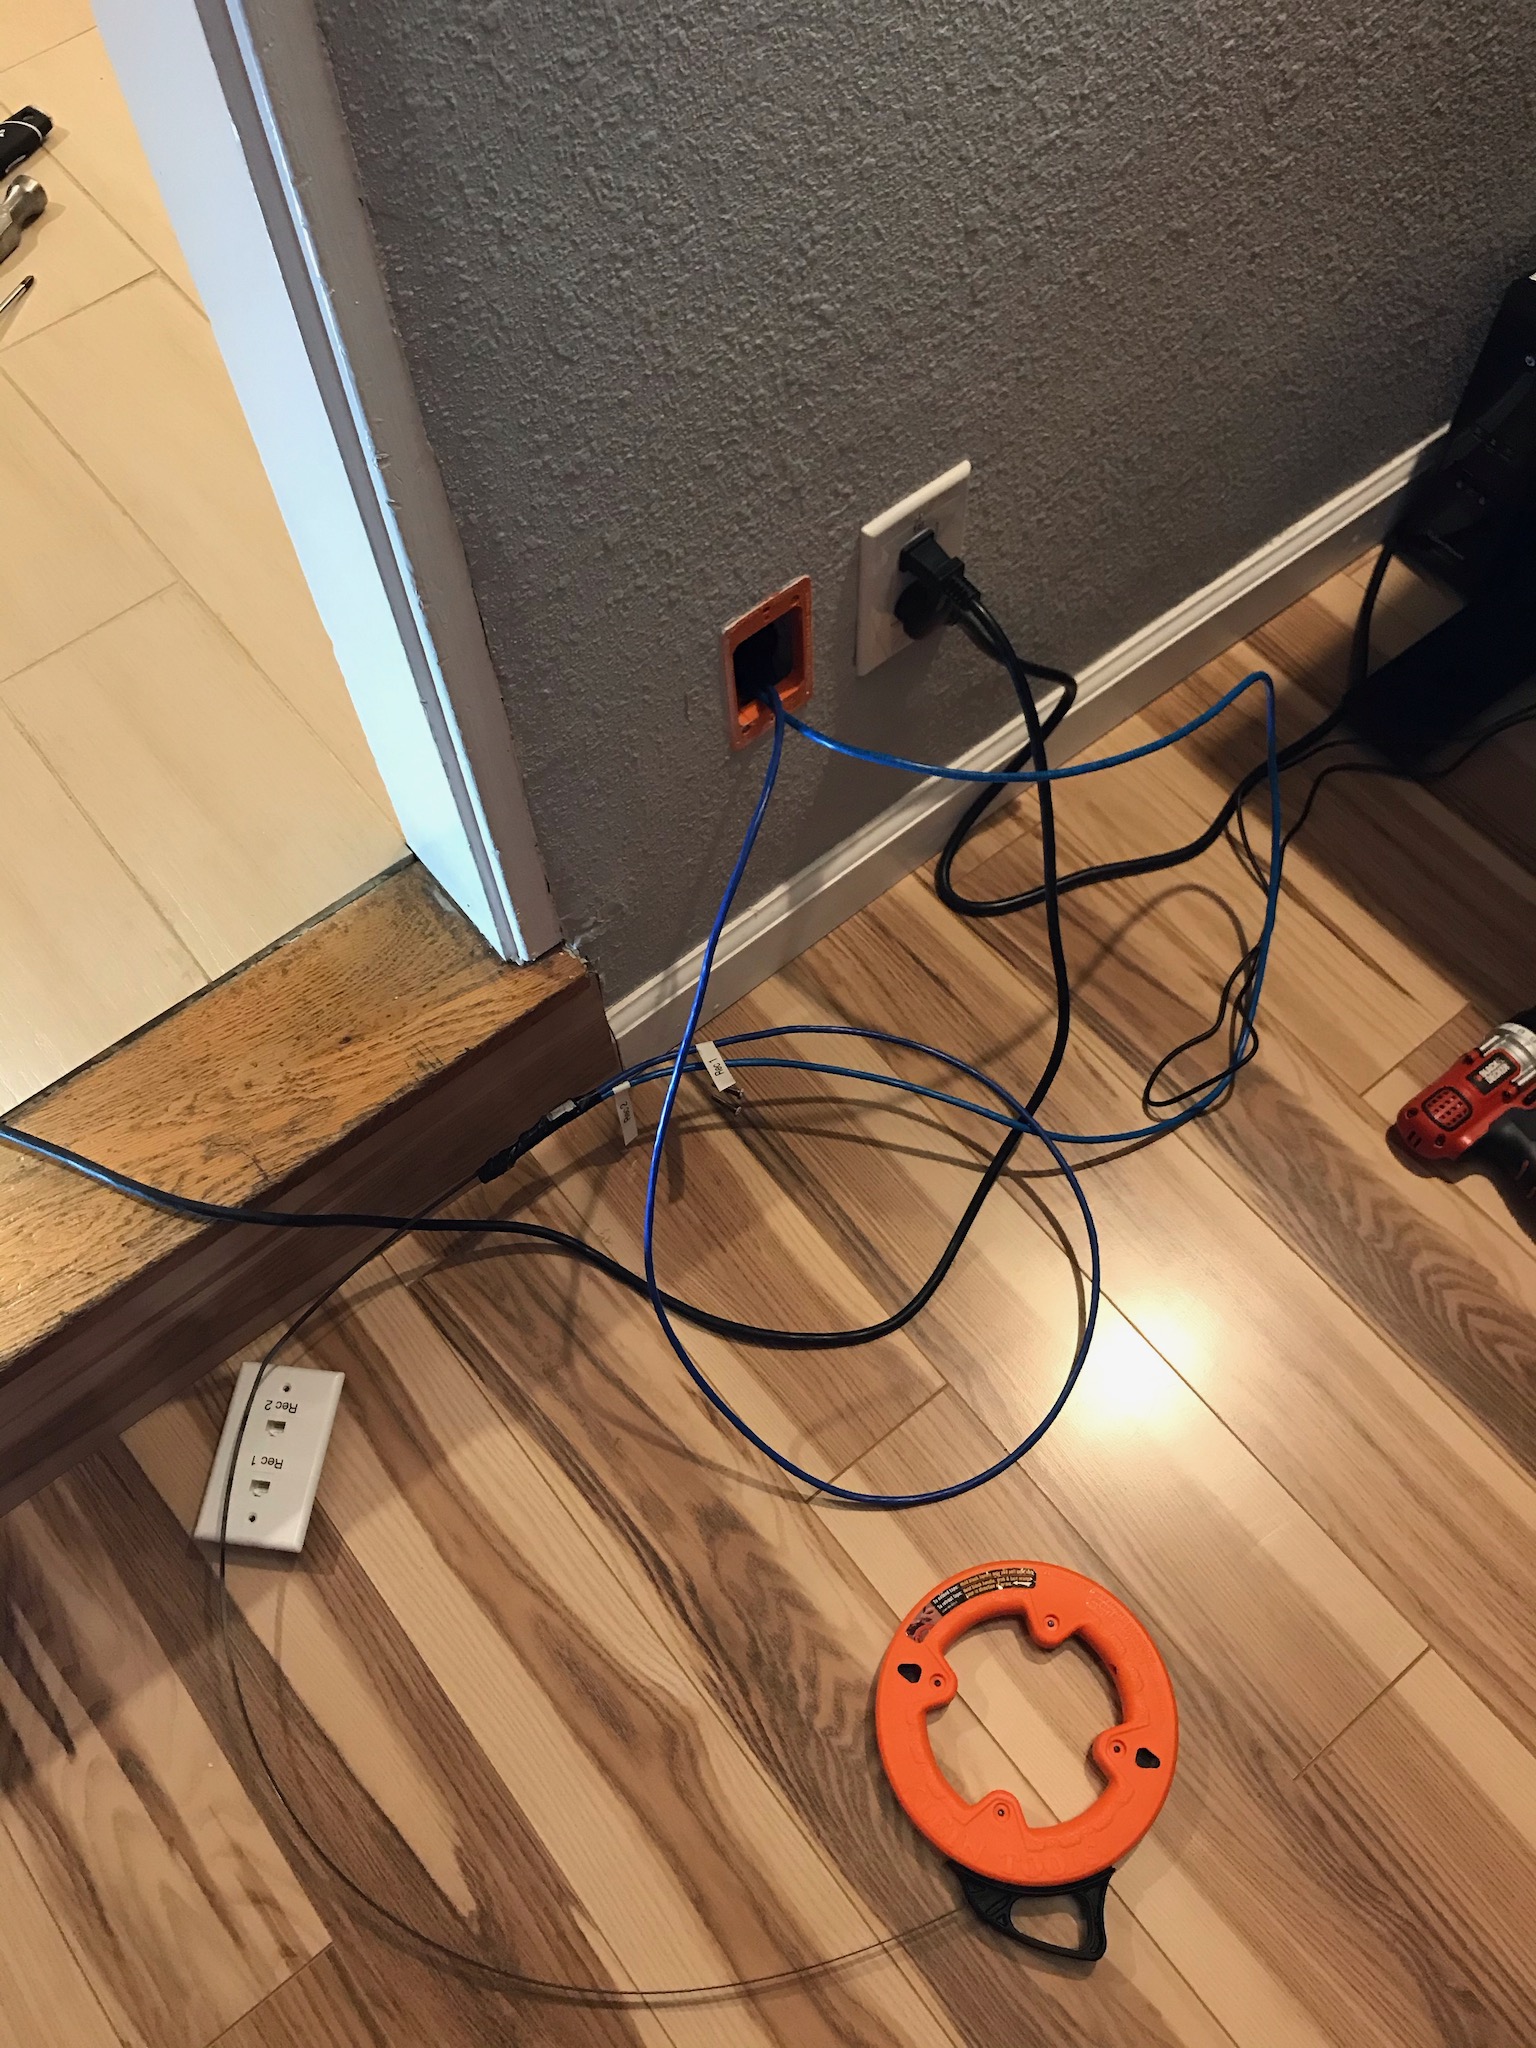
Here's a wide shot of both ends of the fishing. The jack I'm trying to wire into is on the far side of the wall to the left.

The heating vent in the floor there is actually the second one in a row, the one visible through the hole I'm fishing through goes to the riser to the left to heat/cool the addition space.

Needless details aside, once the fish tape was through, getting the ethernet cables pulled to this point was a piece of cake.

Pro tip: label both ends of your cables before you start pulling them.

Now we have to turn the corner, this is going to be the part where we need to get lucky. In goes the fish tape.

And with a bit of swearing and cursing and somehow reaching around both ends at once I managed to get it out the other side.

The bent romex and fuel line pliers were again the MVPs.

So a bit of tape and a quick yank and the cables finally reached their destination.

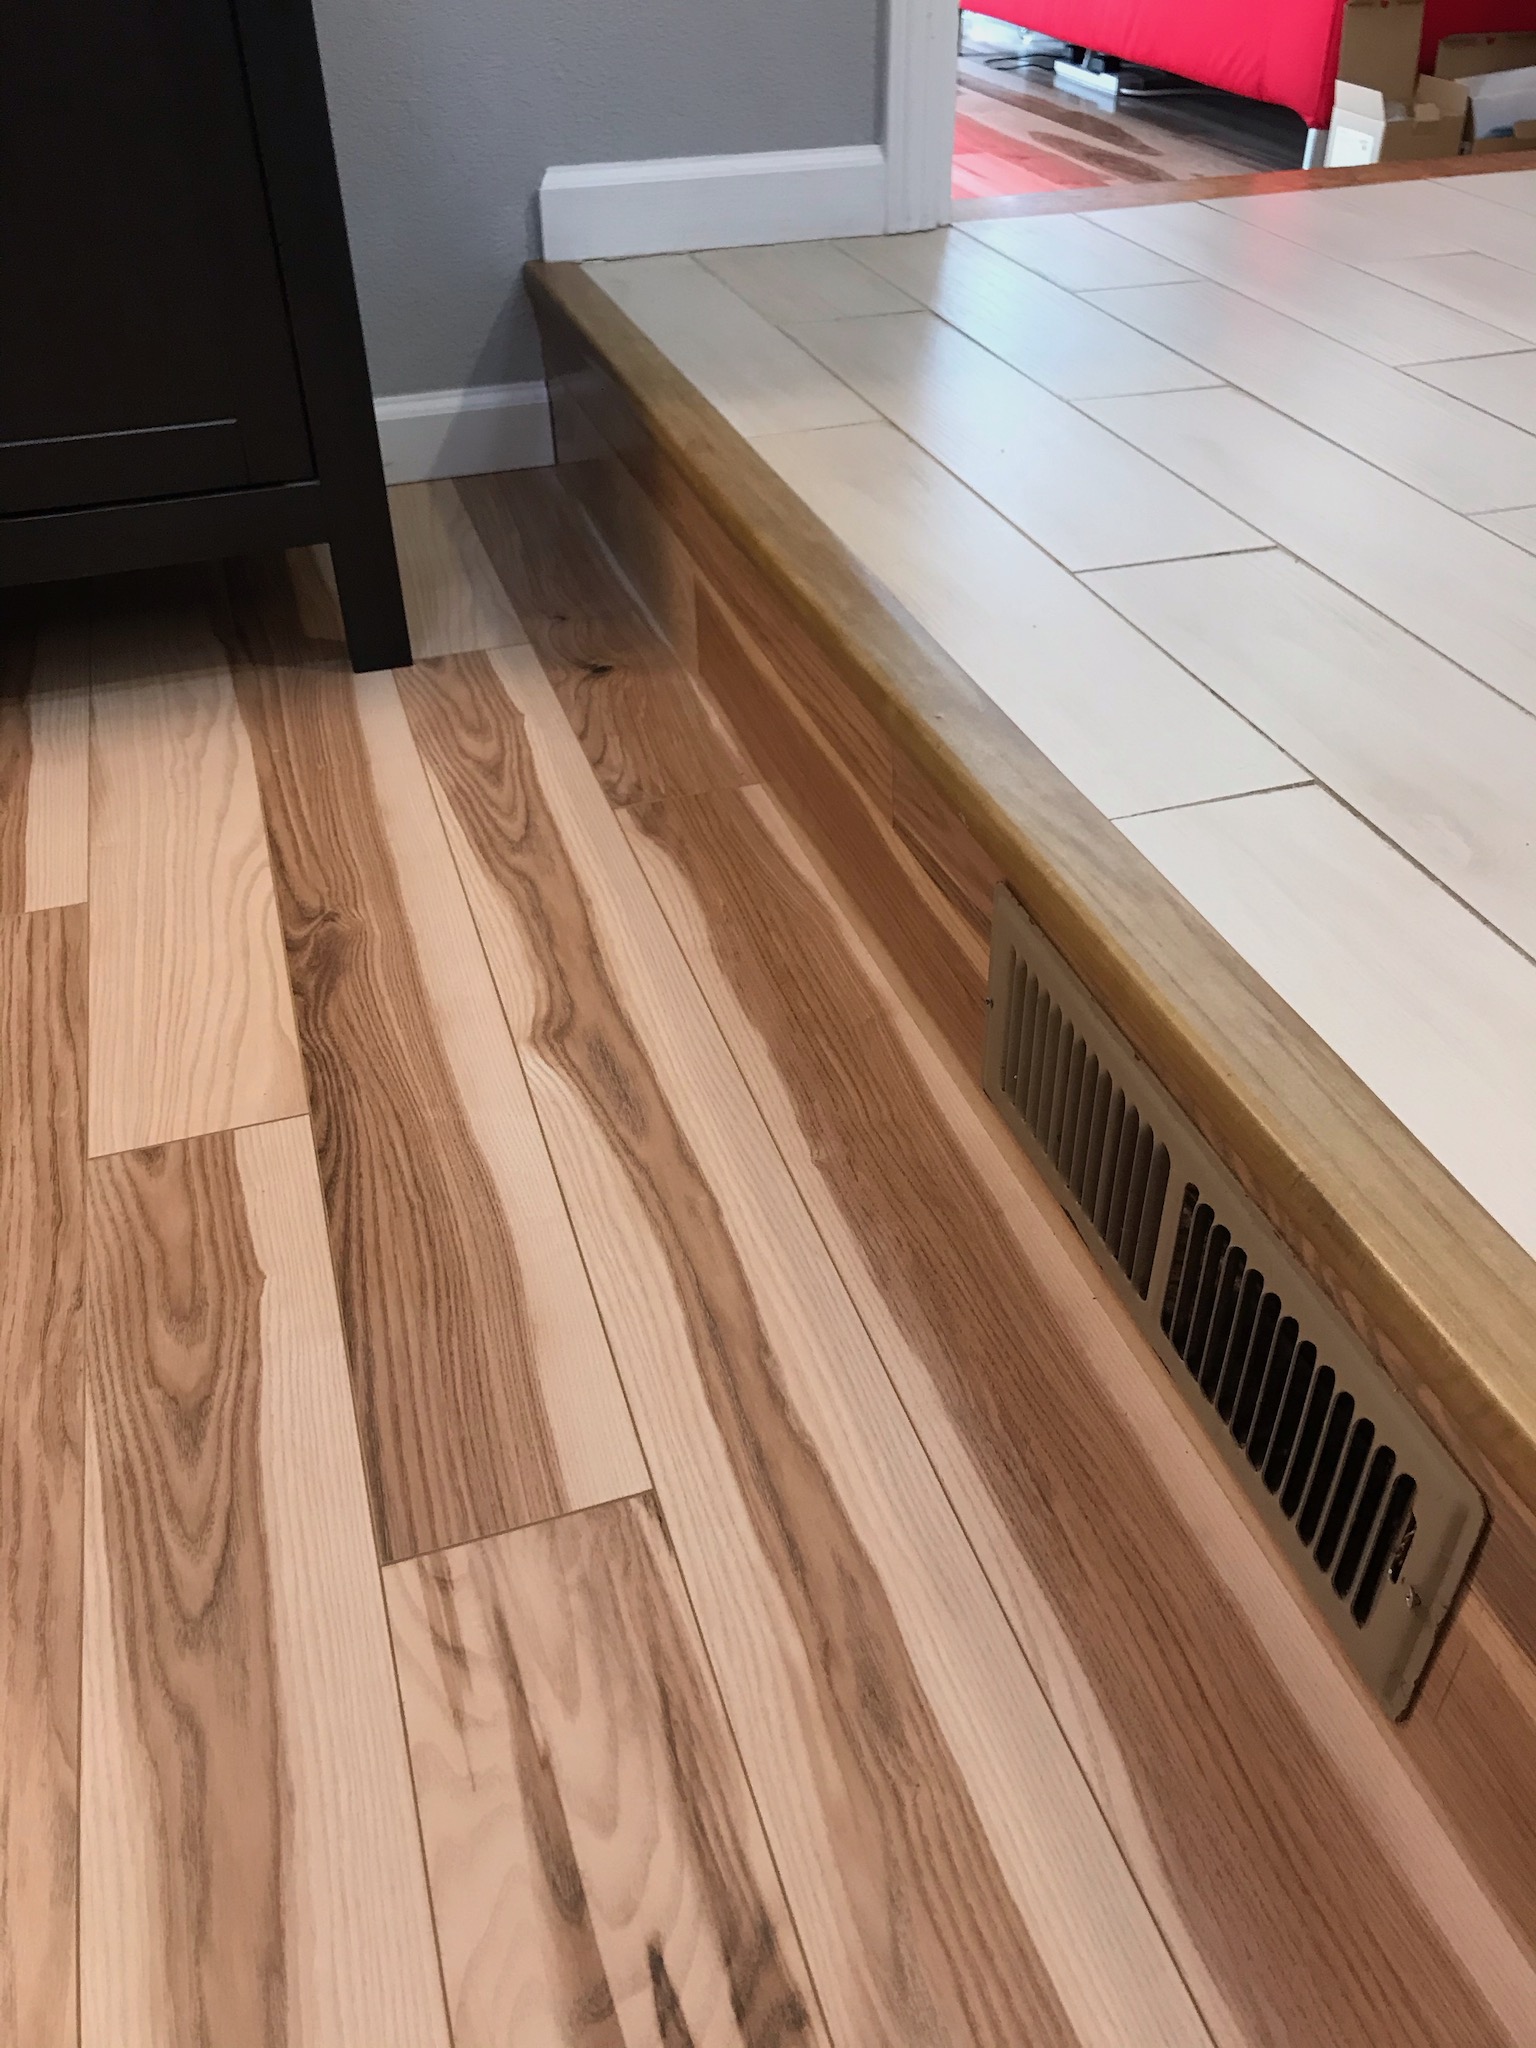
I snapped them into the back of the keystone jacks and popped the faceplate back on. But the job isn't done yet, the riser still needs to be reassembled!

The flooring was easy enough to nail back up with my shiny new 18ga brad nailer fresh from the wilds of the Amazon. Likewise I used an appropriate amount of construction adhesive to stick the edging back on, after cleaning off the old rubbery goo from both the edging and the floor.

Do I even lift, bro?

It's worth noting that I also glued the puck of trim board back in to close the access hole I cut. The hole in the joist remains, though, as the plug was lost within the murky darkness of my crawlspace and I saw no reason to cut another from a scrap board to stick in its place.

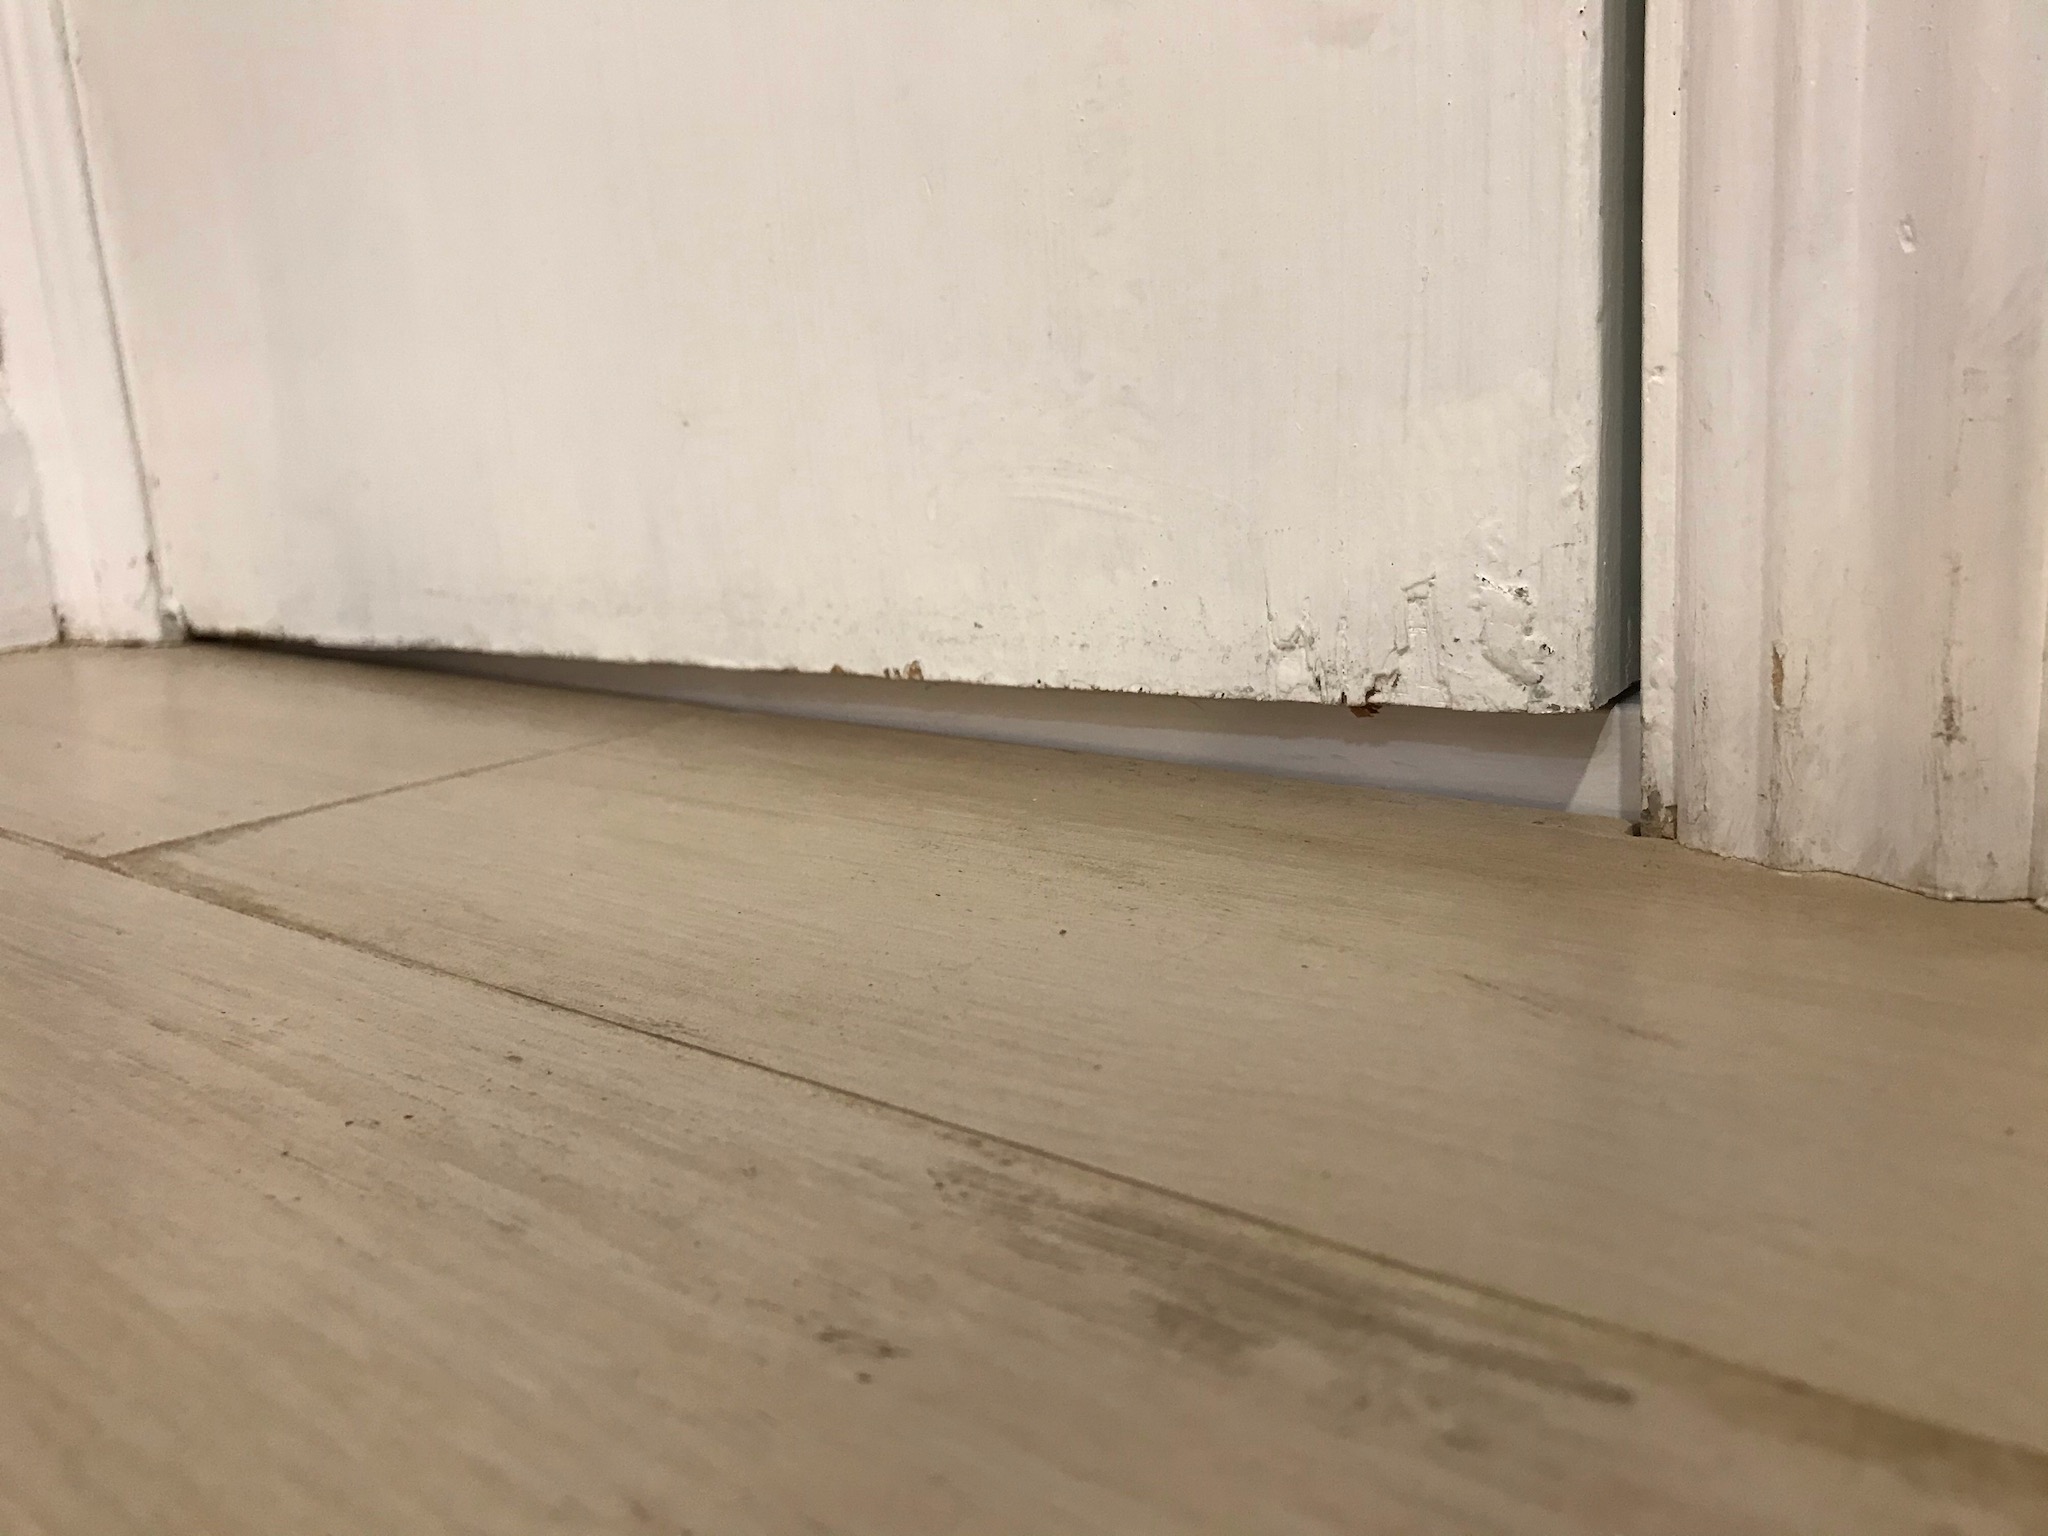
Speaking of edging, when I moved in the piece of edging intended for the door into the car hole wasn't installed, and was just left on one of the hantavirus-covered shelves. Since I had the glue out I decided to finally give it a home.

I didn't fix the drywall that the previous owner's dog clawed through though. That's a project for another day.

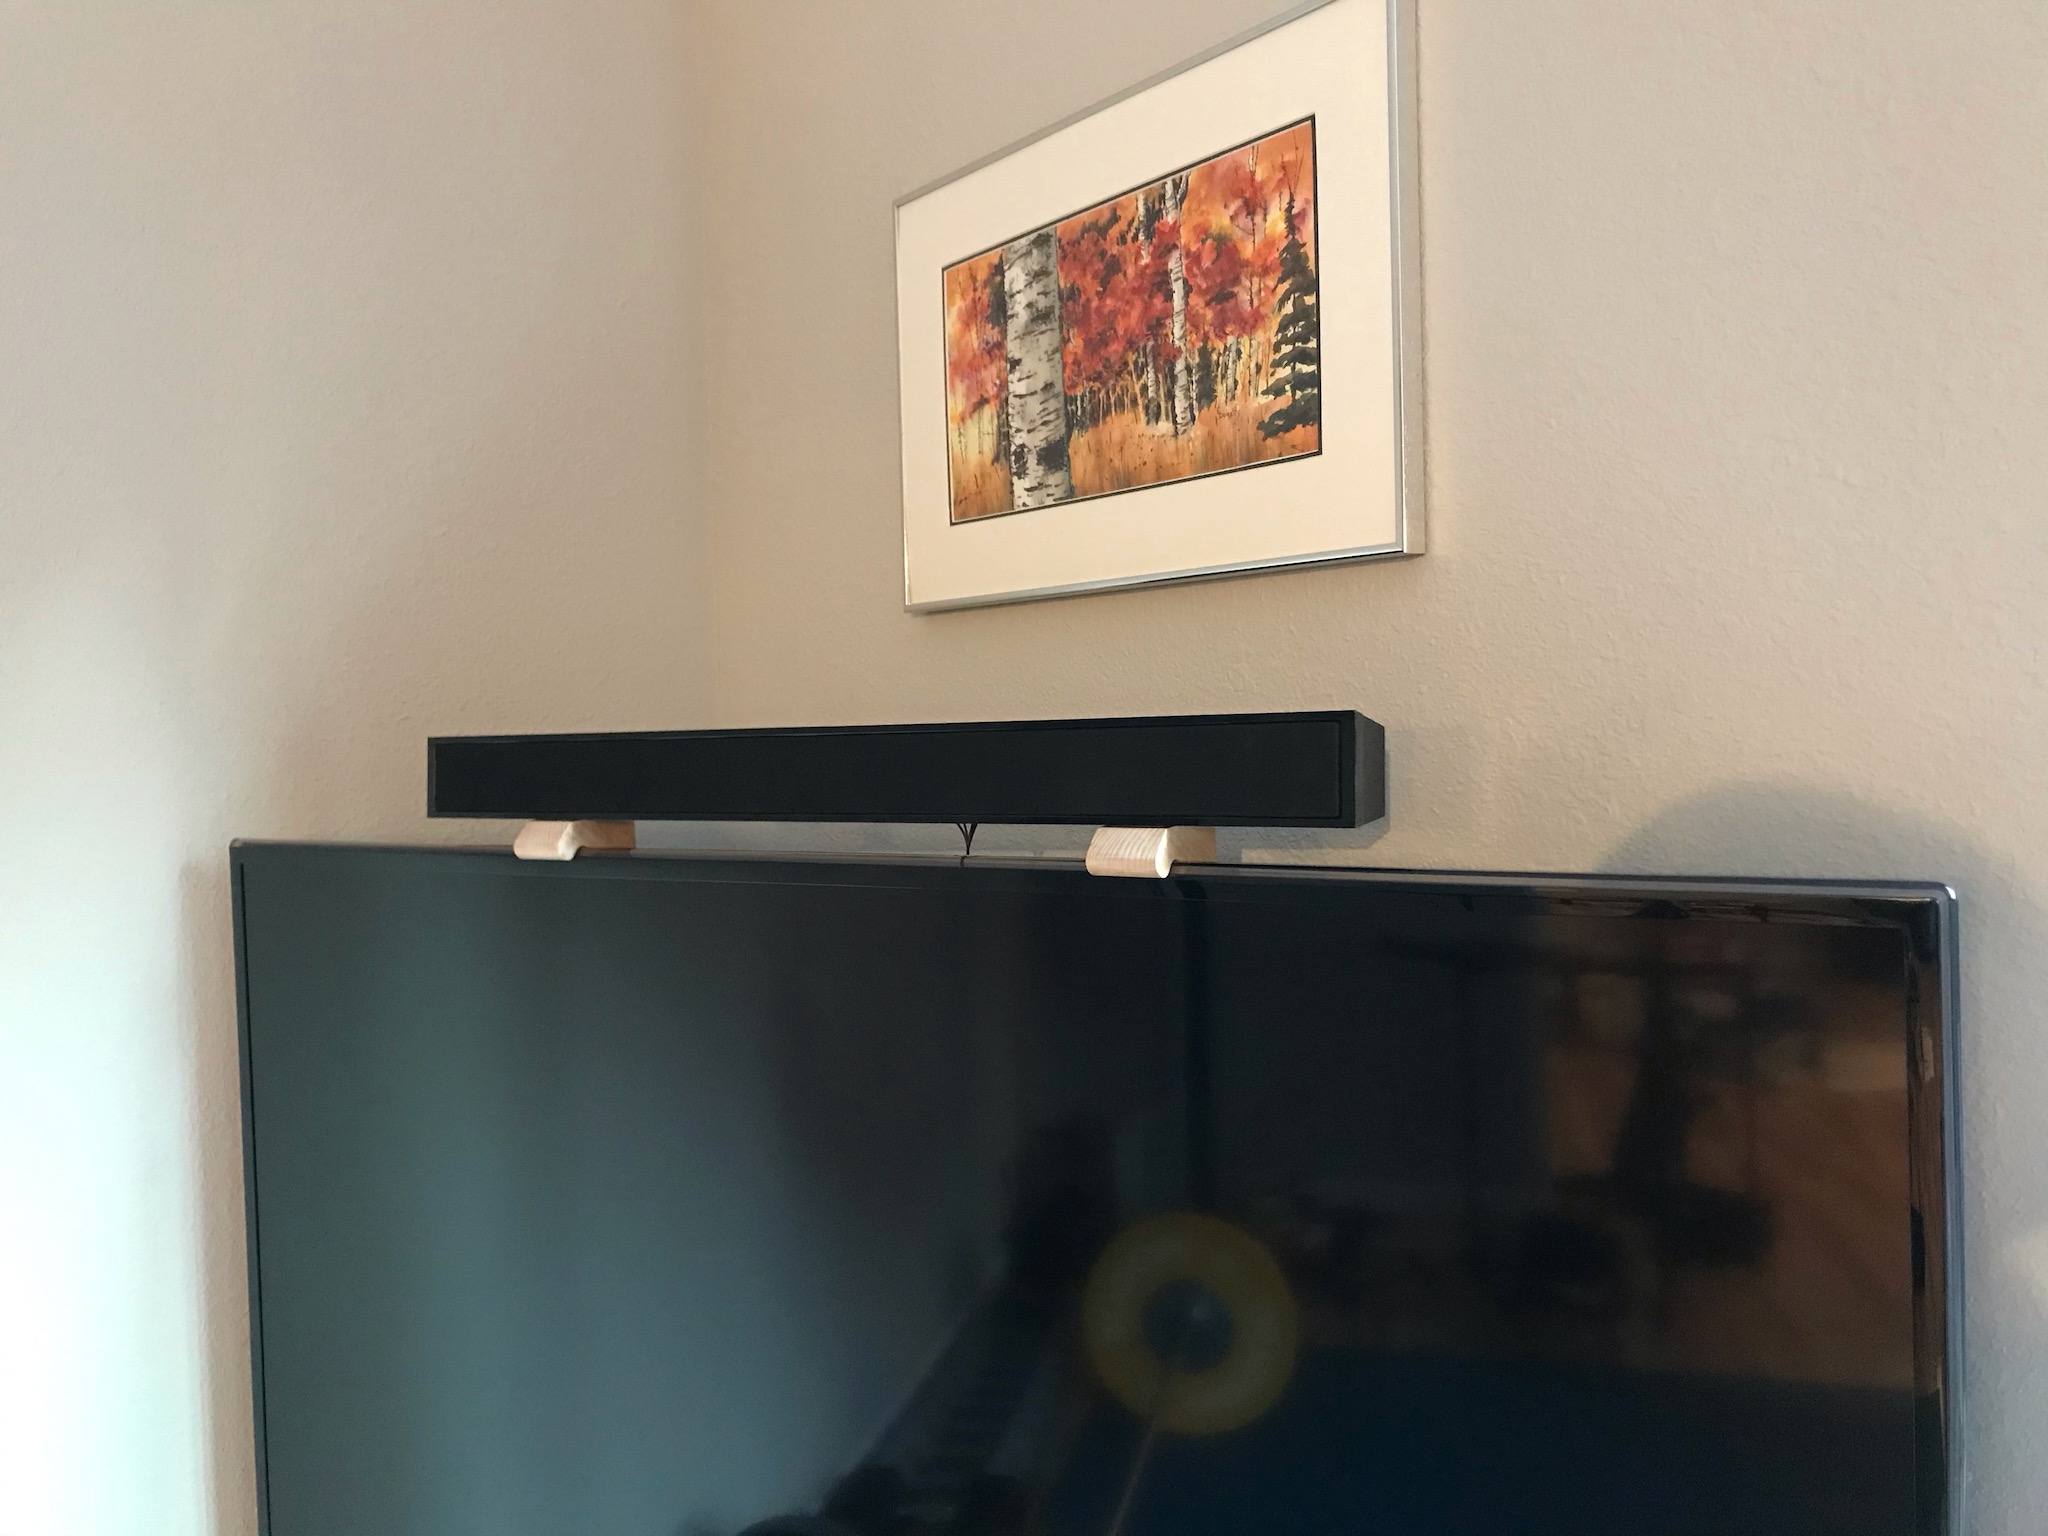
For now, I'll just enjoy a job well done.

And the new hard line does, indeed, work. Here's Wifi vs Ethernet:

I have to say that Ookla's math seems a bit suspect. I'm not sure how 250Mb is faster than 90% of the US when 350Mb is only faster than 89% of the US. Either way, it's fast enough.

Thursday, November 26, 2020

Park Hopping

As I'm taking the week off, it's traditional that I get in at least one nice big bike ride, weather permitting. This time I decided to try stringing together a few sections of dirt on BlackBirb, my XC bike.

The distance wasn't any particular challenge, I'd ridden out that far a few times before. What would end up being a struggle was making it up and over Almaden Quicksilver twice in one ride.

I always somehow manage to underestimate that park. Maybe because it seems smaller than it is, or because it's surrounded by much higher mountains. Either way it's really quite brutal.

Thankfully there's at least some interesting sights to see at the top, while slowly poisoning yourself with centuries old mercury residue.

The ride ended up taking a bit longer than I expected and by the time I was rolling home I'd run a bit low on food and was quickly running out of both daylight and the warmth that the sunshine provided. Luckily that only happened once I had crested Almaden Quicksilver for the second time, so it was pretty much just all downhill from there.

I did enjoy my ride out and back on Ohlone Trail, which I did for the first time on this ride. The trail was mostly non-technical with some rude grades here and there, but I found myself underwhelmed by the scenery it offered.

Anyway, once the ride was done there wasn't much left to do but shower up and eat a very late lunch. This was a bit tricky because by the time I was out of the shower my blood sugar had dropped pretty low along with my blood pressure, and the combination of that with some mild hyperventilating ended up making me pretty nauseous right when I needed to cram food into my belly. Not ideal, but I lived through it and feel fine now.

Filling that hole in my... door

So the door to my furnace dungeon has a bit of a gap at the bottom. This is partially due to the floor sloping down a bit from left to right, but also due to the floor sloping down a bit from out to in. Since the door is a right-hand out-swing, this means that filling the gap between the door and the frame with more door is not an option, thus I instead am left to fill it with more frame.

First, the state of the world as it was: A previous owner in some far distant past had nailed down a small strip of wood over what I can only assume is the last remaining remnant of the original asbestos linoleum the house was built with. It was not a good strip of wood, and did not even remotely do the job it was intended to do.

Also it was ugly.

Truly hideous.

Anyway, it was easy enough to remove, and I grabbed a reasonably decent chunk of scrap fir 2x4 and went about carving it into the shape of a threshold. I planed down the faces, cut the length, routed the rabbet, and then glued an extra piece to the backside because I needed to make up more than an inch and a half on the tall side.

I trimmed the bottoms of the door stops and slid it in, and let me tell you it looks better already.

But I was far from done, of course. Next up was filling a few nail holes, drilling some screw holes, and painting it up with some semi-gloss latex.

A couple coats with some blow-drying in between and it was looking pretty slick.

Still fits in the doorway despite the extra thickness of the paint, so that's a bonus.

And it even fills the gap at the bottom of the door. Truly this day is blessed with miracles.

The door sure is ugly up close, but you don't notice it from a few feet away.

Finally, the last step, using up the last of a tube of caulking to fill the gaps left to allow for a little movement between the various different materials.

The gold screws on the white painted wood add an extra classy touch, I think.

Saturday, November 21, 2020

Locking It In

So my portable generator came equipped with a 30a 120v outlet, as is common with generators supplying more than 2400w. I didn't think much of it at the time, figuring a 30a outlet is a 30a outlet, and the model I picked came equipped with a TT-30 socket.

Turns out the TT-30 sucks.

You see, as the name implies, the TT-30 was designed for travel trailers. In particular, it was designed with rather short blades, such that if a hung-over camper pulled out of their spot on a dreary Monday morning after a weekend of booze-fuelled hijinks, the electrical plug would simply pop loose from the socket without severely damaging either end.

Unfortunately this meant that the plug retention was bad enough that just the weight of my 10ga extension cord was enough to lever the plug out of the socket. Not ideal.

Turns out the other standard for portable generators is to use an L5-30 socket. As implied by the 'L' designation, this is a twist-lock design, and definitely does not have any issue at all with plug retention. Had I been paying more attention, I might have noticed that my generator is offered in an alternate configuration where it is equipped with an L5-30 outlet from the factory.

But mine did not.

Thankfully this situation is not impossible to rectify, so with a few Amazon purchases and a bit of fabrication, I gave my generator the L5-30 outlet it always deserved.

No more loose cords for me!

As a bonus, the 10ga extension cord I had purchased actually uses an L5-30 plug natively, and so this saves me from having to use the L5-30 to TT-30 adapter to plug into the generator.

Annoyingly I did have some trouble starting the generator after doing all this work. The spark was fine, the compression was fine, but the fuel just wasn't going through the carb. I had run the carb dry after my initial test firing a few months ago, but apparently there was enough gas in the carb or in the lines for it to go bad and gum things up. Thankfully giving the carb a few blasts of carb cleaner was enough to wake it back up and get things running smoothly again.

Less Milky

Even though the finish on the sound bar mounts looked not awful in photos, it bugged me looking at them in person. So, not being one to leave well enough alone, I sanded the finish back to bare wood and started over.

This time I began by applying a few coats of gloss oil based poly. This did two things: one, being an oil based finish it worked a lot better to soak in a bit and bring out the "wet wood" colour, and two: being gloss meant it didn't have any matting agents to make the finish cloudy as the layers were built up.

I topped it off with a finish coat of the satin water poly to knock down the shine, and the result is a much, much nicer looking piece.


Definitely much better.

Saturday, November 14, 2020

You Can Never Break The Chain

 So BlackBirb managed to wear through its first chain after just 1000 dusty miles. That dust is basically what did it in; I'd often find myself out on a long ride only to hear the chain start to sing a dry, grinding song of its people due to the dust having stripped away the chain lube, even though I'd just given it a fresh coat before heading out.

But still, 1000 miles isn't bad for a mountain bike chain. It's also not amazing, so for the new chain I grabbed the SRAM Eagle XX1 chain, which has been tested to last a really absurdly long time compared to most other chains on the market. And it damn well better, given it was $80 vs maybe $25 for the chains I usually get.

There's a couple colour options at this price level, because of course there are. Gold, copper, oil-slick or black. I was tempted to go with the oil-slick because it's needlessly blingy, but BlackBirb has a nice murdered out black/red colour scheme going and I didn't want to throw too much chaos into that, so I went for the black instead.

Oddly all four chain colours come with an oil-slick coloured quick link. So I get a little hint of chaos, just enough to keep things spicy. As a bonus, I managed to not accidentally install the quick link backwards this time, like I did on Purple Haze (it doesn't actually make much difference, it's just a little embarrassing).

Thursday, November 12, 2020

Playing With My Wood

When it came time to not use the god-awful built-in speakers on the 42-inch TV I bought shortly after moving to California, I made the obvious choice and got a 2.1 sound bar and sub combo. This worked quite well and the audio quality was pretty nice, but since I didn't opt for wall-mounting the TV, placing the sound bar below the screen meant that it interfered with with the TV's stand in an annoying way.

So fast-forward to when I got my 3D printer, and I solved the problem by designing and printing a pair of brackets that sat on top of the screen to hold up my sound bar there. Neato. Problem solved.

But now I have found myself replacing my 42-inch set with a 65-inch panel, and the profile of the top of the screen is different enough between them that the old bracket won't work on the new TV. I had considered modeling and printing a new set of mounts, but since I now have a workshop-in-the-making I decided instead to carve a set of mounts out of wood.

Through a highly technical CAD modeling process (cardboard-aided design), I traced out the profile of the top of the panel and transferred the shape to an off-cut of european beech I sliced off of one of the planks for my workbench top.

I then fired up the band saw to cut it out and somehow managed to destroy a blade while setting the tension. Well, it's a good thing I have a spare I guess.

Anyway, I made a rough cut first to separate the two pieces, then stacked them on top of each other with some double-stick tape and made the finish cut that way to ensure that they were as close to identical as anything gets in woodworking.

Some finishing with some rasps, files, a card scraper and some sand paper smoothed things out, and then it was time to lay on the finish.

I went with a satin water poly, since I happened to have a tub of it, and unfortunately ran into some clouding problems. Apparently this is a thing that can happen with water poly, and while there's a few different suggestions sprinkled around the internet for how to avoid it, I'm not sure any of them strike me as particularly scientific. Either way, I pressed on with the finishing and decided that the finish being a bit too blonde and milky wasn't going to be the end of the world. However, in future, I'll probably pick a different finish for european beech to bring out more color in the wood.

With an oil-based finish it should turn a nice peach color rather than just looking like generic pale wood. It's also possible that the color might just darken with age after a while, I suppose I'll find out eventually.

With that taken care of, it was time to put the brackets to use.


Very nice.

Monday, November 9, 2020

Feeling Frosty

 Well I suppose I got my furnace fixed up just in time, as I woke up this morning to a bit of a frigid scene outside!


But it's cozy and warm inside, and that's what matters.