Monday, July 29, 2024

Big Black Studs

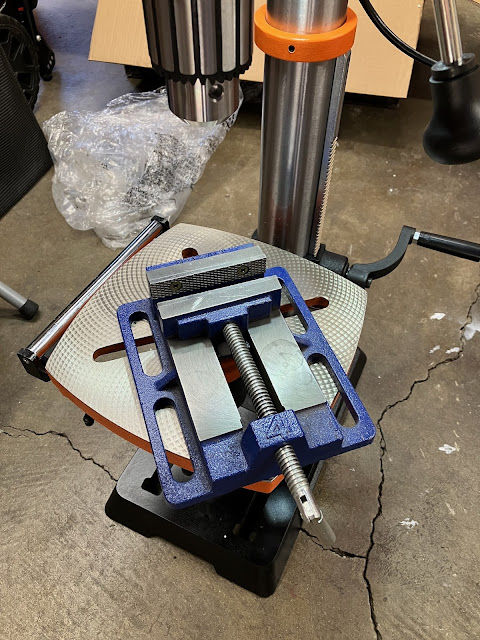
Or actually, fairly small ones. When we last left off, I found myself with a workholding set that was lacking a set of studs that were short enough to clamp the drill press vice down to my drill press. A few days after a quick call to the House of Bezos and these arrive at my door.

The 3 inch studs were about an inch too long, so these 2 inch studs should be just right.

And I must say they certainly look the part.

I even bought a dedicated 7/8" wrench for the flange nuts.

There's only one problem, though.

Sonofa...

Curiously enough, despite ordering 4 of the exact same part (as 2 sets of 2, even), they arrived in one package of three, and another package of just one (along with the wrench).

I didn't keep track of which stud came out of which package, but at least two of them look like they were plausibly made in the same factory.

The good news is, though, that the one there at the end with the most thread will actually work to clamp the vice down to the table. So I got that going for me, which is nice.

I think I'll try ordering some hardened washers this time and see if that gets me a usable setup.

Sunday, July 28, 2024

An Abrasive Personality

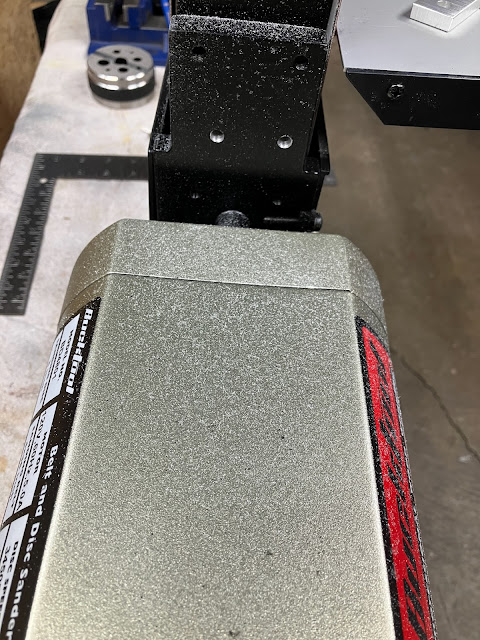
In furtherance of my tool collecting adventure, I've decided to add a combination disc/belt sander to my collection. Specifically a 4x36 belt and 8 inch disc sander.

This Bucktool brand seems to be basically what passes for midrange these days. It's not quite as trash tier as the bargain basement options, while still managing to fall short of the premium brands in key areas. Which should make it just about perfect for me.

It's easy enough to unbox and set up, since it comes mostly assembled already, save for attaching the work tables and a few safety guards that I'm totally going to install later, I promise.

It comes out of the box with some fairly basic aluminum oxide abrasives. It's plenty good enough for wood, although I'm not really sure why anyone would want to use this type of sander on wood, and should basically do the job on steel, though I expect at some point I'll get some zirconia abrasives for the latter.

In the meantime though, it does a decent job on this marshmallowy soft aluminum-emmentaler alloy.

And if I ever need to make some thermite, I'll have a good source of aluminum dust.

Saturday, July 27, 2024

Oily Knees

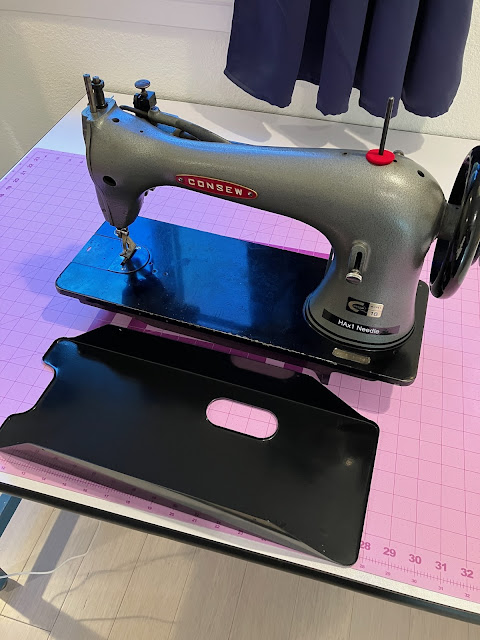
Broadly speaking, there's three different types of sewing machines when it comes to lubrication. There's the fully automatic machines, which sit in an oil pan and pump sewing machine oil all throughout the mechanism as they're used. There's the semi-automatic, which have an oil reservoir but require manual oiling at some spots. Then there's the manually lubricated machines, like this here Consew 18.

Manually lubricated machines, lacking a fully sealed oil pan, generally require a drip pan beneath them to keep them from dripping excess oil all over your knees, and when I picked up this machine it had, unfortunately, become separated from its original drip pan, which necessitated me locating a new one.

The original part number for this oil pan in Consew's catalogue is 6090, but that part is obsolete and no longer produced. Luckily the 6054 oil pan is still in production and is, as far as I can tell, basically identical.

Really, the only thing it needs to have is a cut out on the left so you can reach in and change the bobbin, plus a hole at the back right that lines up with the knee lift lever.

And this one does appear to line up.

So it should do the job perfectly.

Getting Strapped

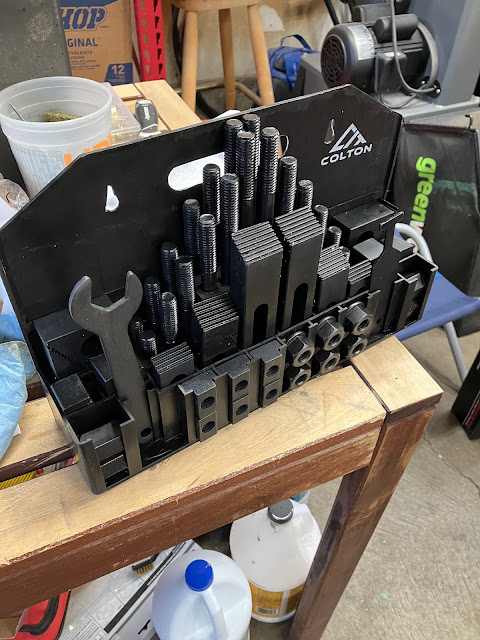
So pretty much every drill press ever made comes with a table with t-nut slots cast or milled into it. Since I now have a drill press, I decided it was high time I got a t-nut strap clamp kit to use with it, because workholding is important.

It's not an especially fancy kit, but it should do just fine for starting out.

Now ideally I'd like to use this kit to help secure at least one corner of my drill press vice.

But unfortunately the shortest stud it comes with is 3 inches long.

So I guess that's a bit of a downside with this kit. Well, it's not hard to order up some shorter studs, at least.

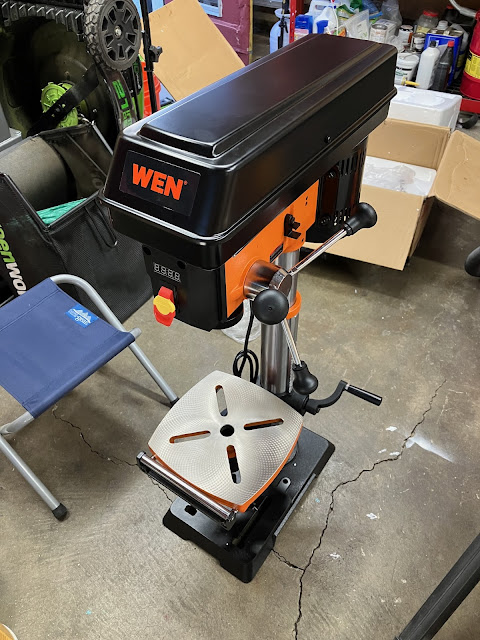
Meanwhile, for those of you not aware, the base of most drill presses also have these curiously shaped slots cut into them.

Which are also t-nut slots, allowing you to swing the table out of the way and gain a few more inches of column space for drilling an extra tall item.

While also being able to hold it securely in place.

The two holes further back, on the other hand, are for bolting the base down to the floor or cabinet that the drill press is sitting on. I'll be making use of those some time in the future once I build a rolling cabinet for this to sit on.

It's The Pits

So plum season is over, and actually has been for a few weeks now, which means that it's time to do something with this gallon bag of perfectly ripe plums that I've had stashed in my freezer.

And maybe the other two bags I collected this year too.

And by "do something" I mean "make plum jam" using this pectin I bought.

I decided to go with a low/no sugar pectin because jam is basically just fancied up sugar even when you don't add a bunch extra, and I figured I could do without the added calories.

Anyway, time to get these plums thawed, so the first bag goes in a sink full of hot water.

And we'll prep some other implements while we're waiting.

As you may recall from previous blog posts, I do enjoy a smooth jam that actually spreads, instead of having random golf ball sized chunks of fruit in the jar, thus I'll be making full use of the food processor.

So once the plums are thawed, I squish the pits out of them and put the flesh and peel in the food processor.

Then I give them a buzz to get them nicely pureed, and put them in the square tub while I work on pitting the next batch.

This produces about 2 quarts of puree for one gallon bag full of plums.

And a nice pile of pits.

Now the ratio specified on the pectin container works out to 15g of pectin to each pint of prepared fruit, which means that I have theoretically enough pectin for 5 quarts of fruit. So I guess we'll see how that works out.

And yes, I know I'm using mixed units. Deal with it.

In the meantime, it's full steam ahead with the other two bags.

And after some more pit-squishing, we get just a little less than 6 quarts of puree.

Well that's close enough to 5, it's probably fine. There's also probably a fair bit of air whipped into this. Either way, I'm glad to be done with the pitting.

And so we're on to the cooking. I'm splitting this in half since I don't want to deal with a bunch of sticky fruit boiling over, so into the pot goes half the fruit, plus 2 cups of water as specified in the instructions.

And half the jar of pectin is standing by waiting for the jam to come to a boil.

Then it gets stirred in and boiled for a full minute.

And then we fill the pint jars with the spaghetti sauce. I mean jam. The jam. We fill the jars with the jam.

Then repeat the process with the second batch.

I actually have enough proper canning jars that I could have used them for the extra, but I wanted to stop at 12 for the sake of keeping things even. The extra jar and the bowl will go in the fridge to get eaten first, since the reused jar isn't guaranteed to seal right, and the bowl is obviously just a bowl.

Speaking of sealing, it's time to process the jam to make it shelf stable, so out comes the canning kit.

And in go the jars.

10 minutes of cooking after it comes to a boil is about right for down here at sea level, and since these plums are very acidic we don't need to worry about pressure canning.

Once the 10 minutes is up, they come out to cool on a rack while the next batch goes in.

And second verse, same as the first.

Meanwhile the bowl of jam has been chilling in the fridge, so let's see how the pectin is doing with firming it up.

Hmm, yeah, it's probably fine.

In conclusion, I think this worked out pretty well. I did notice that the fruit was oxidizing pretty quickly, going from a bright red to a more muddy brown as I was pitting and pureeing, so I might try adding a bit of citric acid to the mix next time. If I do that, I'll definitely bump up to the "low sugar" recipe instead of the "no sugar" one, since this jam is quite tart as it is, and adding more acid might be a bit much.

But I've got plenty of time and 13 and 1/2 jars of jam to get through before I need to make any decisions about that.

Friday, July 26, 2024

Poking Holes

So I had at one point considered holding out on buying a drill press, just biding my time until I finally get a knee mill, which will absolutely do the same job as a drill press does.

But then I stopped considering that.

In hindsight, a benchtop drill press is compact enough, and cheap enough, that I really shouldn't have worried about the extra shop space it would take up, and it's still very convenient to have a drill press around alongside a mill (whenever it is I finally get one).

So, let's get this unpacked and set up.

It's always a good sign when the styrofoam is broken, but nothing seems to be damaged or missing, so we're still off to a good start.

Hmm, I don't have a friend handy, and few if any of my foes are trustworthy. It's a good thing that I am an army of one.

Anyway, this shouldn't be too hard. The foot bone connects to the - leg bone. 🎶

Then the table goes on, complete with its sticky layer of cosmoline.

Pro tip: Boeshield T-9.

The head goes on next.

And then we check the runout on the spindle.

Actually, on second thought, let's just assume it's fine. It's probably fine.

I already had the drill press vise, as it's a very useful workholding tool even without a drill press.

The t-nut clamp kit will be arriving tomorrow. It's not critical to completely bolt down the vise, but it's nice to have at least one bolt through it to keep it from helicoptering if the bit should catch.

And just to be sure, it does poke holes in things.

Granted this aluminum-havarti alloy is softer than the head of an oil pan bolt, but it's still nice to have actual evidence that the drill press can push a bit through it.

Wednesday, July 24, 2024

An Obvious Cover-Up

This here is my Brother Nouvelle 1500S. It has an obvious problem.

It's naked.

This will be a bit of a lengthy post, so more after the break.