So it was pretty clear from the start that this new sewing machine of mine had seen some action. It hadn't been babied in the back corner of some little old lady's sewing room, but had been run pretty hard and probably scrapped at one point before being rescued into the used machine market. For context, the instruction manual I found online for this model was dated 1994, so it's entirely likely that this machine is somewhere around 30 years old.
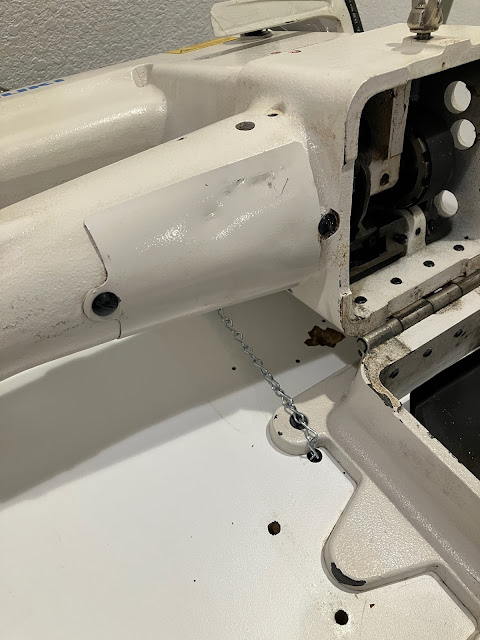
Anyway, while it's clearly functional, there are a few things on it that definitely need freshening up. For example, this bottom cover plate.
At some point it had clearly taken a bit of a hit, and it was definitely no longer pristine. More importantly, there was a rather unfortunate gap around the edges which would quite likely snag pieces of fabric.
And, of course, it was also covered in glitter.
You should never think of glitter in terms of curing it, but rather managing its symptoms and hoping it goes in remission long enough for you to live a full and happy life despite its presence.
Anyway, this panel is just some stamped sheet metal, which was easy enough to fix.
And by what witchcraft did I perform this repair?
The usual.
With that knocked off the list, let's take a look at the bobbin winder.
Yup, you're looking at it.
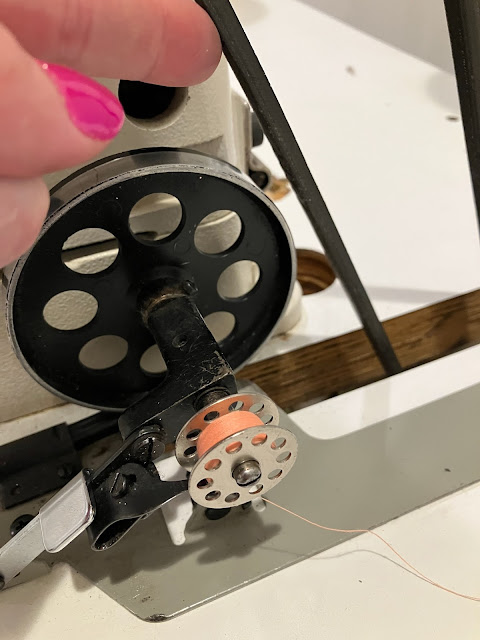
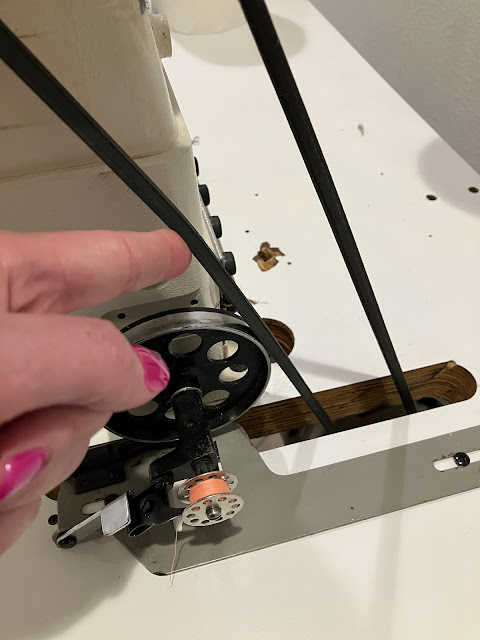
In order for this bobbin winder to actually wind a bobbin, you load it onto the shaft and then press the lever at the front so that the wheel gets driven by the V belt that runs the machine.
Of course, it doesn't actually work if there's no tension.
The bobbin winder was already set as far back as it could go in its slots, which I found rather peculiar. I later realized that, for some reason I can't quite fathom, the machine had actually been moved back on the table by about an inch, and a second set of holes had been drilled to bolt it down. Rather than move the machine forwards again, I took the easier approach and just drilled a new set of holes to secure the bobbin winder further back.
With these, uh... These aren't wood screws. Well, whatever, they'll do.
Anyway, with the bobbin winder moved back, we now have a small gap when the wheel is disengaged.
And when the wheel is engaged, we now have sufficient tension for the bobbin to actually wind.
Now before we get too carried away with sprucing up the machine, there is one thing that needs to be dealt with.
This dimmer is truly awful, and was making the LED pot lights buzz like a shitty fluorescent fixture. Since I have no need for moody dimmed lights in my sewing machine, it can go straight in the trash.
The final task for today was cleaning up the belt guard on the motor.
And by "cleaning up" I mean "doing something about that dent".
Again the hammer came to the rescue.
And while not quite perfect, it is a whole lot better.
There's still plenty more to do on this machine, but I think that's enough excitement for one day. Plus there's some parts on the way that aren't going to arrive any faster if I fret about them, so I'll just relax and let them make it here in their own time.


No comments:
Post a Comment