When last we left off, we had just replaced the presser foot on my industrial sewing machine. But, a foot that stays forever planted on the ground is of little use, so we need to make it go up and down.
The machine came equipped with two mechanisms to raise the presser foot: there was the usual hand lever behind the head, which worked ok but was a little stiff, and a foot-operated pedal which was really not working well at all. A little cleaning and lubrication got the hand lever working ok, but the pedal would need more love.
The most obvious problem was how the pedal was connected to the machine.

The pedal came adorned with this incredibly flimsy chain. I'm pretty sure I've seen gold necklaces that were more resilient than this overcooked wet noodle. It could barely move the mechanism without the links stretching open and falling apart (many of which you can see on the floor).
The other problem was with how it was attached to the machine.

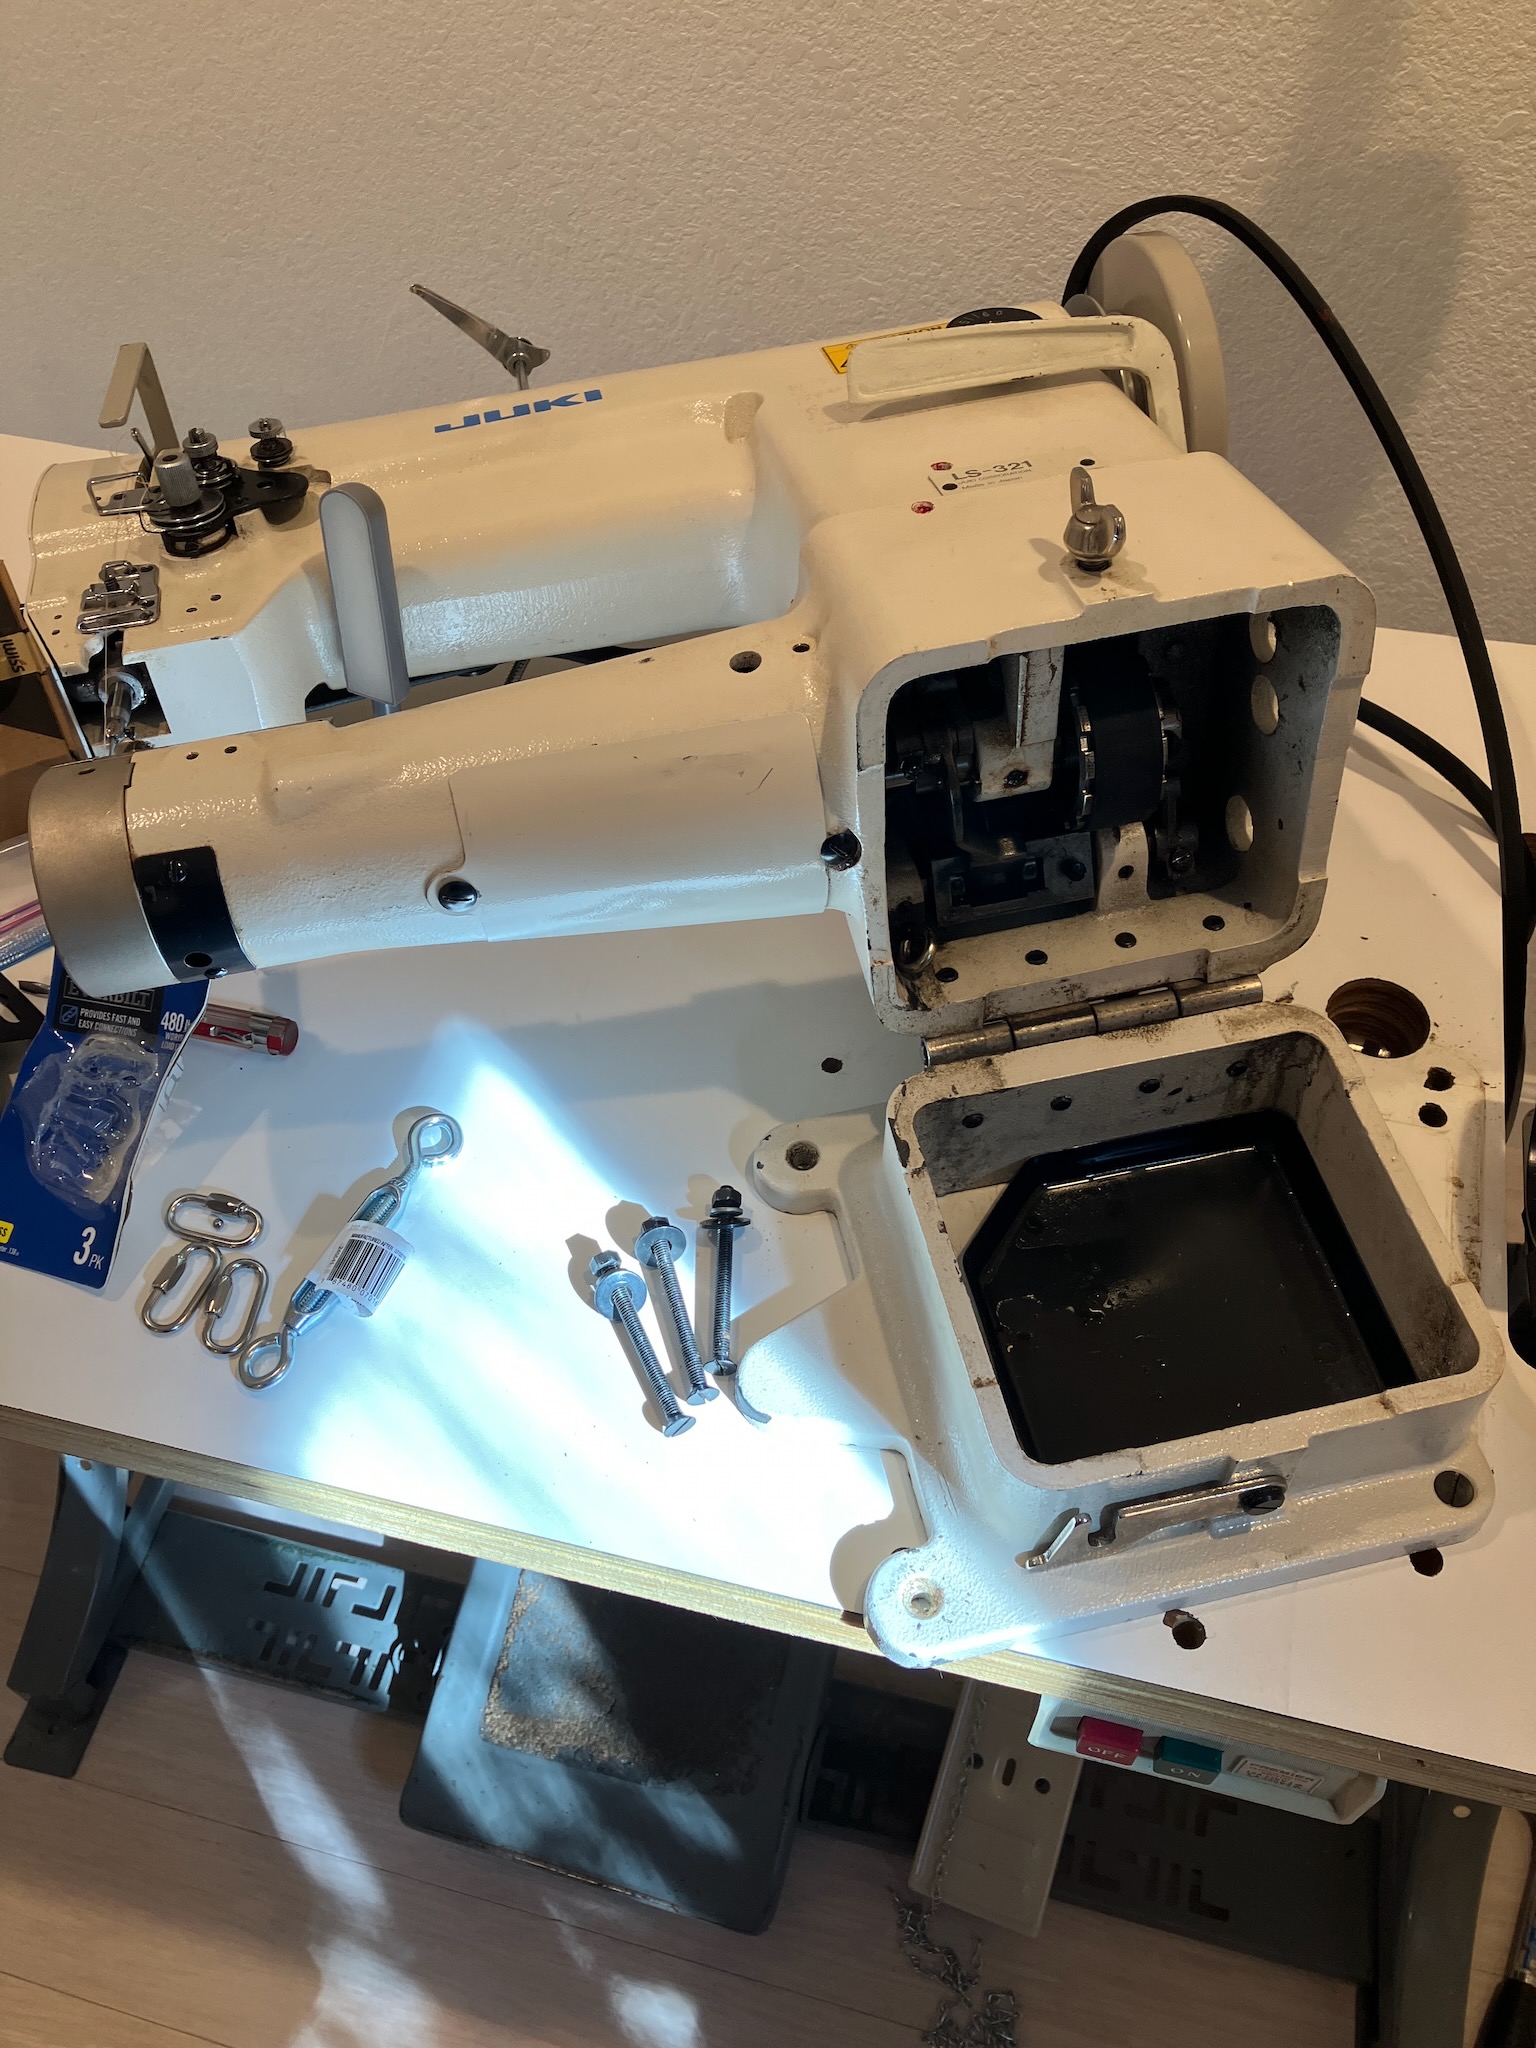
This is the back side of the machine, and the long black arm with the pivot in the center is what the foot pedal is meant to connect to. On the one end, it simply lifts the presser foot up, and on the other end the chain leading down to the foot pedal or knee lift pulls that end down, and in the middle is the pivot.
First off, the pivot had almost completely unscrewed itself from the back of the machine, but that part was easy enough to fix. I also took the opportunity to clean and lubricate it.
The more important part is how the chain had been connected to the arm: it had been fed up through a speed hole in the table top, and then hooked through one of the holes in the end of the arm. This is not how the mechanism is meant to be driven. If you look carefully, you'll see that there's a rod connected to that end of the lever, and the other end looks like this.

That little chrome eyelet is what the pedal or knee lift is supposed to pull on, and they even have a corner cut out of the drip tray so that the linkage can pass down through the table top inside the footprint of the machine's column.
However, no hole had ever been drilled in this table top for such a lift.
Before I drilled one of my own, I decided to move the head forwards on the table to the other set of bolt holes. I don't know why two of them had been drilled barely an inch apart from each other, but given that the belt tension adjustment on the motor was nearly bottomed out, I figured the frontmost set of holes made more sense to use.
So, the first task is to remove 3 of the 4 bolts.

We leave one bolt in place so that the machine doesn't slide completely off the table before we can pivot it around to make sure it's fully supported.
Then we can remove the final bolt, shift the machine forward to the other set of holes, fit that bolt back in place, swing the machine back, and secure the rest of the bolts.

And the repositioning is complete. I also took the opportunity to clean up some of the old, sticky oil from the table top.
Now that the machine is in its final location, we can deal with the task of drilling a hole for the lift mechanism.

I'm not a huge fan of spade bits, but they're at least cheap.
I had planned to drill a small divot on the top side, then follow up with the brad point bit to locate the hole on the bottom side and finish the drilling from there.

But unfortunately I ran into a little bit of a clearance issue.

Well, I tried. Anyway, I continued with the spade bit from the top side, until the point just poked through the bottom.

Then I could center up on the pilot hole and finish the last bit of the hole from the underside, avoiding the usual tearout.

I ended up with more chips up top than I would have liked, but thankfully managed to avoid spraying any sawdust up inside the machine, which I had been a little worried about at first.

The drilling didn't go perfectly, of course. I did manage to get hung up on a "spinning washer of doom" part way through the hole when one of the layers of plywood delaminated.

You gotta stop drilling, dig that thing out, then you can finally continue making the hole.
Anyway, with the hole drilled we can begin assembling the new linkage.

At first I thought it was odd that these quick links would come as a 3-pack, but I realized that it's actually the perfect number to have when you're putting together a cable and turnbuckle assembly. What was more odd, though, was the steel ball that fell out of one of the quick links when I unscrewed it.
Also featured in this photo is part of a broken screw that was stuck inside the table, and somehow managed to survive the trip home and me struggling to get the machine into my house.
I hope it wasn't an important screw.
Well never mind that, first up we need to put one of the quick links to work inside the machine, since I don't intend to permanently join the cable to the rod here.

Next we make up one end of the cable by feeding it through the ferrule and around the thimble.

Getting this to sit tight can be a challenge, but I've found that clamping it into a vise can really help.

And with a couple of pinches from the swaging tool, the end of the cable is secure.

But we're not done yet, we still need to deal with that free end before it slices us open.

And once again, the death wheel comes to the rescue.

You probably don't want to do this with a critical, load bearing cable, since you'll likely nick the side of the main cable, but for an application like this it's totally fine.
And here we can see it threaded into place.

I was concerned that the hardware might end up a little too bulky under the machine, but it seems to be sized reasonably for the space, and shows no signs of catching or hanging on anything.
Next up, we spend at least 30 minutes trying to figure out how to thread the quick link into one of the holes on the pedal.

Honestly it's like one of those brain twister puzzles.
But with that solved, we can add the turnbuckle and the second quick link and size up the cable, marking it at the center of the bend.

Then it's another visit two the swager and the death wheel and it's all in place and ready to go.

In hindsight I possibly could have made the cable a little bit longer to give myself more slack in the turnbuckle, but this works just fine and if it becomes an issue sometime down the line I can always make up a new cable.
Anyway, I'm happy to knock another job off the to-do list for this machine. Every day this thing is getting better and better, and I can't wait to start putting it to work!
No comments:
Post a Comment