Saturday, October 21, 2023

The Green, Green Grass

My emotional support lawn is responding nicely to the fertilizing and overseeding.

Perhaps a bit too nicely. I was intending to leave it for 6 weeks before mowing it, so that the new grass shoots could get better established, but it was getting to be a wee bit much.

Thankfully, those new grass shoots were looking pretty decent, so I decided to give it a go. Or give it a mow, as the case may be.

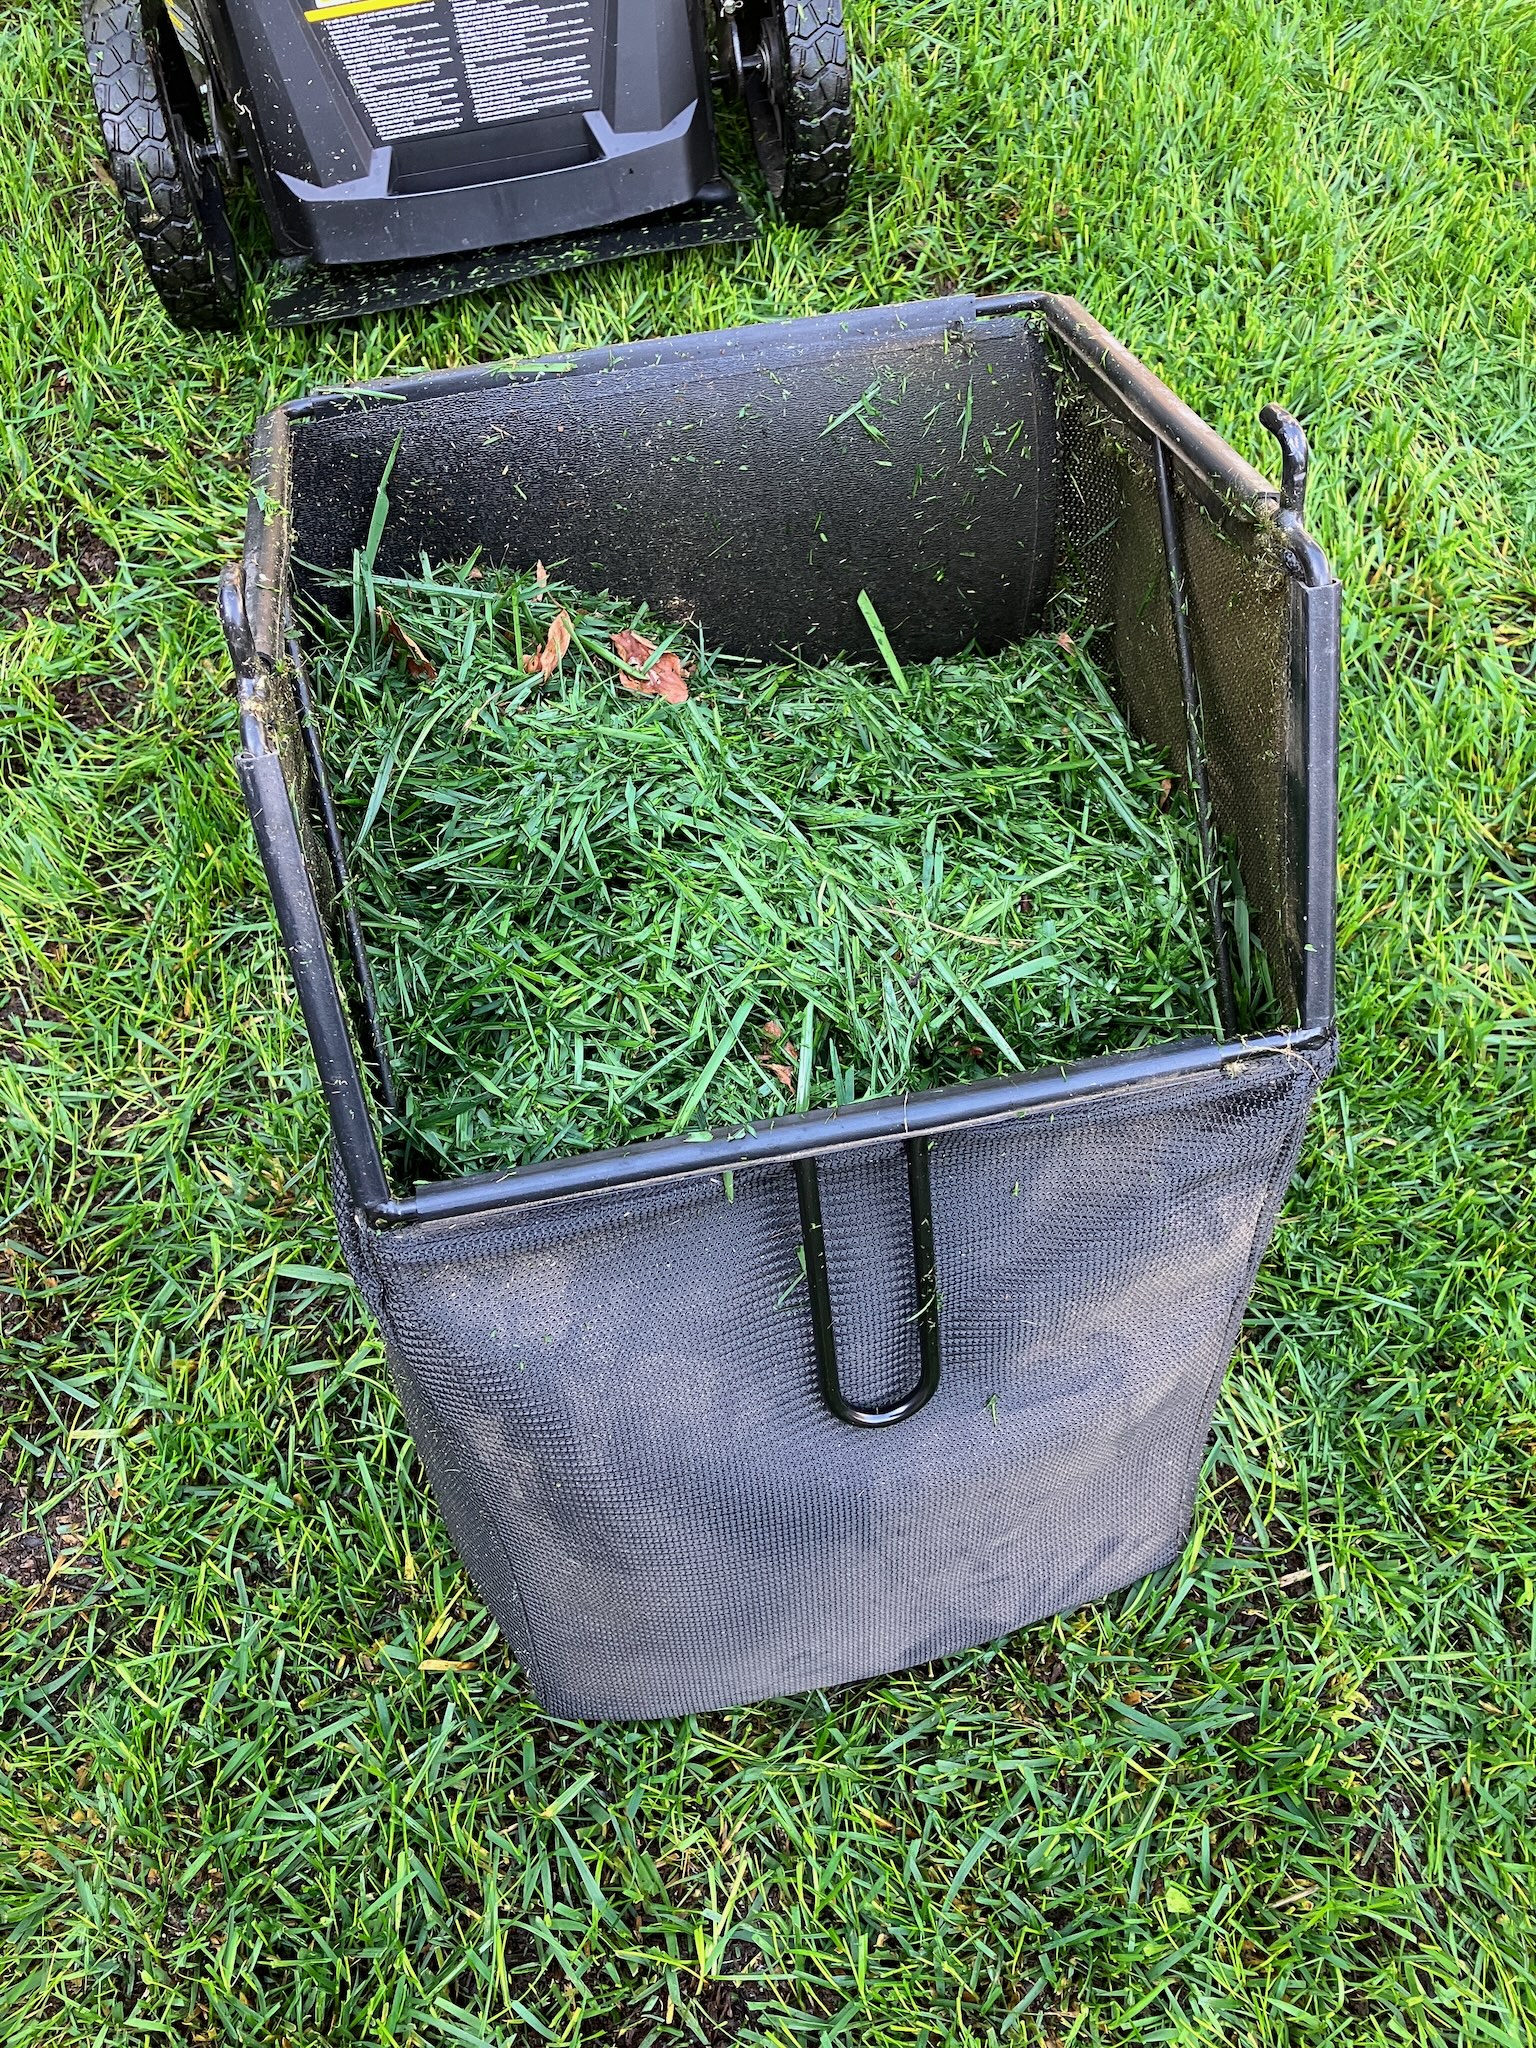
I think this is the first time I've ever managed to fill the bag on my mower since the day I bought it. Usually I only get maybe a handful of clippings.

In theory I could mulch instead of bag, but meh, whatever.

Anyway, it's mowed now, and I think this might even help the new grass a little as the old stuff won't be shading it out as much. Time will tell, I suppose.

Wednesday, October 18, 2023

It Cleans Up Nicely

The first batch of parts have arrived, and so we can do a little bit more work freshening up the sewing machine. First, and perhaps most importantly is sewing machine oil. This bottle should last me a lifetime.

Or several, if I'm talented.

I got some cork to freshen up the treadle, but decided that I'm going to use this roll for refreshing a tool box, as it's a bit thinner than the original cork and I later discovered that you can buy a pre-cut cork pad that fits exactly in this spot.

But that toolbox is a project for another day.

One thing that industrial machines often lack is a built-in light, and so since the arm of the machine casts a pretty big shadow, adding a light is an important upgrade.

This gooseneck light is pretty nice, and sticks very firmly to the chassis of the machine by way of a magnetic base.

It's a pretty nice light, though I also purchased a pre-cut LED strip light that I might mount to the underside of the arm.

I could then use the magnetic lights on my domestic machines, which do have built-in lights, but the more the merrier.

One important maintenance item for an industrial machine is the drive belt.

The belt that came on this machine isn't half bad, but it was feeling a little bit dry and a new belt is only $7.

So on it goes.

Next up are needles. Picking the right needle for the job can make all the difference in the world.

The machine came equipped with a 120/19 size needle, which is good for medium weight threads in the range of Tex 70 to Tex 90.

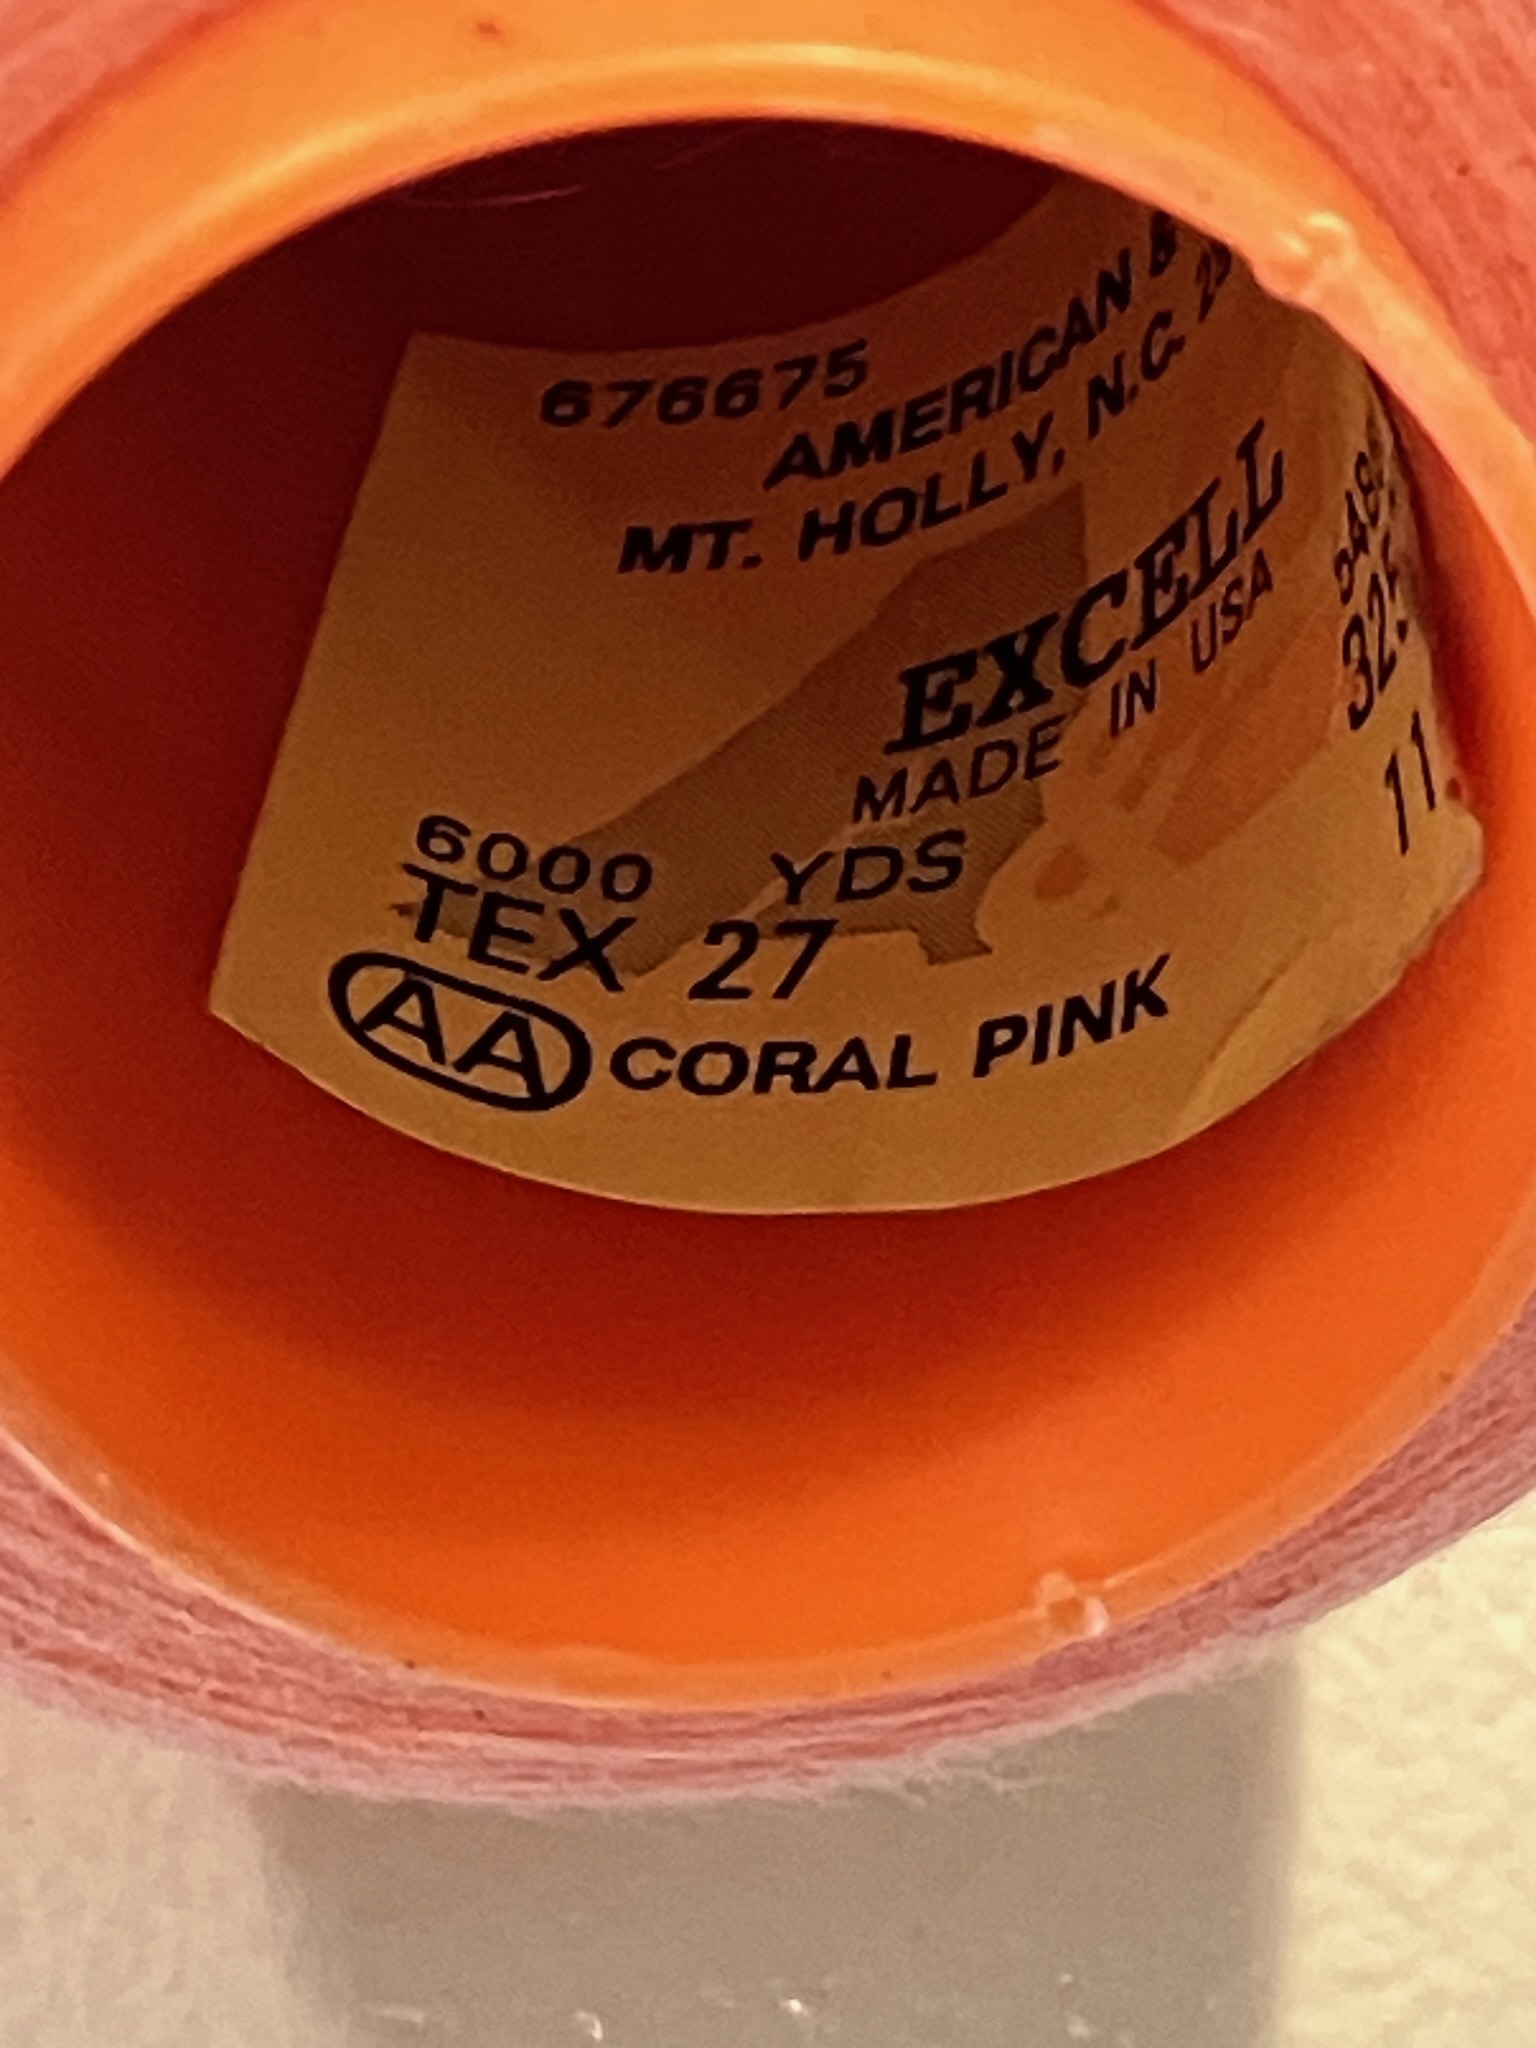
And the thread that was left over in the machine is...

Tex 27, a pretty standard lightweight domestic serger cone thread. That's quite a small thread for this size needle. Generally you'd use an 80/12 or 90/14 for this weight thread. Here's a 90/14 needle next to the 120/19 that was in the machine, for comparison.

With the 90/14 needle installed, the stitch quality in a folded paper towel looks pretty good.

I just happened to have a folded paper towel on hand.

Of course, the reason I had paper towels on hand was that the machine desperately needed cleaning. For example, the bobbin compartment was full of lint and glitter.

I got quite a bit of gunk pulled out, though certainly not all of it. One can never truly eliminate all glitter.

But this gunk was nothing compared to the amount of lint and glitter up in the arm.

It's unfortunately a bit difficult to see in this picture, but there's a lot of crap caked on here with gummed up oil.

This is only about half of the grime I pulled out.

Admittedly from the outside it doesn't look much different, but it's what's inside that counts.

And that's about enough work for today.

Monday, October 16, 2023

Not A Creampuff

So it was pretty clear from the start that this new sewing machine of mine had seen some action. It hadn't been babied in the back corner of some little old lady's sewing room, but had been run pretty hard and probably scrapped at one point before being rescued into the used machine market. For context, the instruction manual I found online for this model was dated 1994, so it's entirely likely that this machine is somewhere around 30 years old.

Anyway, while it's clearly functional, there are a few things on it that definitely need freshening up. For example, this bottom cover plate.

At some point it had clearly taken a bit of a hit, and it was definitely no longer pristine. More importantly, there was a rather unfortunate gap around the edges which would quite likely snag pieces of fabric.

And, of course, it was also covered in glitter.

You should never think of glitter in terms of curing it, but rather managing its symptoms and hoping it goes in remission long enough for you to live a full and happy life despite its presence.

Anyway, this panel is just some stamped sheet metal, which was easy enough to fix.

And by what witchcraft did I perform this repair?

The usual.

With that knocked off the list, let's take a look at the bobbin winder.

Yup, you're looking at it.

In order for this bobbin winder to actually wind a bobbin, you load it onto the shaft and then press the lever at the front so that the wheel gets driven by the V belt that runs the machine.

Of course, it doesn't actually work if there's no tension.

The bobbin winder was already set as far back as it could go in its slots, which I found rather peculiar. I later realized that, for some reason I can't quite fathom, the machine had actually been moved back on the table by about an inch, and a second set of holes had been drilled to bolt it down. Rather than move the machine forwards again, I took the easier approach and just drilled a new set of holes to secure the bobbin winder further back.

With these, uh... These aren't wood screws. Well, whatever, they'll do.

Anyway, with the bobbin winder moved back, we now have a small gap when the wheel is disengaged.

And when the wheel is engaged, we now have sufficient tension for the bobbin to actually wind.

Now before we get too carried away with sprucing up the machine, there is one thing that needs to be dealt with.

This dimmer is truly awful, and was making the LED pot lights buzz like a shitty fluorescent fixture. Since I have no need for moody dimmed lights in my sewing machine, it can go straight in the trash.

The final task for today was cleaning up the belt guard on the motor.

And by "cleaning up" I mean "doing something about that dent".

Again the hammer came to the rescue.

And while not quite perfect, it is a whole lot better.

There's still plenty more to do on this machine, but I think that's enough excitement for one day. Plus there's some parts on the way that aren't going to arrive any faster if I fret about them, so I'll just relax and let them make it here in their own time.

Sunday, October 15, 2023

Sew This Followed Me Home

I was talking with a friend recently about the subject of industrial sewing machines. She's in the market for a flatbed straight stitch unit, something like a Juki DDL-8700, and just for the sake of curiosity I decided to check out what price they're going for on the used market, be that eBay, Craigstlist or the like.

As it happens, they're going for around the $500 mark, at least locally on CL, which is a mighty attractive price given their capabilities.

What also had a mighty attractive price, so I discovered, was a Juki LS-321, a cylinder bed needle-feed machine.

And, well, I guess it's no surprise that this happened, given that I'm writing a blog post about it.

The machine itself seems to be in pretty good shape. The only major deficiency I can see so far is that it's missing the bobbin cover plate.

The oil wick also got pulled out of place, but I stuffed that back down after I took the photos.

The machine is a bit dirty, and hasn't been properly cleaned in some time. This was pretty obvious from the oil build-up in places, as well as the caked-on glitter filling many crevices. Oh dear.

It came set up with a clutch motor which isn't really ideal for the type of sewing I intend to do with it, but I'll give it a shot and see how well I get on with it. It doesn't cost much to swap it out for a servo motor though, so that's always an option. I do need to clean up the wiring a little though, as there's some live wires intended for a lamp just sort of sticking out of the motor and wrapped loosely with electrical tape, which isn't ideal. I'll probably just completely remove those wires, then install a power strip on the underside or something like that for everything to plug into (and by 'everything' I mean the motor, plus a couple of sewing lights I'll be adding soon).

The table frame is in pretty good condition, about the only fault I can find is that the feet on one end are a little bit bent and out of sorts, plus it's a bit grimy here and there.

Really, the only thing that desperately needs attention is the table top, which is somehow peeling in two. It's also sagging in the middle, despite being made out of 1-1/2 inches of plywood. I'll probably remake the top from scratch at some point, as I'd also like to put in a removable section in the middle so that I can get larger items around the cylinder arm a little bit easier.

In all I got a pretty good deal. I haven't really put the machine through its paces, but from what I can tell so far it's in decently good shape. The table is a bit of a disappointment but given that I got the whole thing for about the price I might expect to pay for just the head alone, I'd say I'm pretty happy.

Thursday, October 12, 2023

If It's Worth Doing Once

I made a rather unfortunate error when I sewed the welted pocket opening into my bug net. You see, I used some nylon fabric that I had laying around, and nylon is a very strong and durable fabric.

Correction: nylon is a very strong and durable fiber. Woven nylon fabric, on the other hand, frays like a bitch. And, after not too many wash-and-wear cycles, those welts frayed their way right out of the stitches.

So I took out all the old stitching, which was a royal pain since I used a very short stitch length, and remade the welts with a cotton muslin fabric this time. I also gave myself a bigger seam allowance, and used a double-row of top stitching for extra security.

With any luck, these welts should last at least as long as the rest of the bug net.

Sunday, October 1, 2023

Slice and Dice

In hindsight, I probably should have ordered something to open these packages with.

I actually already have a seam ripper, but it's a pretty basic one and, oddly, doesn't have a bead on the blunt side, which makes it a bit more likely to dive through the fabric rather than skimming along the backside of the seam.

I also technically have scissors, but these tailor's scissors will be nice to keep just for fabric and pattern making. (Yes, technically cutting paper will dull scissors slightly faster than just fabric, but I know how to sharpen scissors and, let's be honest, these were pretty cheap. If I ruin them, I can always just buy more)

The pinking shears are the only fully new scissors for my arsenal. Ironically, a day after I put in this Amazon order I noticed a sign for an estate sale just down the street from me. If there's one thing you can count on finding at an estate sale, it's a set of barely used pinking shears.

I didn't end up checking out the estate sale. After all, I already had a set of pinking shears on their way to me.

But Is It Squeaky?

For a few years now my raw aluminum baking sheet has been collecting a bit of a patina.

There's nothing particularly wrong with this polymerized, baked on grease save for the fact that it's a little unsightly.

However, it is incredibly difficult to clean off.

Normally one might want to use an abrasive cleaner, like a scotch-brite pad and/or some Comet cleaner. Unfortunately the aluminum is quite soft, and so this tends to scour the metal just as much as it scours the grease.

On the non-abrasive side, it's well known that lye based cleaners, like your standard oven cleaners, will cut through this type of polymerized grease. Unfortunately aluminum is also vulnerable to those exact same cleaners.

This leaves us in a bit of a pickle. Or, does it?

The self-cleaning cycle on a domestic oven runs at around 500°C, and pure raw aluminum doesn't melt until 660°C, so that's a good 160°C of headroom!

And wouldn't you know it.

It worked like a charm.

Also the oven itself is now slightly cleaner, though it wasn't very dirty to begin with since it hadn't been very long since the last time I ran the self-cleaning cycle.