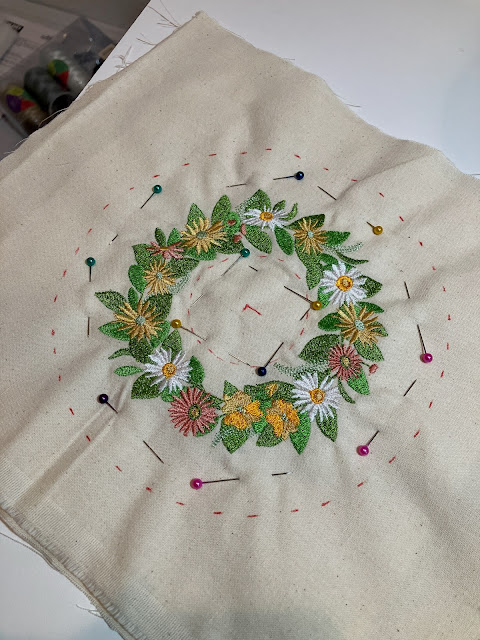
Not too long ago, I got myself a "broken" embroidery machine. I "fixed" it by doing little more than replacing the worn out presser foot, and ran some of the built-in patterns to test its functionality.
That left me with a pair of somewhat generic embroidery designs stitched to some pieces of raw cotton muslin. Luckily, I had a plan for what to do with them, and all it would take is a little cotton batting and some bias binding.
But before we go crazy sewing things together, we need to do a bit of layout. For this, I employed a tool that's brand new to me: frixion felt tip markers.
Basically they're felt-tipped markers (hardly surprising or unique, I know), but with the peculiar characteristic that the ink is heat-erasable. Just running an iron over the markings makes them vanish completely. As you might imagine, this can be very convenient for sewing projects.
Also convenient for sewing projects: a clear acrylic ruler.
Anyway, with this layout done, I pinned the two embroidery pieces to either side of a piece of cotton batting.
And quickly realized that I had basically stuck the pins in from the wrong side.
I didn't have to redo all the pins though, just the ones in the center.
With the sandwich assembled, it was time to quilt.
I chose the gold thread here to coordinate with the design on both the front and the back. The autumn themed side obviously had a lot of gold in it, and luckily the spring themed side also had some gold in the flowers.
The layout paid off nicely. It kind of looks slightly off center on this side, but the design itself isn't perfectly circular, so it was always going to be a compromise. The autumn side also had some asymmetries to deal with.
But now that the two sides were quilted together in the center, I could baste around the outside to secure things together.
And once more despair that things looked more off center than they actually are.
Once the excess was trimmed away, however, that asymmetry started to become less apparent.
Though it's still there if you look hard enough.
But why would you want to do that?
Anyway, through the magic of heat, the layout lines have disappeared.
And it's time to think about binding. I sewed up a test piece using the stitch-in-the-ditch method, and it turned out ok (I wasn't aiming very carefully).
But I felt like for this application it wasn't really thrilling me.
It probably would have worked out ok, but this is a small piece and 100% curved and so small imperfections would be a lot easier to notice.
I still machine stitched the first side, since doing that is incredibly easy.
Despite how crazy it looks.
I finished off the back side by hand using a blind stitch though, as it allowed me to control the placement and tension and so on of the binding very precisely.
I'm really glad that the gold colour worked out so well on both sides (just ignore the leftover frixion pen marks on the above image, I hadn't ironed that side fully when I took that photo).
And with that all done, there was only one thing left to do: enjoy a freshly toasted bearclaw and a cold brew on ice.
Delicious!


No comments:
Post a Comment