So my Singer came with an original sewing light, complete with its pressed glass lens and retaining ring (even though I had initially thought those two items were lost, they turned up in the drawer-of-mystery while I was sorting stuff out).
These lights are pretty tricky to find, given that they're made out of somewhat brittle bakelite and are physically attached to old sewing machines that often get hauled off to the landfill as a single unit. A real shame, that is.
Of course, the light isn't in perfect condition, and the cord is perhaps showing its 67 years of wear-and-tear the most.
Well it's a good thing this only carries 6 volts. But I can just clip the end off and use the rest of the cord, right?
Hmm, let's just go ahead and replace the whole thing.
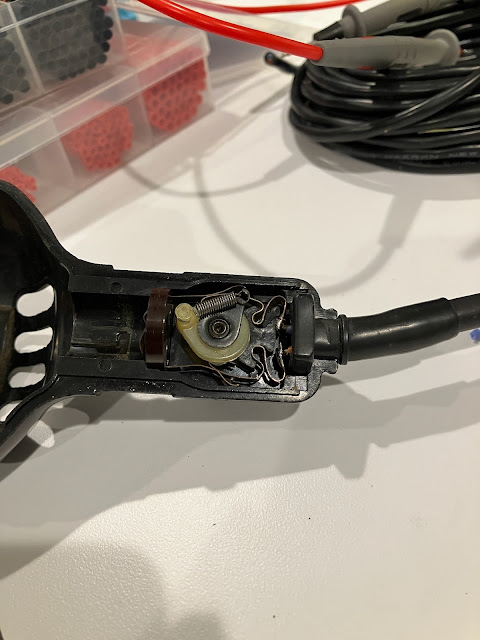
Disassembling the light is refreshingly straightforward, with two retaining rings that can be popped off without too much difficulty (remember to not pry against the bakelite), and then the two halves of the lamp basically fall apart.
Perhaps a bit less refreshing is the fact that the cord is soldered directly to the terminals that make up the integral switch.
But it is what it is. At least it's not riveted into place.
With that end freed up, we can deal with disconnecting the other end. It's powered by a winding built into the clutch motor, of all things.
Apparently they had idiot tags back in 1956 too.
Now ideally I'd like to just pull the cord out of the support tube that makes up the arm of the lamp, but there's a pair of terminals soldered to one end, and somehow the insulation is swollen up part way down the other end.
So freeing that up is just gonna have to wait a bit.
Onward with the surgery, let's desolder the old cable from the contacts.
Refreshingly, they did not use lead-free solder back then.
Similarly, I did not use lead-free solder to attach the new cable. I did, however, use a few layers of heat shrink tubing to make up for the slightly thinner cable jacket, so that the strain relief could get a reasonable grip on it.
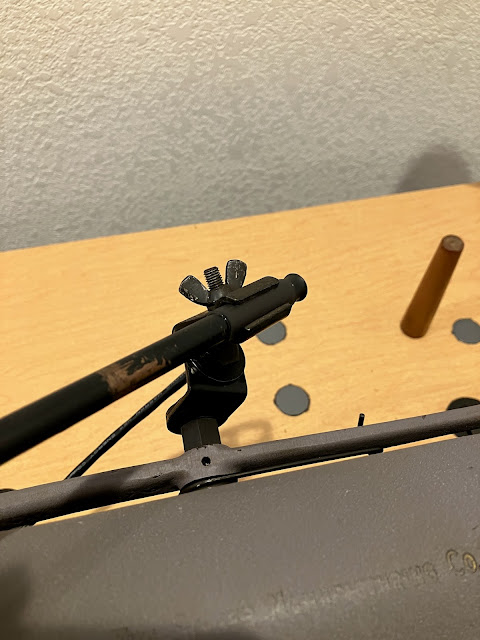
And while I was at it, I added a layer to the arm where the base clamp grips onto it, as it was really not holding very well.
I suspect it had probably been overtightened at some point.
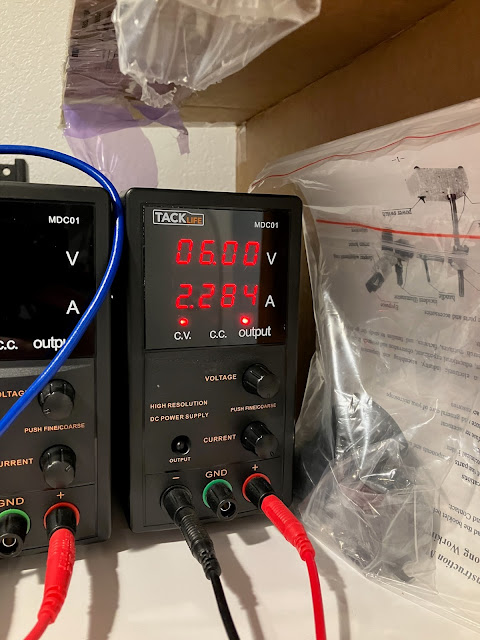
A quick sanity check revealed that the new wiring was working well.
And I'm assuming by this current draw that it's probably supposed to be a 12 or 15 watt bulb.
I also took the opportunity to replace the nut and bolt holding together one of the clamps. The one that was there when I got it was actually a screw from an electrical outlet combined with some mystery nut, definitely not original equipment, and I figured at least a proper 10-32 machine screw would be an improvement. It would have been nice to have a black oxide one like the original on the other clamp, but we can't have everything.
Anyway, the heat shrink tubing did a great job of allowing the clamp at the base to hold onto the tube, which is nice.
This had been causing some annoying drooping prior to this fix.
Finally, we can wire things back up inside the motor, using some more reasonably sized wire nuts, plus a zip tie for some strain relief.
And that's another job done, the machine is back up and running.
With a much happier light.


No comments:
Post a Comment