And by "soul" I mean "lubrication system".

This window is meant to show the active flow of oil through the sewing machine, to reassure the operator that the machine is being properly lubricated while in use. However, it was showing a wee tiny bit of age, to put things lightly.
The plastic of the window had started to degrade to the point where oil was leaking through it, somehow; the little white cup behind it had gained a crust of caked on oil residue; the gaskets were no longer properly gasketing; and one of the screws was so badly stripped on its head that I didn't dare reinstall it for fears that it might never come out again.
Luckily for us, it's new parts day!

Let's take care of a little housekeeping before we get into the major restoration task of the day.
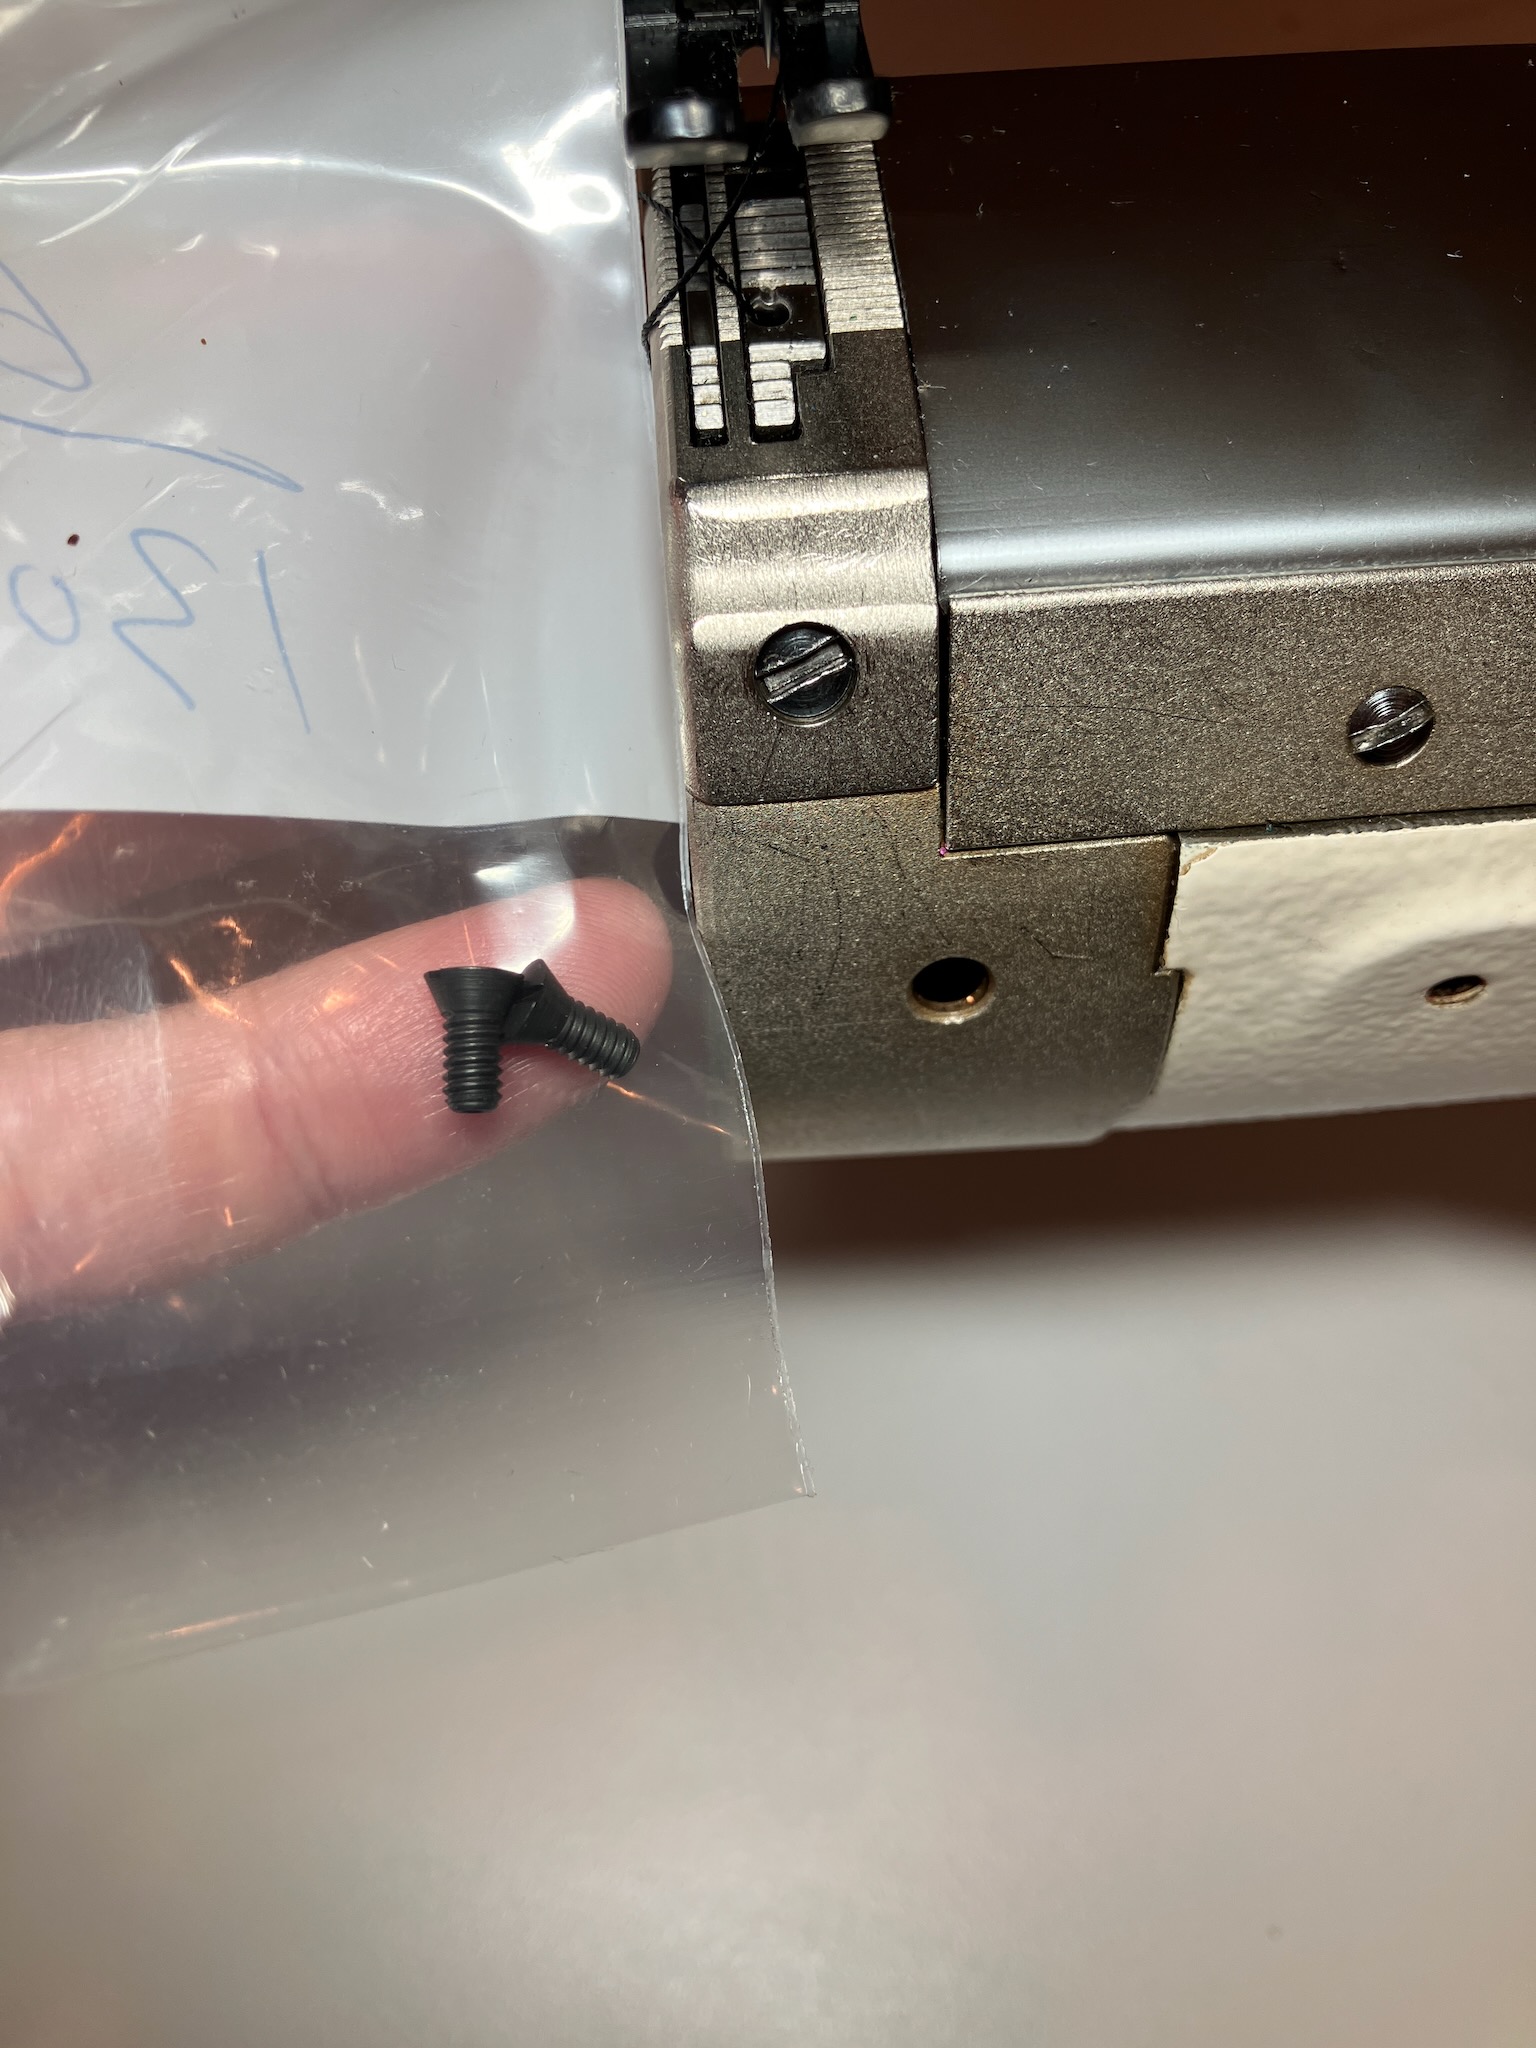
This screw right here is a bobbin case screw. It is tiny and easy to lose, but one should never have the opportunity to lose it as it's not actually meant to ever be removed.

It fits in this hole in the bobbin case and sets the tension for the spring that holds the thread from just unspooling wildly and creating a huge tangled mess.

Sometimes it should be loosened a little, sometimes it should be tightened a little, but it should basically never be fully removed.
Luckily with the screw back in place, proper tension could be achieved once more.

The ideal tension is attained when the bobbin is just barely self-supporting when hanging from a thread, but will spool out more thread if given a little jiggle.
With this bobbin case fixed, I'm up to 3 perfectly functioning bobbin cases.

Having multiples can be handy when working with different weights of thread; you can set the tension on one bobbin case for a light thread, and another for a heavier thread, and switch back and forth very easily.
So, on the subject of screws, back to the oil window. This here is the screw whose head was stripped out.

And perhaps you can see from this photo why I was reluctant to reinstall it. This is a somewhat specific and peculiar screw, and is listed under the Singer part number 50257J and is no longer generally available. However, by sheer coincidence (and because sewing machine companies have been building various different machines out of the same parts bin for over 120 years) it happens to be almost identical to the screws used to hold the needle plate onto my Juki LS-321, part number SS-2090840-SP which is available... for about $6 each. HOWEVER, the Juki LS-321 is actually a clone of a Singer 153W (also dreadfully out of date) but which was cloned by Consew as the 227R, which is actually still in production. It uses part number 13023 which is available for about 53 cents each.
And that is much more reasonable.

Now you'll note that I said "almost identical". In the above picture, you'll see I ordered 6 screws; 4 for the oil window, and 2 for my Juki's needle plate, since I figured I might as well freshen those up while I was at it.
However there is some difference here that I haven't quite been able to narrow down. I think perhaps the angle on the underside of the head is maybe not quite the same, but the end result is that when installing the new screws, they bottom out before the head has snugged down against the needle plate.
Luckily these original screws on my Juki are in pretty good condition, so it's no major loss that I can't replace them. The important thing is that I have new screws to install in my Singer.
But before we can put those new screws in, we need to take the old screws out, and it makes sense to also clean things up while we're at it.

Because this looks absolutely disgusting.

And that's after chipping off some of the worst of the build-up.
Thankfully the only part here that needs much attention is the oil window cup, which is an enamelled steel part. So, into the ammonia it goes, and with a little wire brushing things are looking as good as new.

The window and gaskets haven't just magically revived themselves here, these are the new ones I ordered, also for a very reasonable price.
Getting things back into place was a bit of a trick. The stack-up is: gasket, oil window cup, gasket, oil window, bezel. This doesn't seem to daunting until you realize that, uncompressed, the two gaskets and oil cup already take up the entire depth of the recess that they're supposed to squeeze into, leaving the oil window with nothing to locate onto.
Luckily I was able to get things in without too much difficulty by starting the screws on the bezel with the oil window roughly in place, and then when the window started compressing the gaskets I could tap it in from the sides to where it was not interfering with the main casting anywhere around the edges, after which I could drive the screws home.

This looks so much better already. But what would look even more amazing is seeing it in action.

Truly magical.
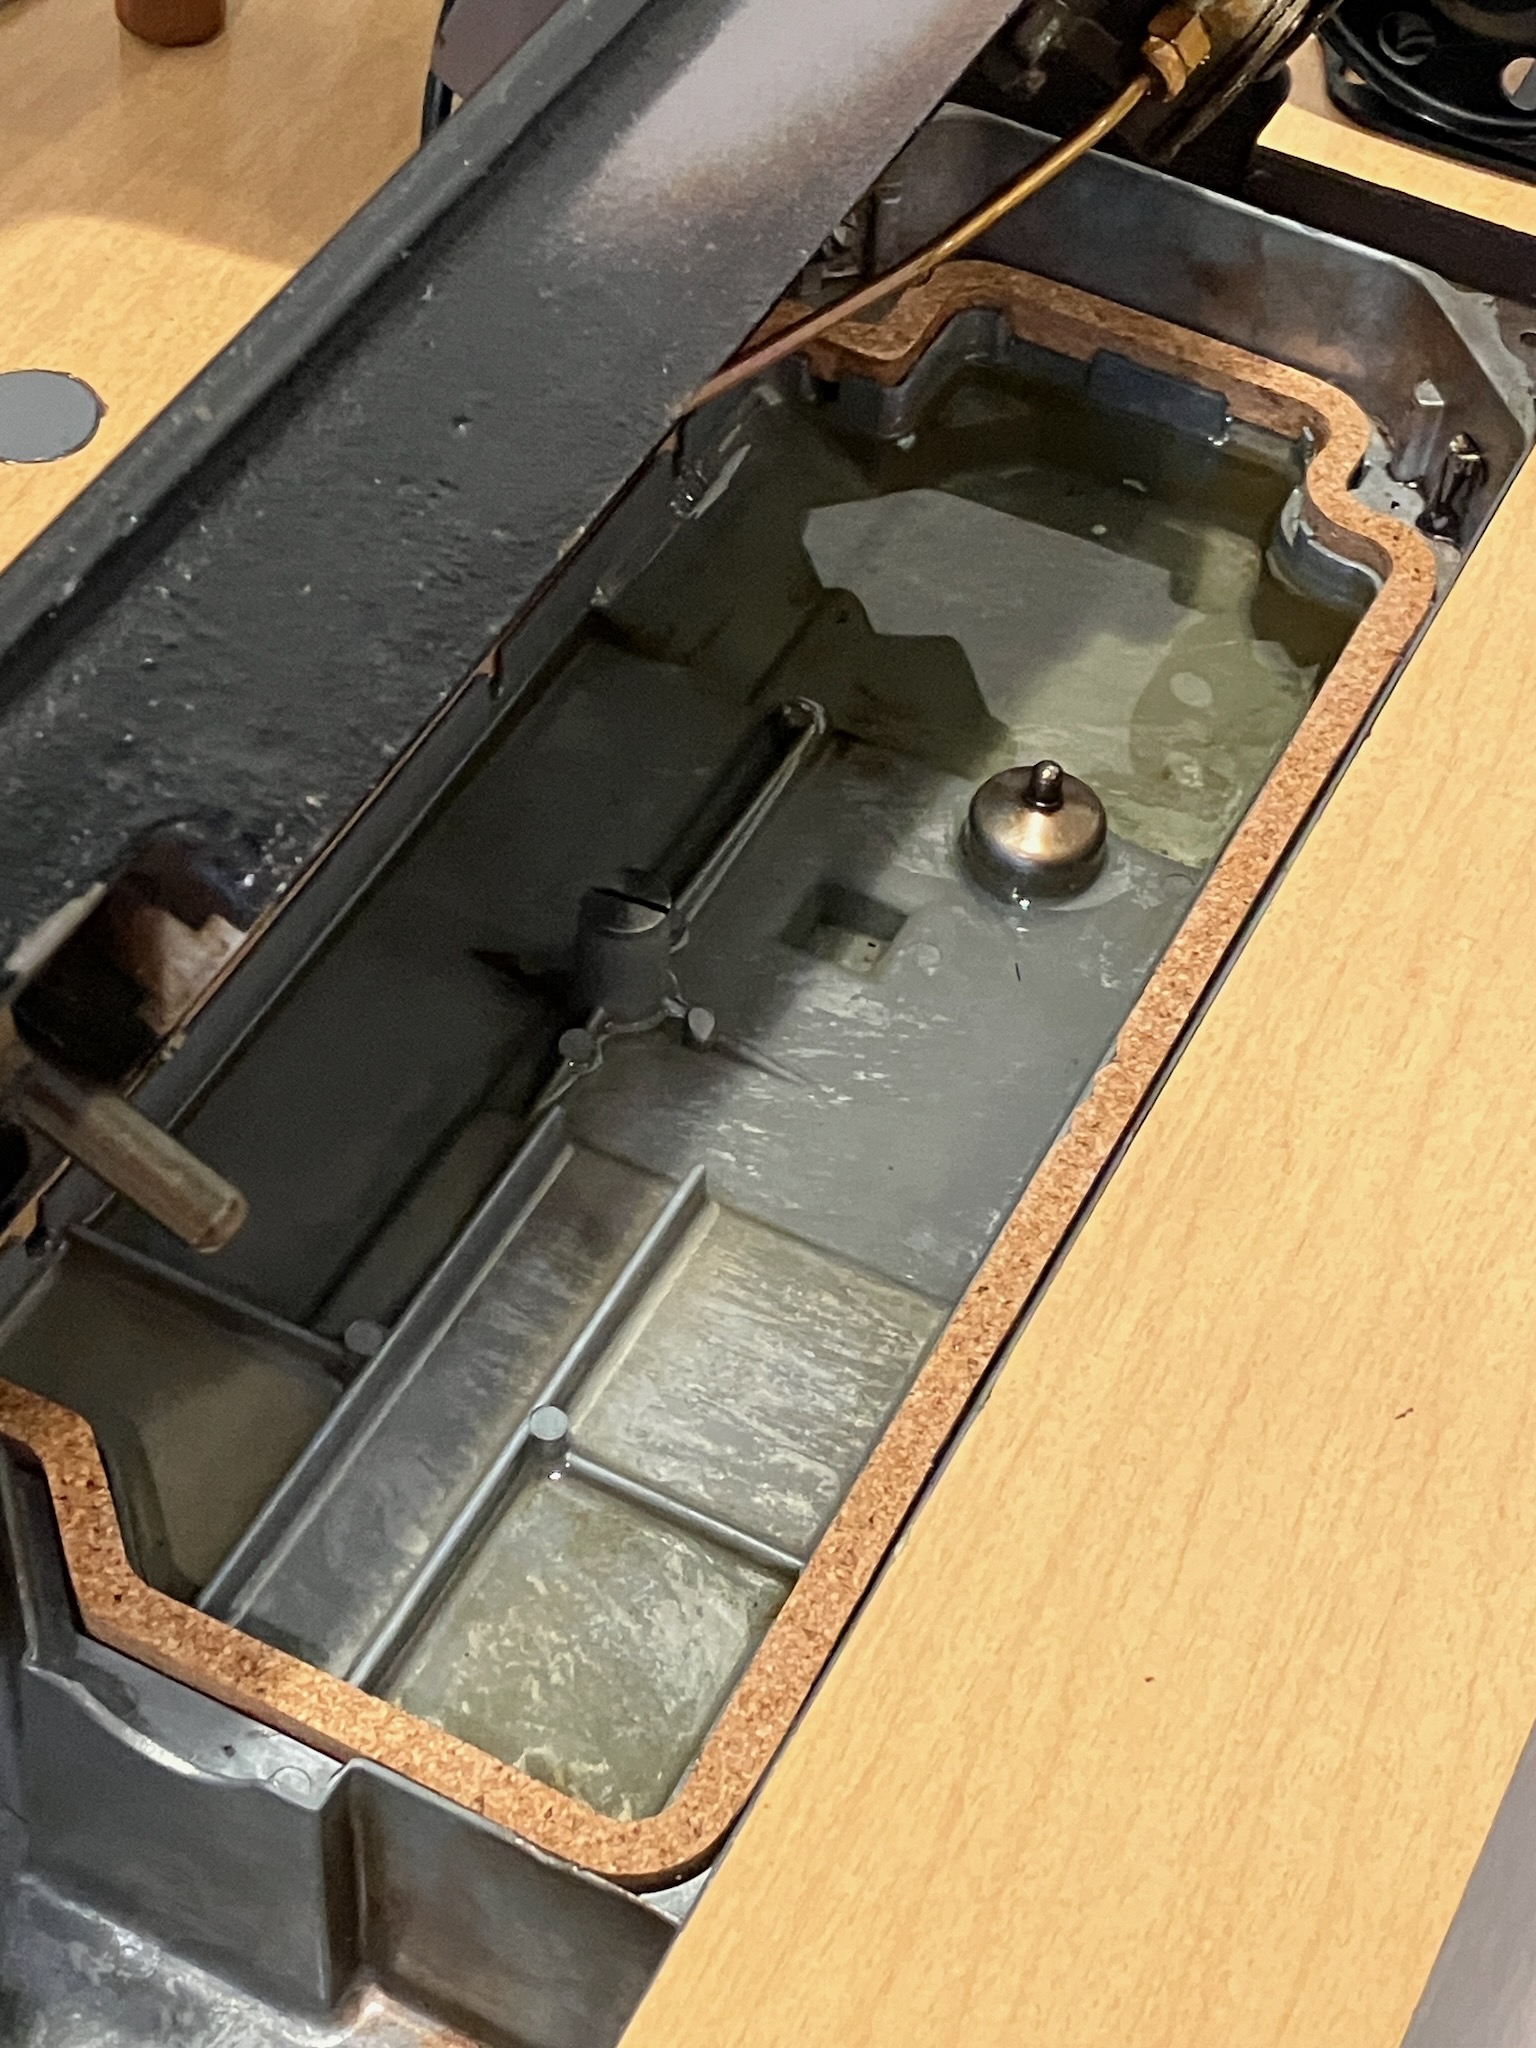
But those aren't the only gaskets that need replacing. Also on the list is the oil pan gasket, which, despite its name, doesn't really seal the oil in. Rather, it mostly just provides a cushioned surface for the sewing machine head to rest on.

But it tends to get a little abuse as people do stuff like drop needles and pins down there to get crushed in between the machine and the oil pan.

Yes, that is the impression of a bobby pin that you see there.

But this is one part that hasn't changed in decades, so finding a replacement is cheap and easy.

And boy howdy doesn't that look much better.
It also raises the machine back up to the correct level for the bobbin slide to open.

Not that I tend to open it. The bobbin is easy enough to install and remove by just reaching around from underneath and navigating by feel.
So that brings us to the conclusion of another repair session, and the machine is, once again, looking better than ever.

I do think I might replace the gasket for the top cover, which is also readily available, as there's a bit of oil seepage there, but it's not really critical.
Oh, and also visible in this shot: I finally got around to cutting a piece of cork pad for the foot pedal.
With that, I'll leave you with this parting thought:

I never thought I'd see the year "2023" printed in dot matrix on tractor feed paper.
No comments:
Post a Comment