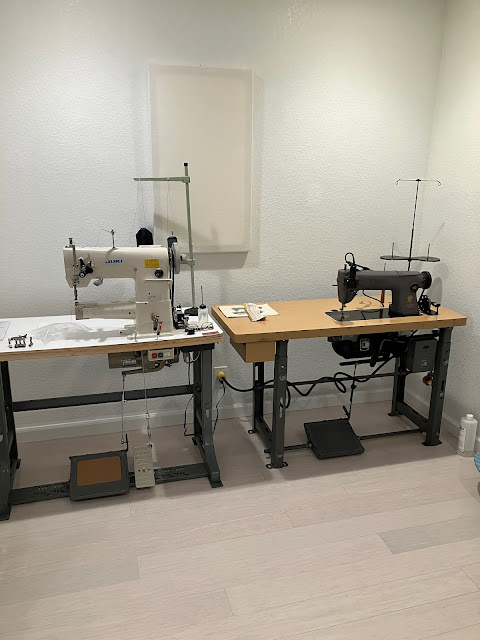
The Singer 251 has finally been cleaned up enough to make it indoors.
It really is convenient that this room is 9 feet wide, given that standard sewing machine tables are 20x48 (approximately). It's the perfect width to fit two machines end to end.
I'm really quite pleased with how well this machine cleaned up, especially after I figured out the trick to cutting through the old dried-on oil using ammonia.
There's still work to do here, though. I'm waiting for some parts to clean up the oil flow window, I'm waiting on a new cork gasket for the oil pan, and the cord for the lamp is looking a little worse for wear (as one might expect after 67 years; it's a good thing it only carries 6v). We'll revisit these issues in a future blog post.
On the subject of that oil pan, having the machine in place means it's the perfect time to finally refill it with some fresh, clean sewing machine oil.
Of course, the special property of sewing machine oil is that it's perfectly clear, so that it doesn't stain any textiles that it might come in contact with. So, kind of hard to photograph. I did try to snap the photo just as a drop was hitting the surface, and you can see the distortion in one of the reflections. Or maybe you can't, and you'll just have to trust me that there's oil in this photo.
As for the sewing itself, the machine is doing a great job.
Some lines of stitching were a bit loopy on the backside as I was dialling in the tension and takeup spring settings. There's also a few stray threads that got stuck to the underside and sewn into place, just ignore those.
Looping back to the subject of that sewing machine lamp, the bulb inside the lamp is, as near as I can tell, a 1956 vintage incandescent lamp. It's not exactly a high wattage energy burner, but for the sake of producing a little less heat I thought I might try to see if I could pick up an LED replacement. As mentioned, it's a 6v bulb, and the socket fits a bayonet base with a pair of contacts, similar to some automotive bulbs used for reverse and turn signal indicators.
So I flipped through the holdings of The House of Bezos and found a listing that looked like it would do the trick. A pair of BA16D bulbs with 550 lumens advertised, 6v volts with reversible polarity (it's actually AC, so I figured this should work ok) and a warm white colour temperature.
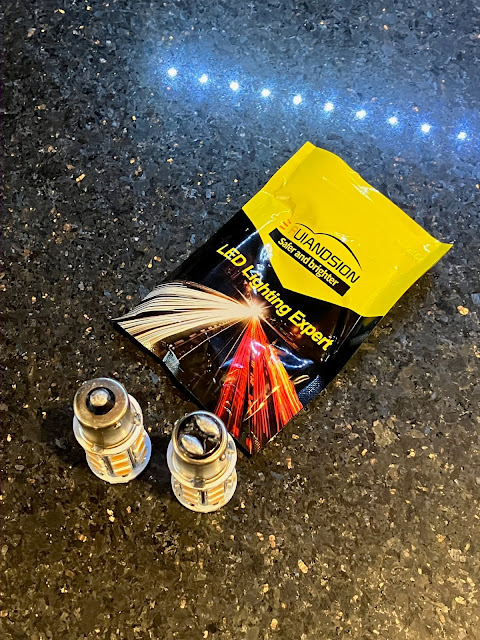
And we're already not off to a good start, one of the bulbs doesn't even have the correct base. But more than having the incorrect base...
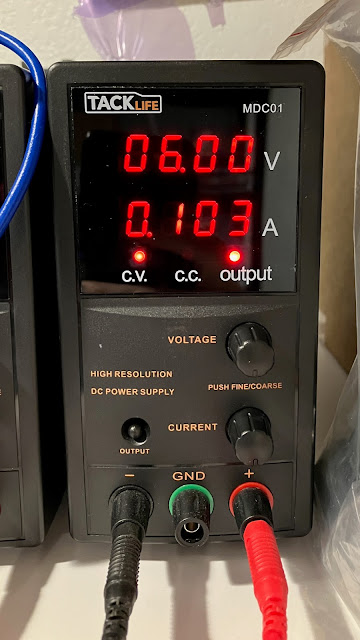
It's also amber. Not only amber, but as you'll note in this image, it is very much not 550 lumens. How many lumens is it? Well, we can infer that from how much power it's drawing.
Yup, little bit more than half a watt. That'll be maybe 50 lumens, not 550.
The other bulb fared a little bit better, sort of. It was also only 50 lumens, but it was at least a warm white shade. You might think that we're good to go then, right? The original bulb was about that brightness, so at least I'll get the same light output with less heat, right?
Wrong. The bulb's contacts wouldn't make reliable contact with the socket, making it completely useless.
Oh well. On the bright side, when I filed the refund request with amazon, they gave me the "don't bother sending the merch back" style return, so I can at least cannibalize these bulbs for the LED chips.
Anyway, moving right along from that fail, let's finish up with a success. Not too long ago I got some sheer curtains to put in the large windows facing into my back yard. That experience went quite well, so I decided to get some more to put up in my bedroom window, which faces the front street.
I generally keep the cellular shades in these windows 2/3 of the way up, like this, to keep people from peering in, but adding the sheer curtains would add a little bit more privacy plus diffuse the light a little bit.
But what, you might ask, does this have to do with sewing? Well the answer is simple: these curtains come from the factory with a giant fabric care tag sewn into them, and removing it cleanly basically requires picking one of the seams open to remove the tag, then re-sewing it closed.
And I decided to do that re-sewing operation on my Singer. The loopy thread in the picture above is half of the original stitching (I only cut one thread and left the other one connected to reduce the probability of it unravelling further), while the fine, short stitches are the new seam I sewed in.
I'd say that the Singer performed admirably.


No comments:
Post a Comment