One of the concrete slabs on the west side of my house has been a thorn in my side for a while.

It's pretty ugly looking, which isn't a big deal since I never go on the west side of my house in the first place, but what's more concerning to me is that the combination of the sunken middle, the giant crack running through it, and the failed previous patch jobs, have turned it into a giant funnel that captures rainwater and soaks it into the ground right next to my house.

As you might imagine, that's not super.
So, step one is to clean off the moss.
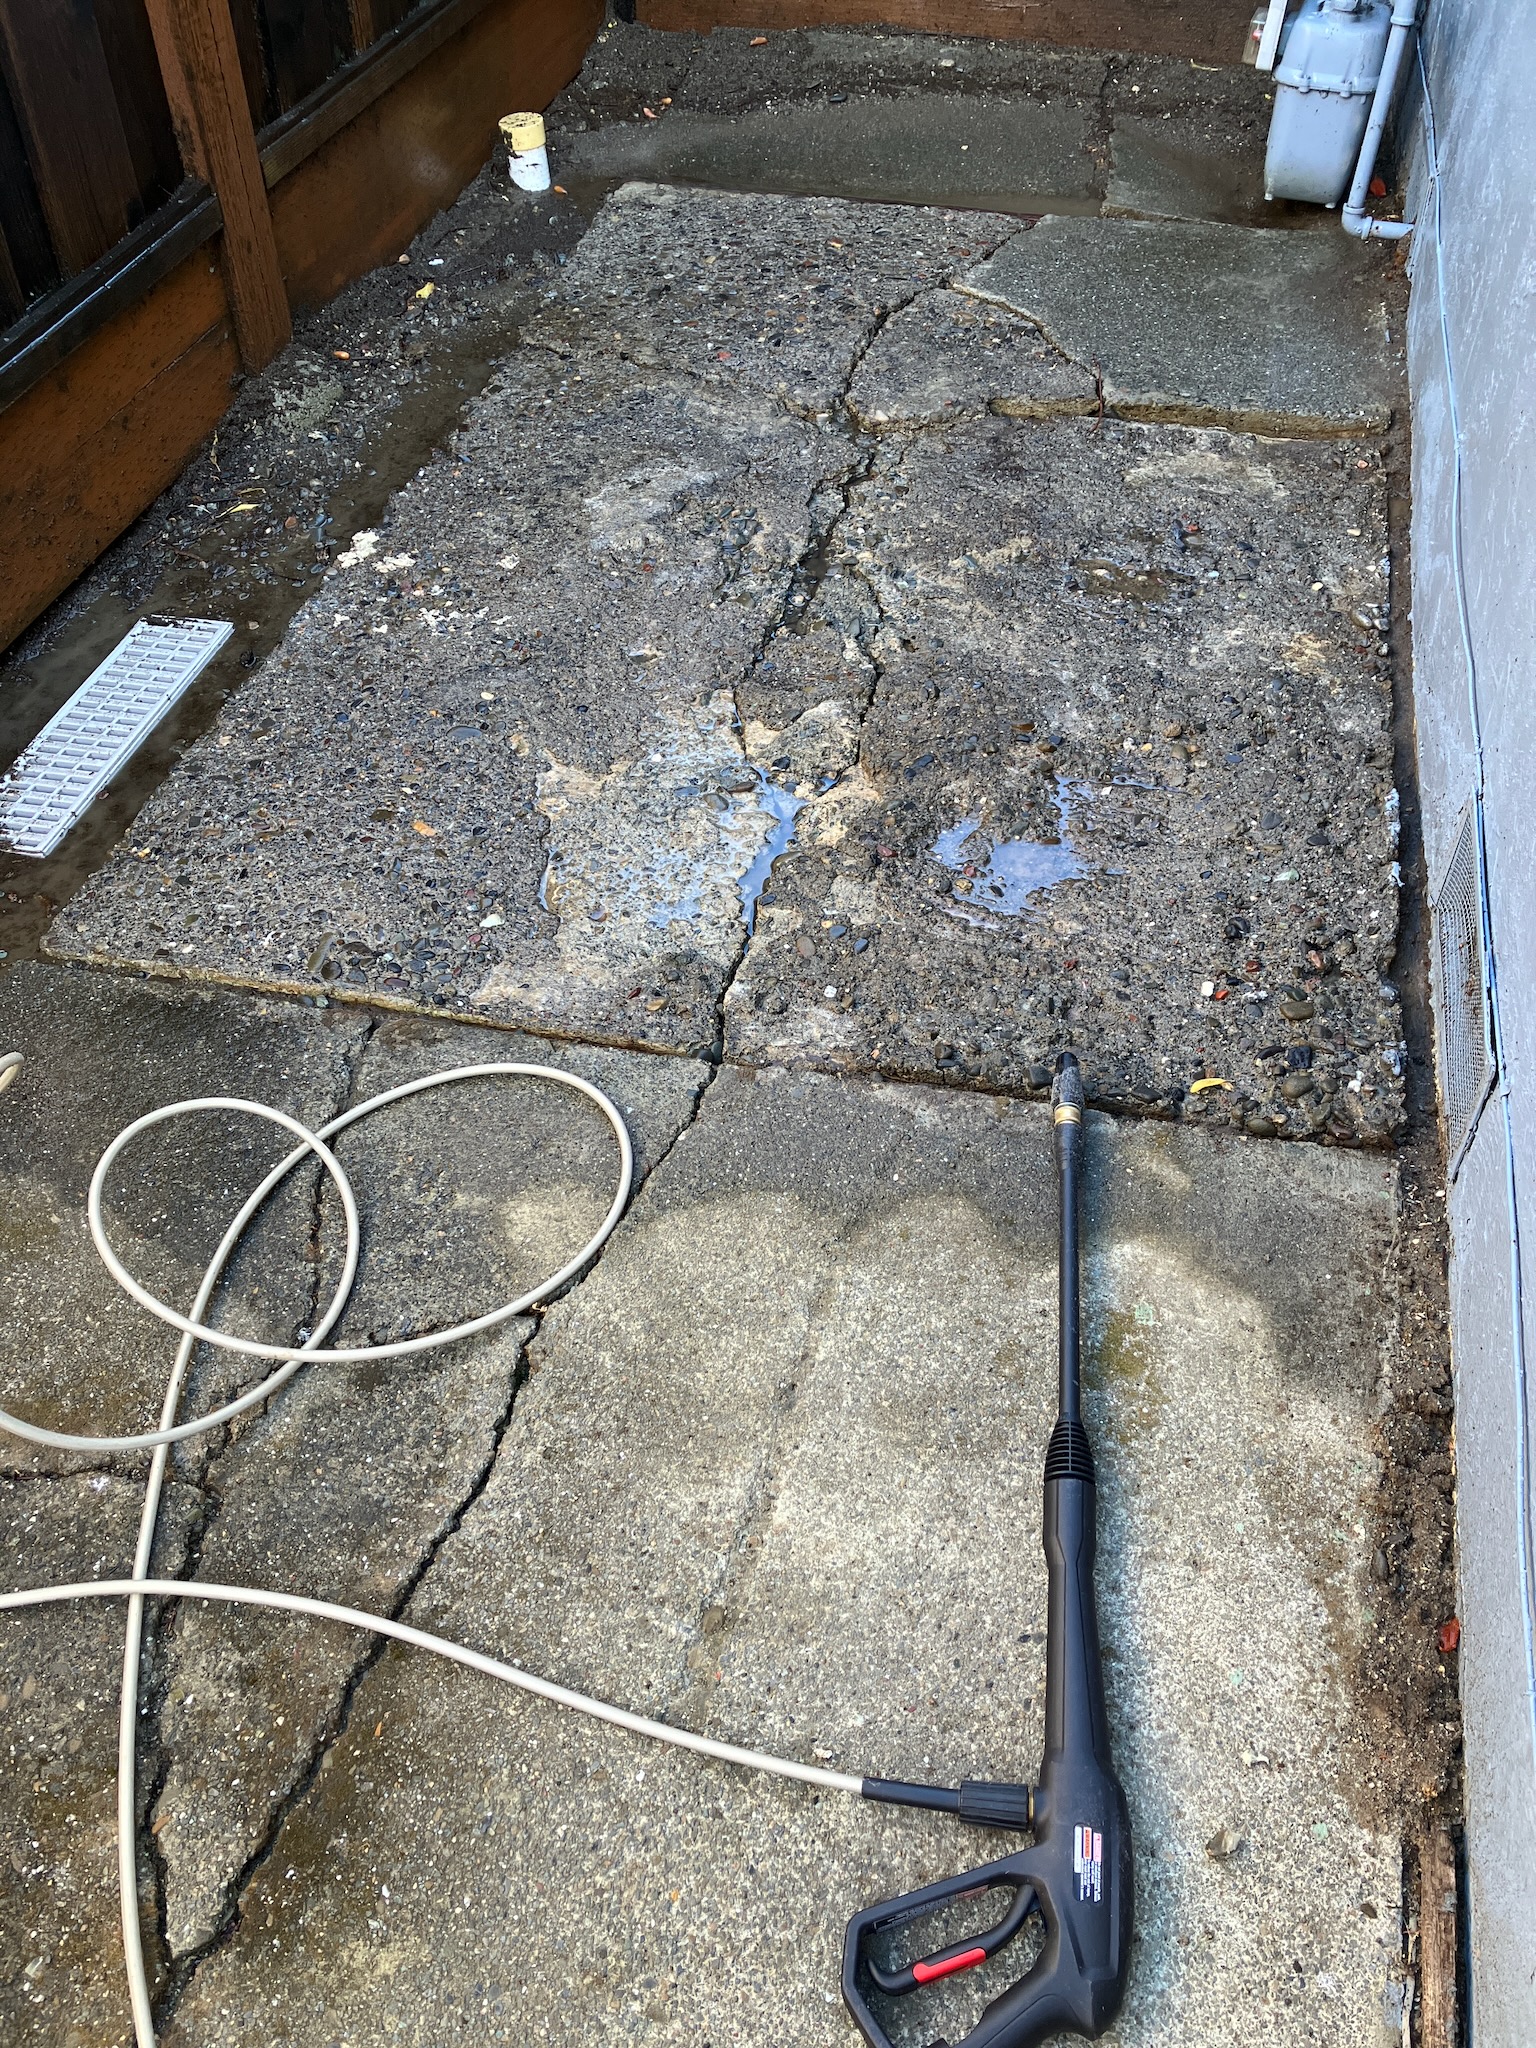
Along with sizeable chunks of failed concrete.
Step two, go get some supplies while things dry out a bit (but not too much).

Now you might notice something missing here, namely gravel. Usually concrete is made with a mix of portland cement, sand and gravel, in varying ratios but commonly a 1:2:3 mix (since it's easy to remember). However, I'm trying to skim an existing slab, and regular concrete mix is nearly impossible to spread out in a layer less than 2 inches thick, due to the chunks of gravel in it.
So instead what I'm making here is known as "sand mix". As you might imagine, it's a concrete mix with, well, sand. No gravel. This actually makes a very strong product, though it tends to be a bit more expensive than standard concrete since you miss out on about half the volume that would normally be provided by the gravel. But as a tradeoff, you can actually spread it right down to basically a feather edge. I'll need to do that in places.
Anyway, we've got our supplies staged.

So it's time to mix.

I'm aiming for a very stiff mix here since I'm not using any formwork, so I want the concrete to be self-supporting around the edges.

This first batch is actually ever so slightly on the loose side, but I'll be feathering it into the slab on the far end so it'll work out to my advantage.
One other important task here is to apply a bonding agent, so that the new concrete actually adheres to the old stuff, unlike the previous patch attempts that just flaked right off.

I've heard that this stuff is just watered down PVA glue, and some people actually just use watered down PVA glue, but the actual bonding agent is pretty cheap so I just bought it pre-mixed. I only maybe used 1/3 of the gallon jug here.
I didn't take any in-progress pictures of spreading the concrete, because I was busy spreading the concrete, but here's what it looks like after the initial troweling.

I mixed up three batches of concrete (1 bag or 47lbs of cement to 1.5 bags or 90lbs of sand) and had about half a batch left over when I was done.

I'll let these rocks-in-progress harden up and then dump them in my regular trash one at a time over the next 6 weeks.
Of course just pouring and troweling the concrete is hardly sufficient, you need to float it after it's started to set up a little. Usually you can tell when the right time is when the bleed water on the surface has dried up, though this can vary depending on weather conditions, mix ratios, the phase of the moon, and so on.
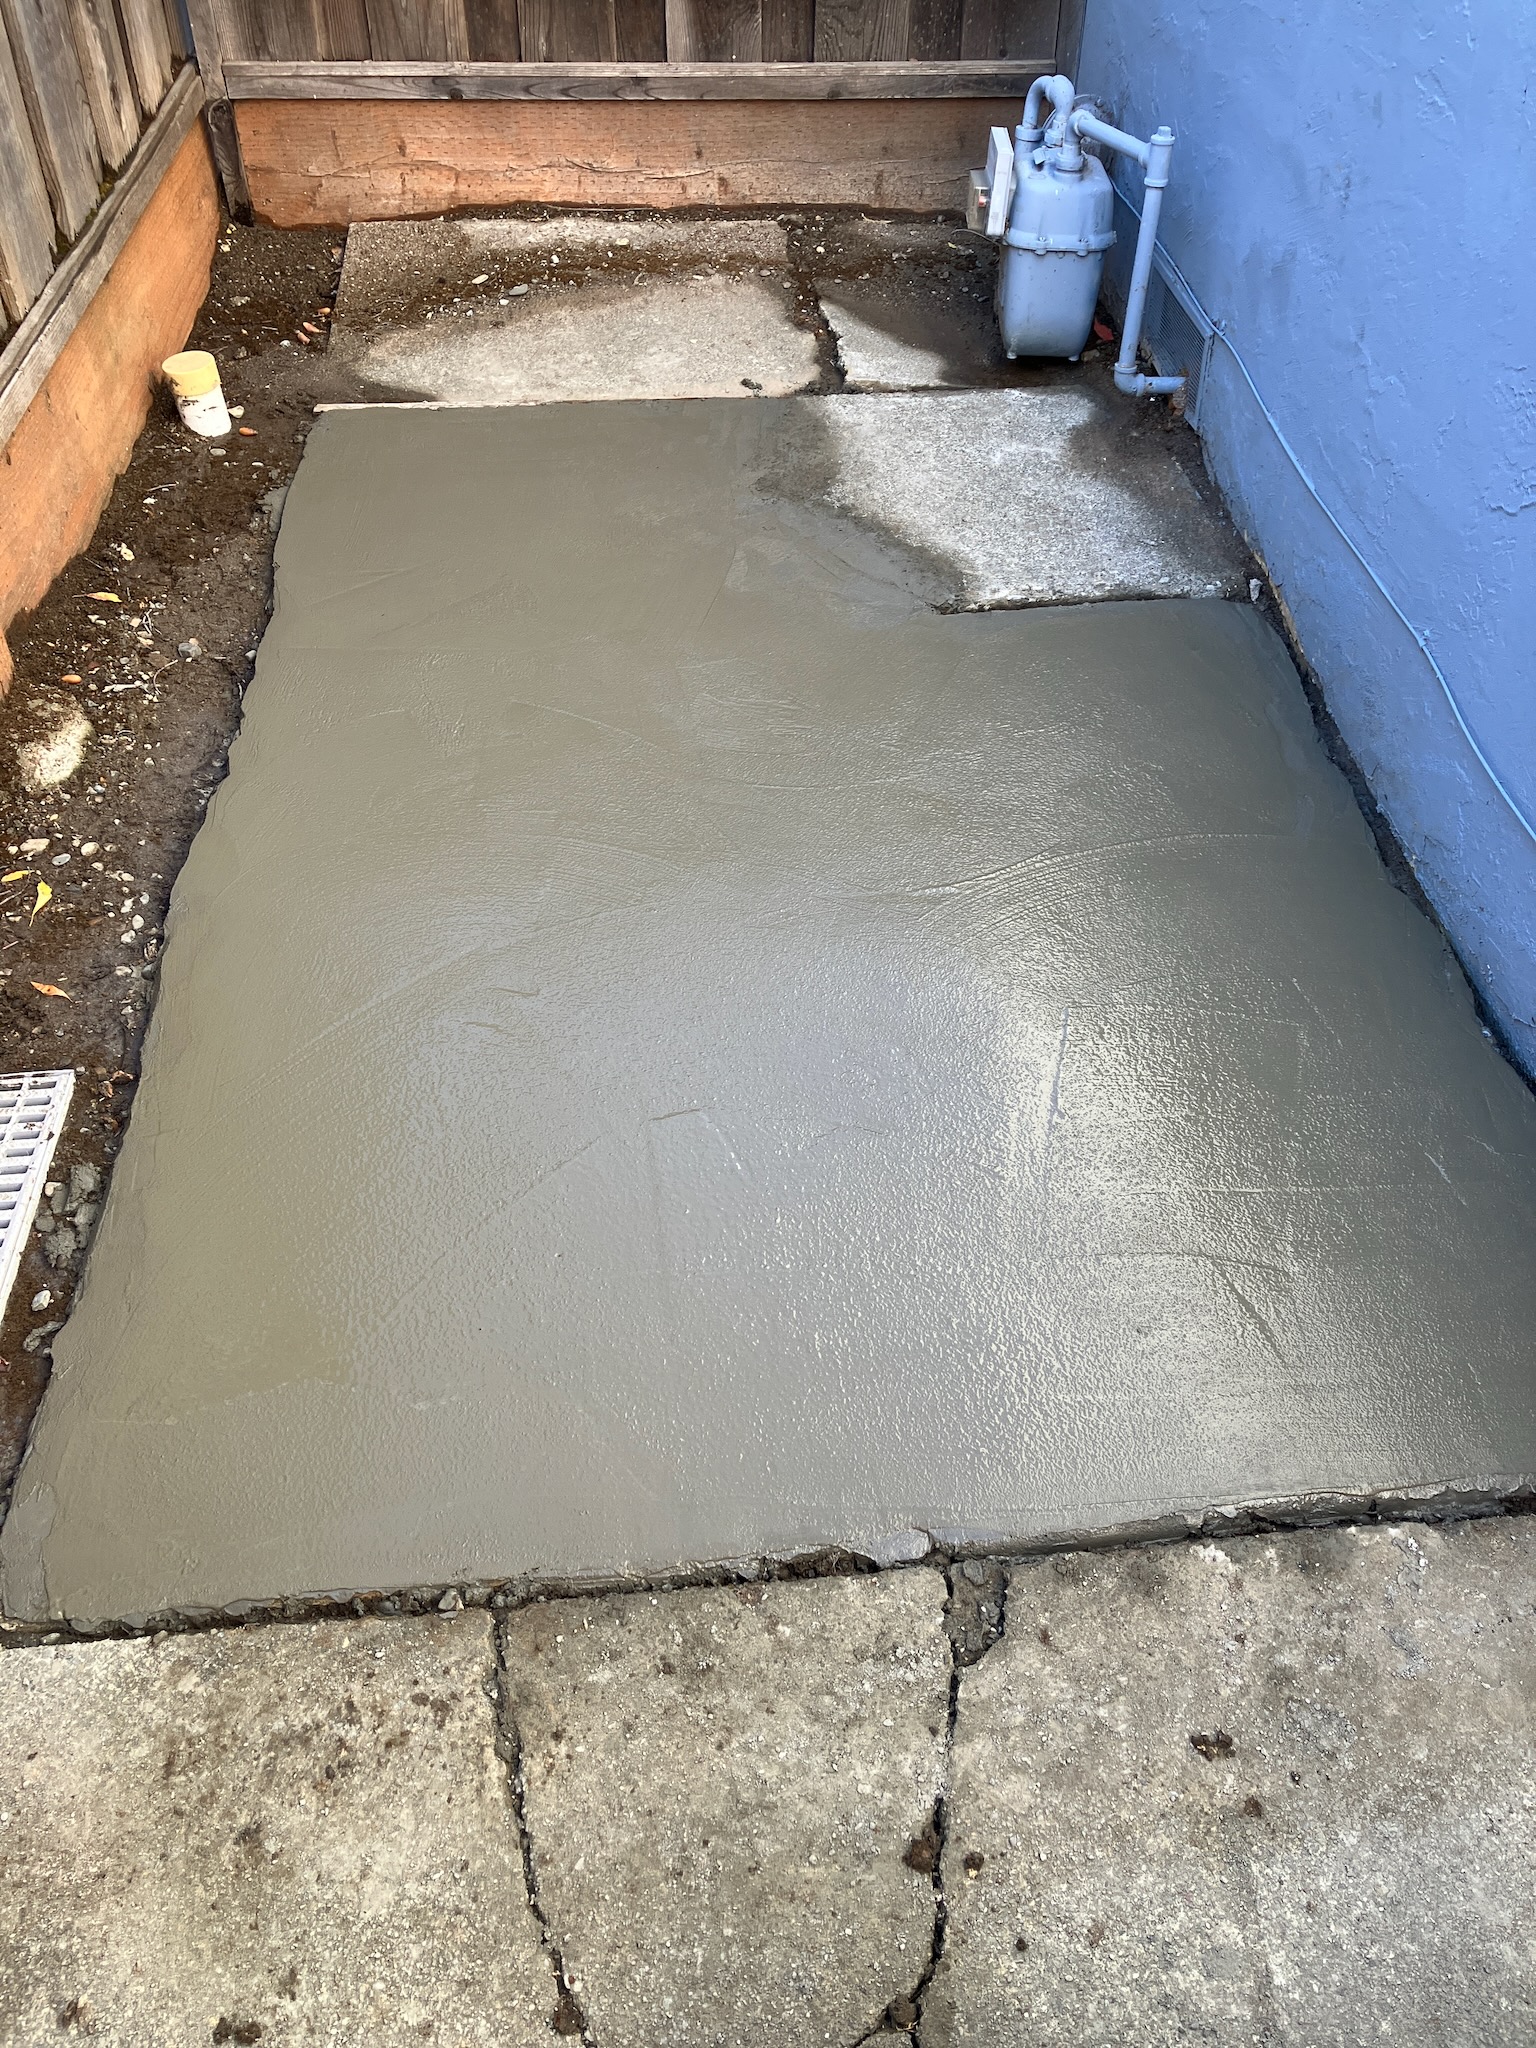
The goal is basically to scrub the surface of the concrete with the float (not the trowel) to both even out the surface, as well as to make sure that the aggregate is brought to the top so that you don't end up with a thin layer of powdery cement on top with no sand for it to bond with.
Then it's just a matter of waiting for it to cure.

This is the next day, and the little white streak in the foreground is from a spot that I overworked a little bit while floating. The beige patches towards the house are a little bit of a mystery to me, but I think they might be spots that got a little dried out the previous day, as the sun was mostly hitting that side of the slab once I was done.
And speaking of drying out, the most important task is to keep the slab hydrated as it cures, so I'll be watering this regularly over the next few weeks.

Luckily the weather has gone cold now, so I don't have to be obsessive about spraying it down every hour or anything. Just once or twice a day should be sufficient.
This was quite a lot of work to do, but well worth it I think.
No comments:
Post a Comment