I feel like I'm well past due for resting on my laurels, but as it turned out I was rather shamefully short on laurels to rest on. Luckily there's ways to fix that.
Once again, it's good to have a van.
The Laurus Nobilis is in fact one and the same laurel as the tree from antiquity. Though, to be fair, the Saratoga variety is a more modern hybrid of it, which has improved disease and insect resistance.
Of course, before I get to the resting stage I need to actually get this into the ground, and luckily I've got an empty spot just waiting for me to plant something in it.
I think there was originally another baby sage here, which died either shortly after I moved in or sometime before that. Baby sage is kind of a pain in the ass, though, so I'm not sad about it not being there anymore.
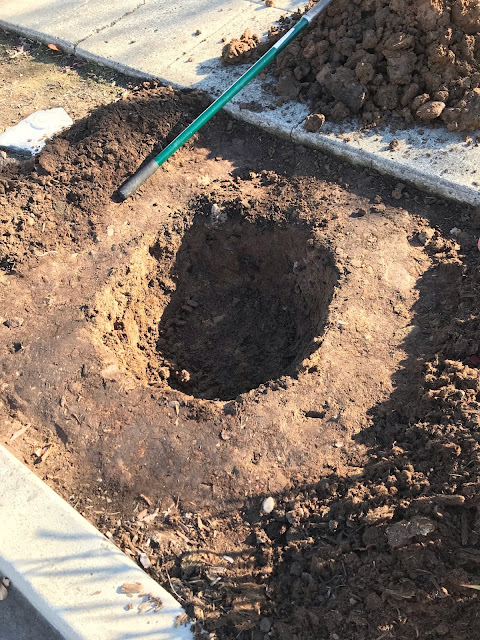
Before I stick the tree here, though, I need to get the dirt out of its hole.
Twice as wide as the pot, and just a little shallower than the root ball so that I can mound it up a little above the level of the surrounding dirt. There's two reasons for this: firstly, it's always good to plant a little high so as to not suffocate or drown the roots, and secondly, I'm planning to top-dress this area soon to bring the soil up to the level of the sidewalk and curb, as it's currently settled about 2.5 inches low.
That was a lot of dirt. And a lot of rocks. Luckily the rain a few weeks ago had moistened the soil enough that it wasn't like trying to chip away at solid concrete, so I didn't need to break out the rotary hammer for this one.
There was a bit of reasonably good soil here from when the baby sage was planted, but mostly it was just the heavy, sticky clay. So, I added some organic material to help amend things, and also to make up for the volume of the rocks I removed.
This soil was left over from the previous owner, and had been growing mushrooms for a while, which is just fine by me.
Anyway, time to get the tree into the ground. Let's see if it's root bound or not.
Hmm, that would be a yes. Not the worst I've seen, but I'll need to tease out those roots a bit. Luckily not a hard thing to do.
So, into the ground it goes, and with a little back-filling it's looking pretty good.
And rake the mulch back over to keep the moisture in.
You can hardly even tell I just filled in a huge hole in the ground.
And the 'after' shots.


No comments:
Post a Comment