This here is a Brother Nouvelle 1500s.

As with almost every sewing machine I own at this point, I picked this one up for a song because it was broken. Unlike some of the "broken" machines I've picked up, this one was actually, genuinely broken, as can be seen by what remains of the needle thread tension unit.

Removing the broken tension stud, we can also see that some parts of the tension unit are missing.

So I'm going to need to order up some replacement parts. We'll come back to this later.
The tension unit was the only part that was disclosed as broken, however when I turned the handwheel I felt that there was some binding in the machine, which isn't a great sign. Luckily it was fairly easy to locate: the binding happened once per revolution, which indicated it was somewhere along the upper shaft or feed dog mechanism (the lower shaft that drives the hook runs at twice the speed of the upper shaft that drives the needle and takeup lever). The binding also didn't change when I changed the stitch length or engaged the reverse lever, so I ruled that out too.
To narrow things down further, I powered on the machine and ran it at full speed for a good 10-15 seconds. Running the machine when it's binding will cause whatever is binding to heat up, and so it was quite easy to locate the culprit, which was one of the linkages in the takeup lever assembly.

The middle pivot here was tight, but thankfully it was easy to loosen up: just backing off the black screw allowed it to basically recenter itself, and I tightened it back up and all was mostly well.
I say mostly well, because there was still excessive end play in the upper shaft. The handwheel could move in and out by a good quarter inch or so, which is not at all normal. Luckily this was also an easy fix. Just to the right of the black bearing bushing holder above, just out of frame, is a stop collar. Loosening two screws and sliding it to the left took up all the end play and still allowed the shaft to rotate freely without binding.
Next up, the thread tree. I'm starting to think someone dropped this machine down the stairs at some point.

This part being damaged is especially annoying as a replacement costs around $40, which is a lot more than most parts. I didn't have much hope of fixing it, but I decided to see if I could massage the kinks out of it somehow, using my soft blow hammer and a solid 123 block as an anvil.

Hmm, that looks unexpectedly encouraging.

And would you look at that, hot damn.

Not gonna lie, this took quite a bit of gentle persuasion to coax it back into shape without crushing it, but somehow I managed to pull it off.
Thread tree goes up.

Thread tree goes down.

Tumbling-down-the-stairs damage aside, the machine had also seen some miles, as evidenced by the fluff gathered around the hook area.

And then there was a few spots of rust on the needle plate, suggesting it had sat in the back of someone's closet, garage or attic for a time.

Which a little autosol easily took care of.

And naturally for a machine this old, some of the glossy plastics were looking a little... Hang on a second.

Oh...

Oh yes.

Mmmmm, that's the good stuff right there.
So at this point we've got a machine that looks pretty good.

But it doesn't sew, thanks to the lack of a functioning tension unit.

Thankfully my parts order came in, so we can tend to the very important task...

Of replacing the burnt out sewing light with a brand new LED replacement.
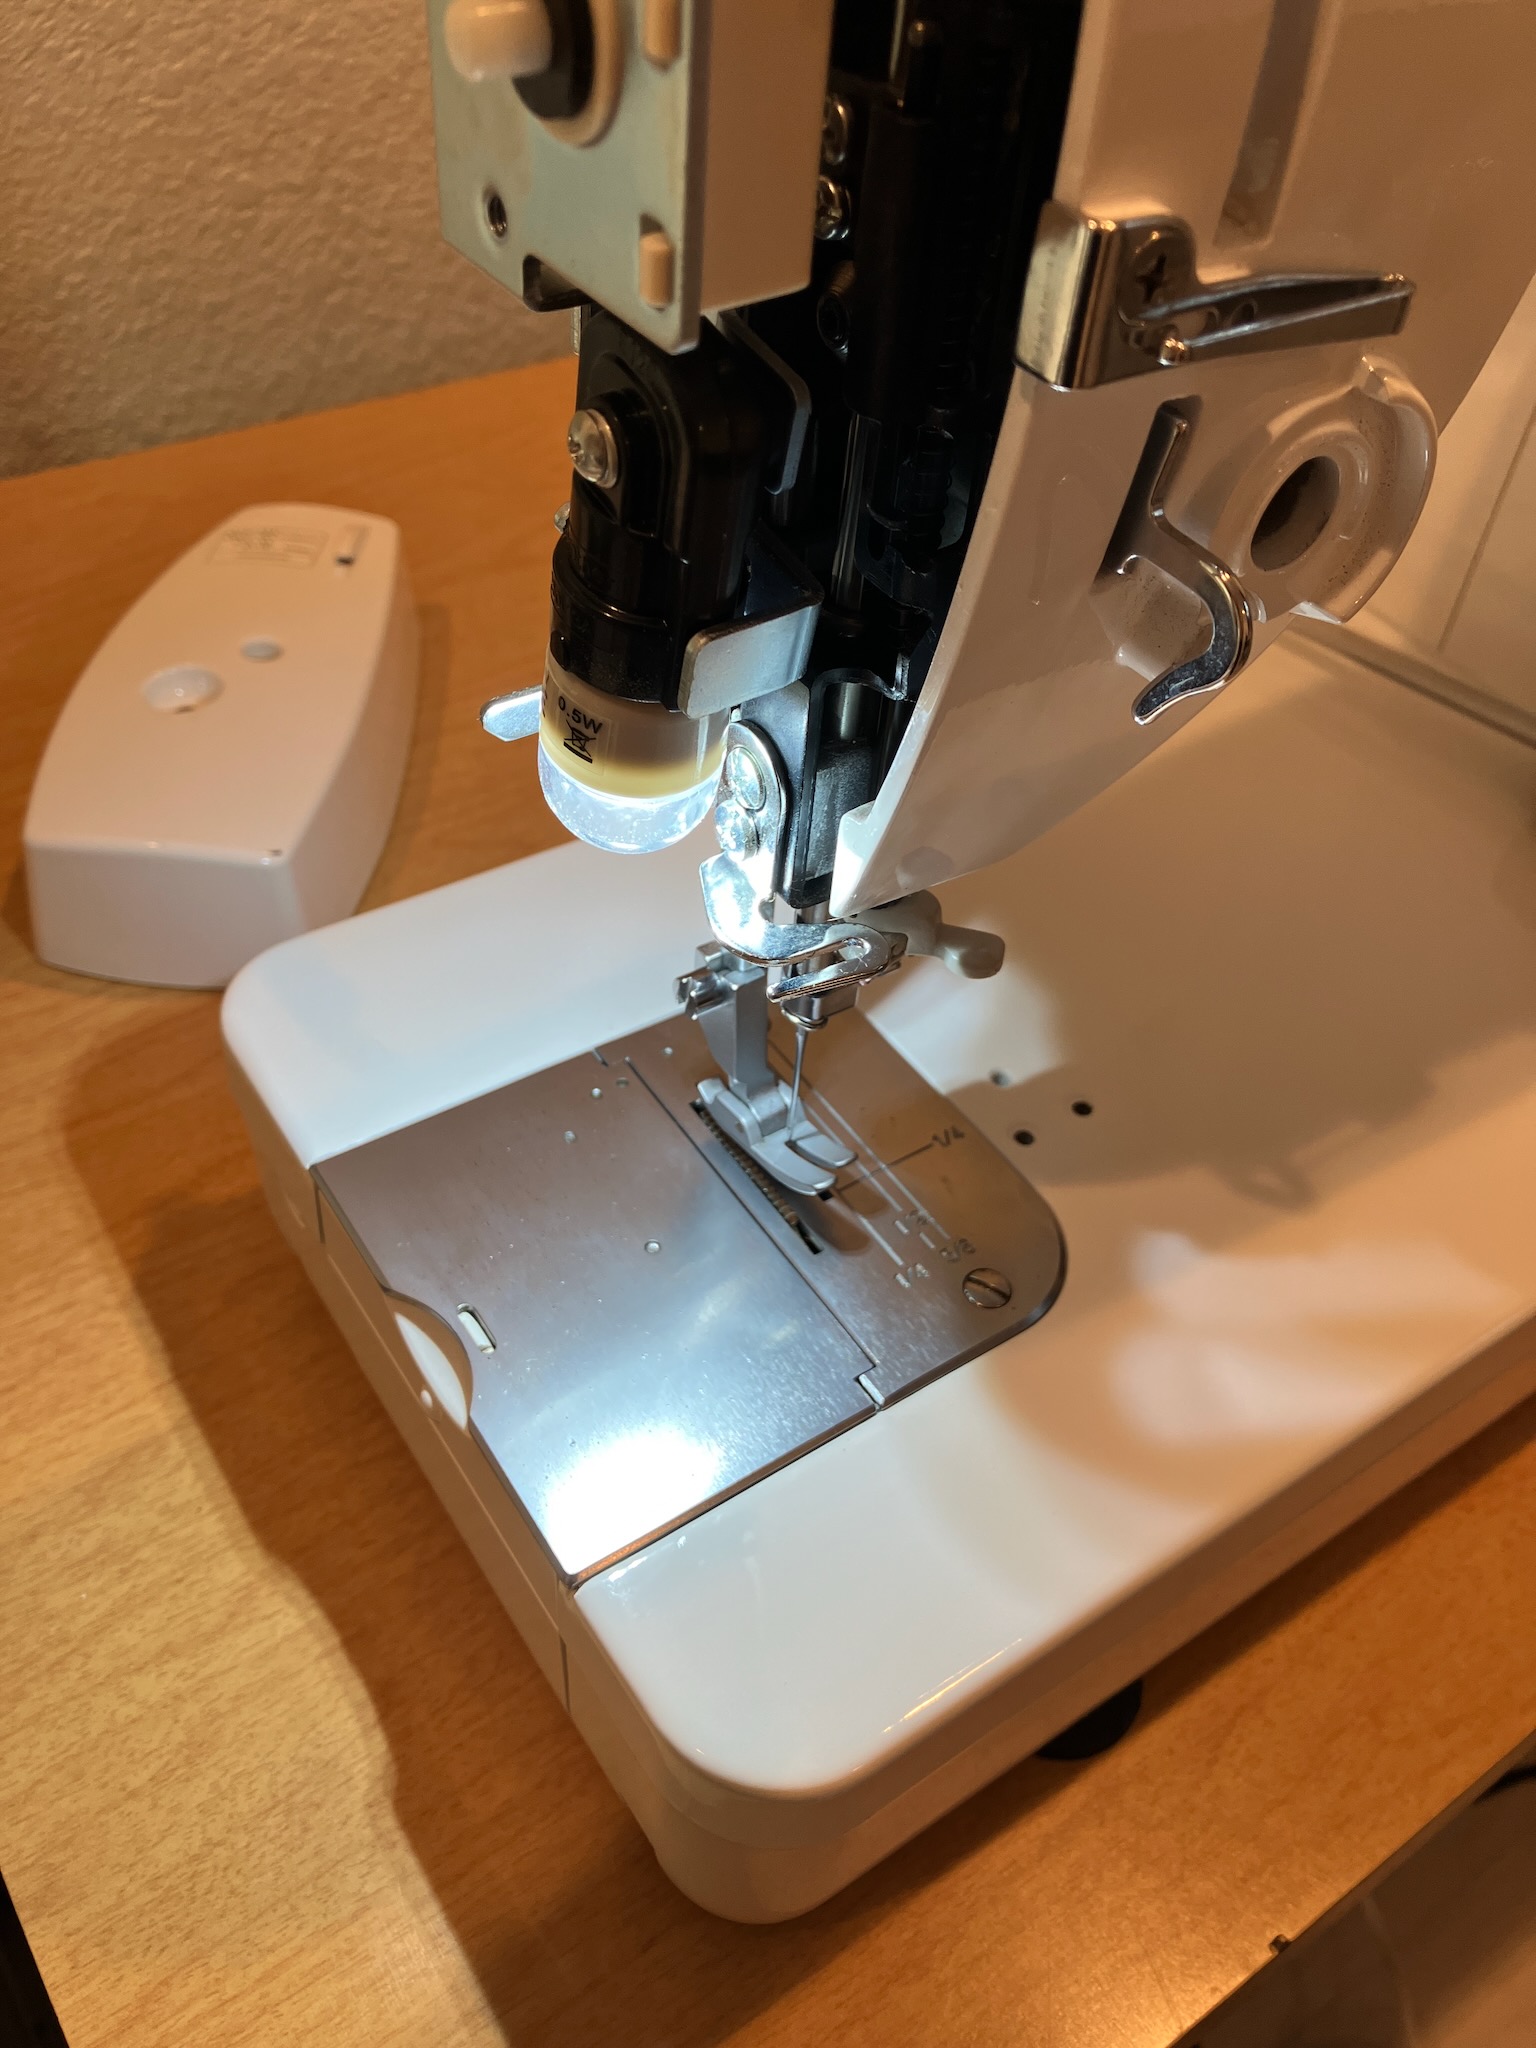
Ah, it's so much better already. And the light is pretty well distributed with the cover back on, which contains some reflective panels inside.

I mean it's a little shadowy over on the right side of the needle but generally you don't need to pay attention to what's on that side very often, so it's not a big deal.
Anyway, jokes aside, we need to get to the important part...

Trying out the new knee lift lever! For those of you not familiar with how these work, you push them to one side with your knee to lift up the presser foot.

And then you can lower it back down hands-free.

Which means you can actually hold onto your project with both hands while doing so.
Ok but for real this time, let's deal with this mess.

As I said, the replacement parts came in, the most important of which is the new tension unit stud.

It looks quite noticeably different from the old one.
But the stud doesn't help us if we don't have the rest of the parts.

So let's get those assembled and installed.

The parts diagram for this machine shows pretty clearly in what order all the bits are assembled onto the stud, but it doesn't show this little 2mm allen head grub screw which secures the stud into the machine. You'll want to only put this in barely finger tight at first, because we need to adjust the tension and stroke of the checkspring.

Normally the check spring sits in this position here when the thread is slack, and it helps to keep the thread from getting loose and tangled as the machine operates by accommodating the thread being pulled through the machine during the sewing cycle. When the thread is pulled taught, it rotates down into this position.

There's two adjustments for the checkspring. One adjustment is to set the stroke of the checkspring, which is done by rotating the rear tension disc after loosening this screw here, which sets the position of the stop up at the top of the tension disc.

You want to set this so that the checkspring doesn't move during the sewing cycle until the takeup lever just starts raising. This will keep the checkspring from interfering with the thread being pulled around the bobbin by the hook, while also not leaving so much slack that the needle thread gets tangled around the takeup lever.
The other adjustment is to set the preload of the checkspring, which is done by shoving a flat blade screwdriver into the end of the tension stud and rotating it. This is why we left the grub screw loose a few steps earlier, so that we could set the checkspring tension such that the spring will go to full travel before pulling the thread through the tension discs, but not be so loose that it doesn't keep the slack pulled out of the needle thread during the full sewing cycle.
Once that adjustment is set, you can tighten down the grub screw to lock it in place, and then tweak the position of the tension assembly sleeve so that the slot is pointing upwards like it's meant to do.

And now we finally have a fully functional sewing machine.
No comments:
Post a Comment