In order for a bicycle's fork to stay attached to the frame, while also being able to turn left and right, it needs a pair of bearings that sit in the head tube of the frame and hold the steerer tube of the fork.

These bearings require a certain amount of preload on them to keep from rattling around all loose and janky-like, and that preload is set by tightening down the top cap.

However, the top cap is not what retains the preload. Instead, the stem clamp pinches the steerer tube and keeps the spacers and bearings below it from working themselves loose.

In fact, you can even remove the top cap completely, and the whole system will still work just fine.

And it's only when you loosen the pinch bolt that the stem can be removed, allowing you to, if you so please, remove the fork from the bike, or set the preload again.
Now this is all fine and dandy, when it works. However, due to a peculiar design decision with this Rockshox Boxxer dual-crown fork, the "stem", whose role is in this case played by the upper triple clamp, uses only a single pinch bolt. This means that it is not able to grip the steerer nearly as securely as a more traditional fork where the stem is usually twice as tall (at least) and uses a pair of pinch bolts to clamp itself into place.
This design oversight has lead to a recurring issue where, after going for a spirited ride, I've returned home to find that the headset has just the slightest amount of play in it. Briefly loosening the pinch bolt on the upper triple clamp (again, acting as the stem) results in the play disappearing as the fork components settle back into place after having been slightly dislodged over the course of the ride.
This is not ideal. Thankfully, we can do something about it.

This here is a locking headset spacer. It's sort of like half of a stem, and is going to serve as the missing half of my steerer clamping mechanism, effectively doubling the clamping area and hopefully solving this problem for me. It's usually intended to just allow you to remove the stem without the fork falling out of your bike (which you might want to do when packing the bike for traveling, for example), but I see no reason why it can't also help retain the headset preload in regular riding usage as well.
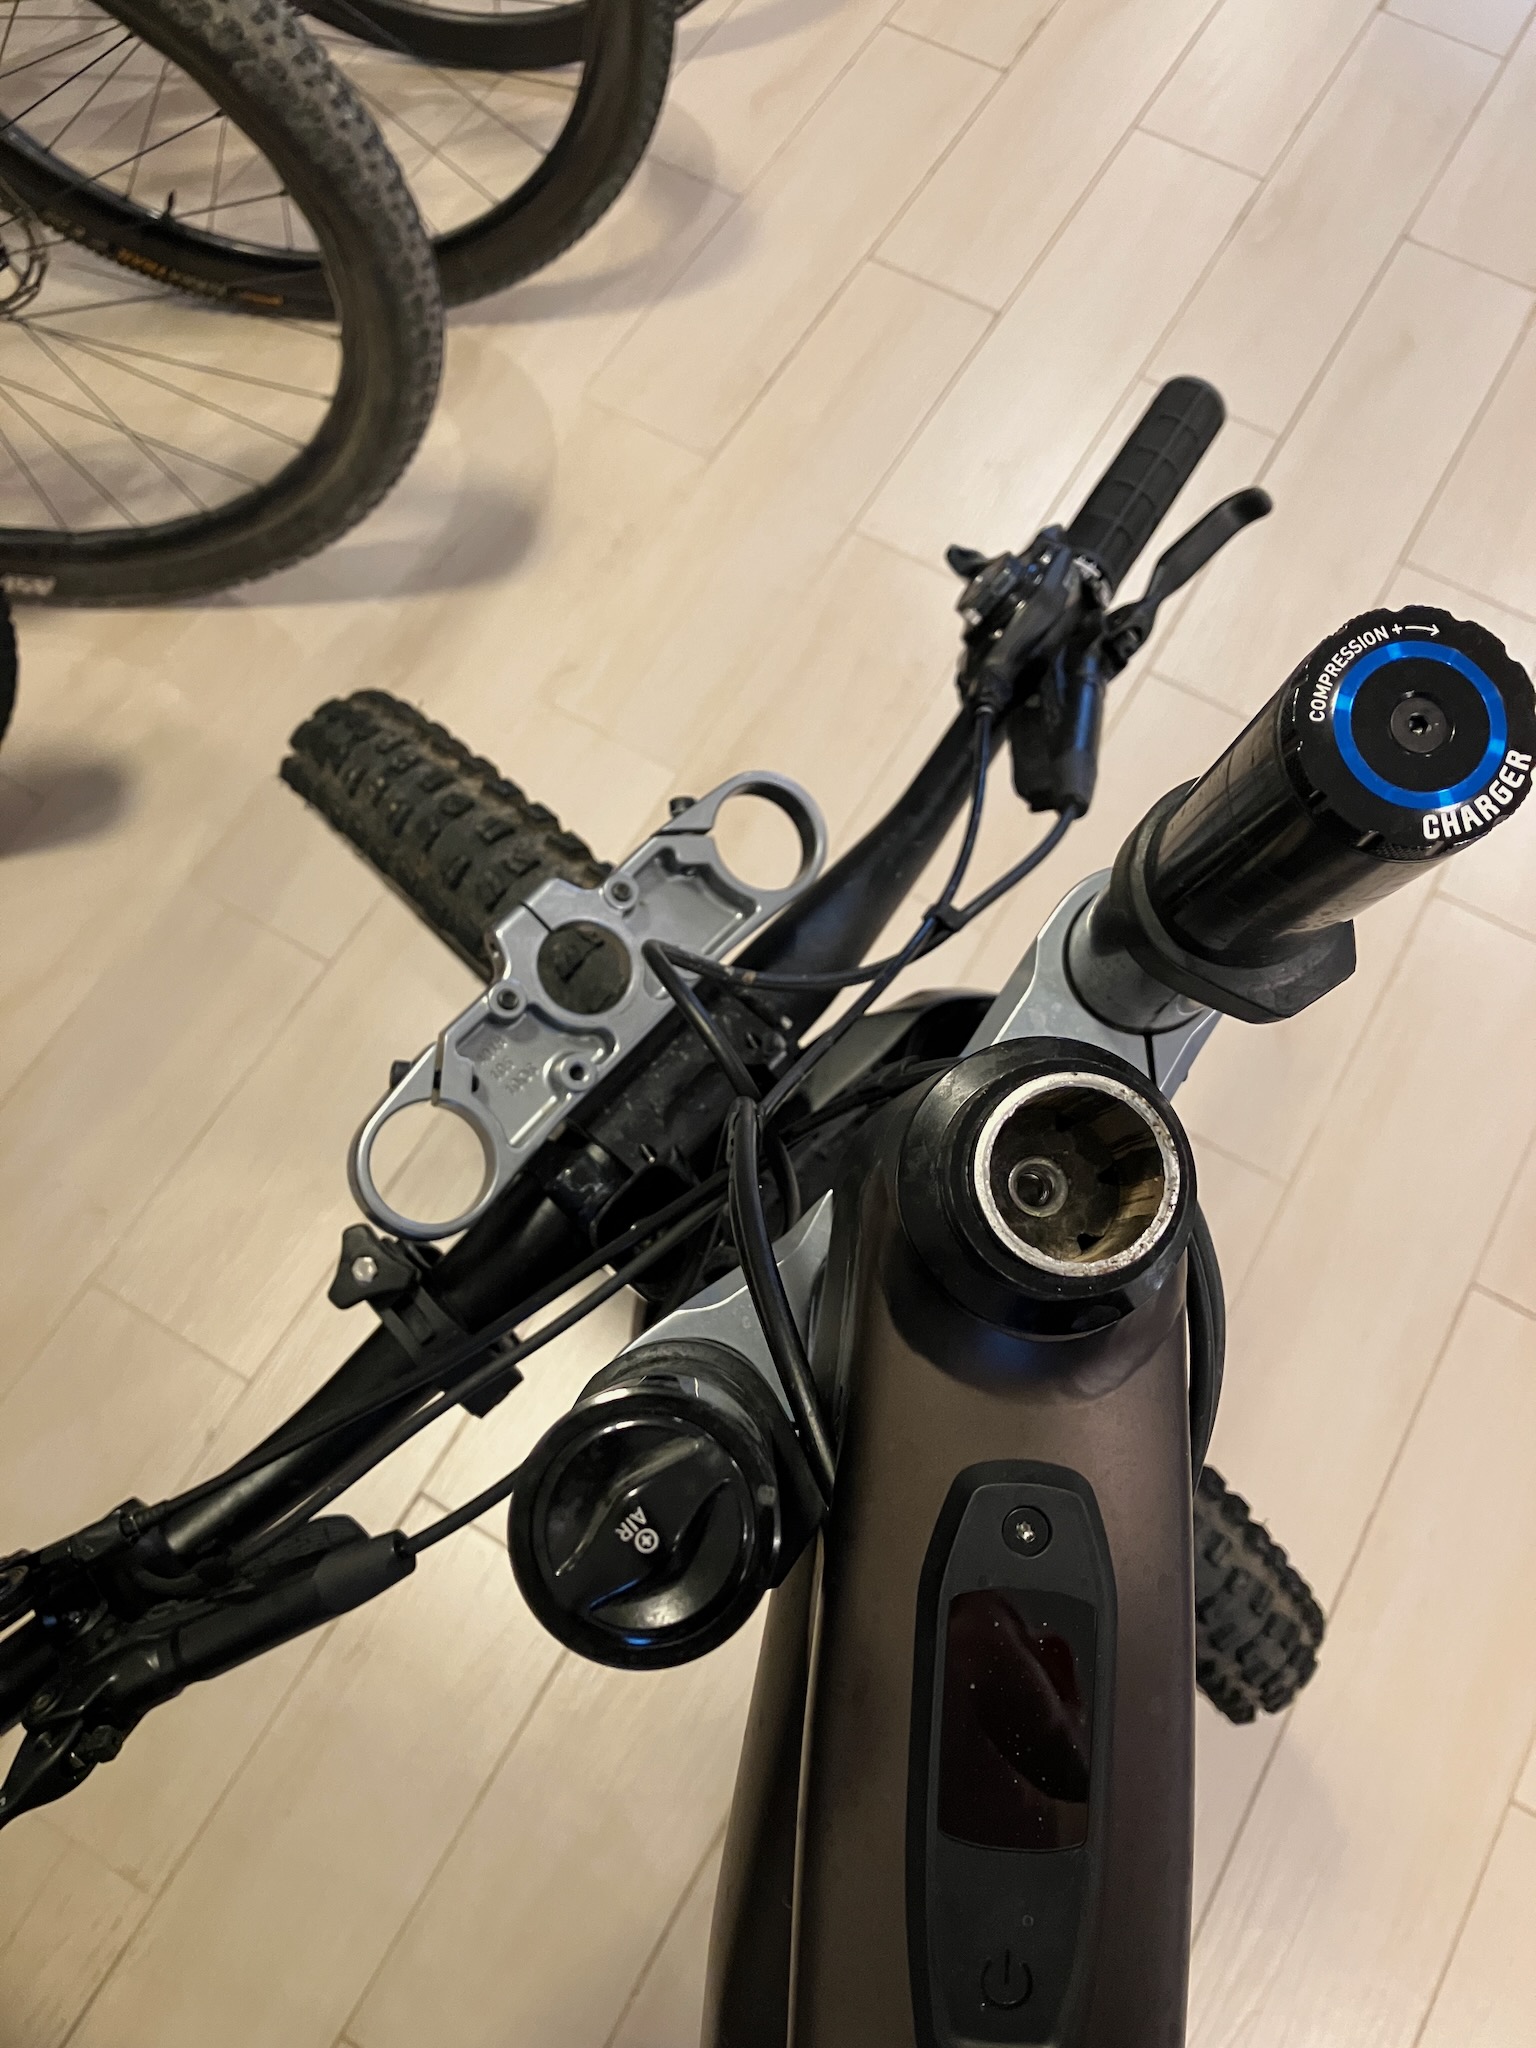
Since it's installed in place of one or more of the existing spacers, let's measure it up and see if we can't get roughly the same stack height.

Well, it's supposed to be 8mm, but I guess they were feeling a little generous at the factory. Not a big deal though, let's see what the original stack looks like.

Ah, yes, three 5mm spacers. This is going to take a little bit of math.
Or, it will take a little bit of fishing into my stash of headset spacers.

Alright, 8mm plus 8.5mm gives us 16.5, which is just a smidge more than we started with. This could work, but actually if we scroll back up, we can see that the upper triple clamp is actually sitting pretty high on the steerer. Despite the fact that there's a 5mm spacer preinstalled above the clamp, the steerer is actually slightly below the top surface of the clamp, which means we're missing out on a tiny bit of clamping area.
So, instead of going with the 8mm spacer, we'll go with one of the original 5mm spacers, which will give us...

A healthy 13.5, which will drop the upper triple by 1.5mm, give or take.
So we'll go ahead and slide those on, just leaving the clamp loose for now.

Then the upper triple goes on.

And we can see here how the steerer now just peeks up above the top of the clamp, as we intended.
Next up comes the 5mm spacer.

This makes sure that the top cap doesn't bottom out against the end of the steerer when it's screwed down to set the preload.
And speaking of the top cap, let's get it in place too.

In case you're wondering, this fancy top cap includes storage for a quick link, plus an integrated chain breaker tool. Very convenient if you ever break a chain out on the trail.
Once the preload is set, we tighten down both pinch bolts this time (as well as the fork tube pinch bolts, of course)

And once it's all buttoned up, you can't even tell it's there.

As a bonus, while I've got my hands dirty, I should check on the brake pads on my gravel bike, since it's been a minute and I've been putting some miles on it this winter. For reference, you're meant to change them when the total thickness hits 3mm.

Hmm, yup, I think I got my money's worth out of these pads.
No comments:
Post a Comment