Way back in the before times, in 2017, I dropped a whole hootin', tootin' $1500 on a Kestrel MXZ Pro, which I dubbed "Blackbirb".

This mighty steed has carried me for many miles since then. 1912.5 miles to be exact. In those miles it has brought me great joy, however it has recently become overshadowed somewhat.
Back in the beginning of the apocalypse I bought myself a full suspension trail bike, Crimson Ghost, in order to be better prepared for chunkier, or unfamiliar-and-possibly-chunkier rides. Just this past summer I built up The Stig, my new gravel bike, for long rides on dirt roads and smooth trails. Blackbirb was getting squeezed out from both above and below.
There are only two sensible solutions in a situation like this: I could either sell Blackbirb and move on with my life, or I could spend thousands of dollars throwing parts at it in order to revive my interest in riding it again. So, really only one sensible solution.
Since this will be a long post, you'll need to click through to see the rest after the break.
The first upgrade I made when I got this bike was to set up the tires tubeless. But that's not really relevant to this story. The second upgrade I made was to replace the fixed seatpost with a wireless dropper post.

And by "wireless" I mean you reach down under the seat to pull the lever in order to make it go up or down. No wires. It's wireless.
Of course this does mean that you have to remove one hand from the bars to actuate the seat post, and when coming into some chunky terrain with some speed, that can be a bit of a tall order, so it's high time I upgraded again.
Normally one runs a cable through the frame of the bike to link a lever on the bars to the bottom of the dropper post. This would have been my preferred solution, but there was one thing standing in my way.

My bike's frame was set up for an internally routed front derailleur, not an internally routed dropper post. That means that the cable port has a housing stop, where only the inner cable goes through the frame, rather than allowing the full length of housing through as one would need for a dropper post.
So the alternative here is to spend quite a bit on money on a dropper post actuated by a wireless remote. And well I guess technically there's also externally routed dropper posts but eww let's not talk about that.
Naturally I chose the sensible solution.


Yup, the dropper cable housing will fit through that no problem now. This does mean I will never be able to run a front derailleur with this bike, but that's a sacrifice that I'll just have to live with.
I popped out the bottom bracket and got the cable routed with surprising ease, then installed the post.

And the lever.

And marked that job off the list.
Next up is the drivetrain. Originally the bike came with SRAM NX-11, which was at the time their low end 11-speed system. It worked well enough, but was a bit heavy (the cassette especially) and the range was a bit lacking (thanks to the cassette, again, which was only 11-42t).


The cranks were also a bit long for my taste, being 175mm, so I took the opportunity to shorten them up while I was at it.
To replace it, I opted for a mixed XX1/XO1 drivetrain. I'd be using an XO1 10-50t 12-speed cassette (it's identical to the XX1 cassette, other than the colour choices and being $68 cheaper), a 170mm XX1 crankset with Quarq power meter spider, and an XX1 shifter and derailleur. I'd reuse the 4-bolt steel chainring and the PF-30 bottom bracket, since they were both in good shape and well suited to my needs.
Installing the new shifter and derailleur was a piece of cake, and I took the opportunity to put in a new cable while I was at it, adding a length of cable liner where it went through a guide below the bottom bracket since that area was prone to getting gunked up with dust and grime.


Then it was just a matter of... wait, did I say that was a PF-30 bottom bracket?

Right, PF-30 isn't DUB, is it.

You know, the great thing about standards is that there's so many of them to pick from. Thankfully a new bottom bracket isn't going to break the bank, so let's get one ordered up and move on to swapping the chainring over.

Ah. 94bcd isn't the same as 104bcd, is it. What was I saying about standards?
Well, ok, luckily a new steel chainring is also pretty inexpensive, so whatever, add that to the cart too.
Moving right along, one of the other things I'm upgrading is the brake rotors. The original rotors were 180mm in front and 160mm in the rear, and were the SRAM "Clean Sweep" design. I wanted to at least move up to 180/180, and also switch to the "Centerline-X" which is a much quieter design and a few grams lighter.
I could have also went with 200/180 but I figured that might be a little bit overkill, plus I like keeping the BOM smaller by using the same size rotor front and rear.
What this meant at this point was that I needed to install a spacer for the rear brake caliper.

And that's exactly what I did, easy-peasy.
The new bottom bracket arrived the next day, and so in it went.


People make a fuss about press-fit bottom brackets and how they're such a nightmare for the home mechanic, but honestly they're about the same amount of fuss as a threaded bottom bracket.

The chainring wouldn't arrive for a few days but we could at least get the cranks installed, with the old pedals swapped over.
The new wheels also arrived that day, and so we can get a side-by-side comparison of the new vs the old.


I decided to weigh the wheels with the brake rotors and cassettes in place, because I didn't feel like taking them off of the old wheels. Also this makes the weight difference look a lot more dramatic.
Here's the old wheels.


Mystery hubs, bargain alloy rims, and one heckin' chonker of a cassette do not make for a light set of hoops.
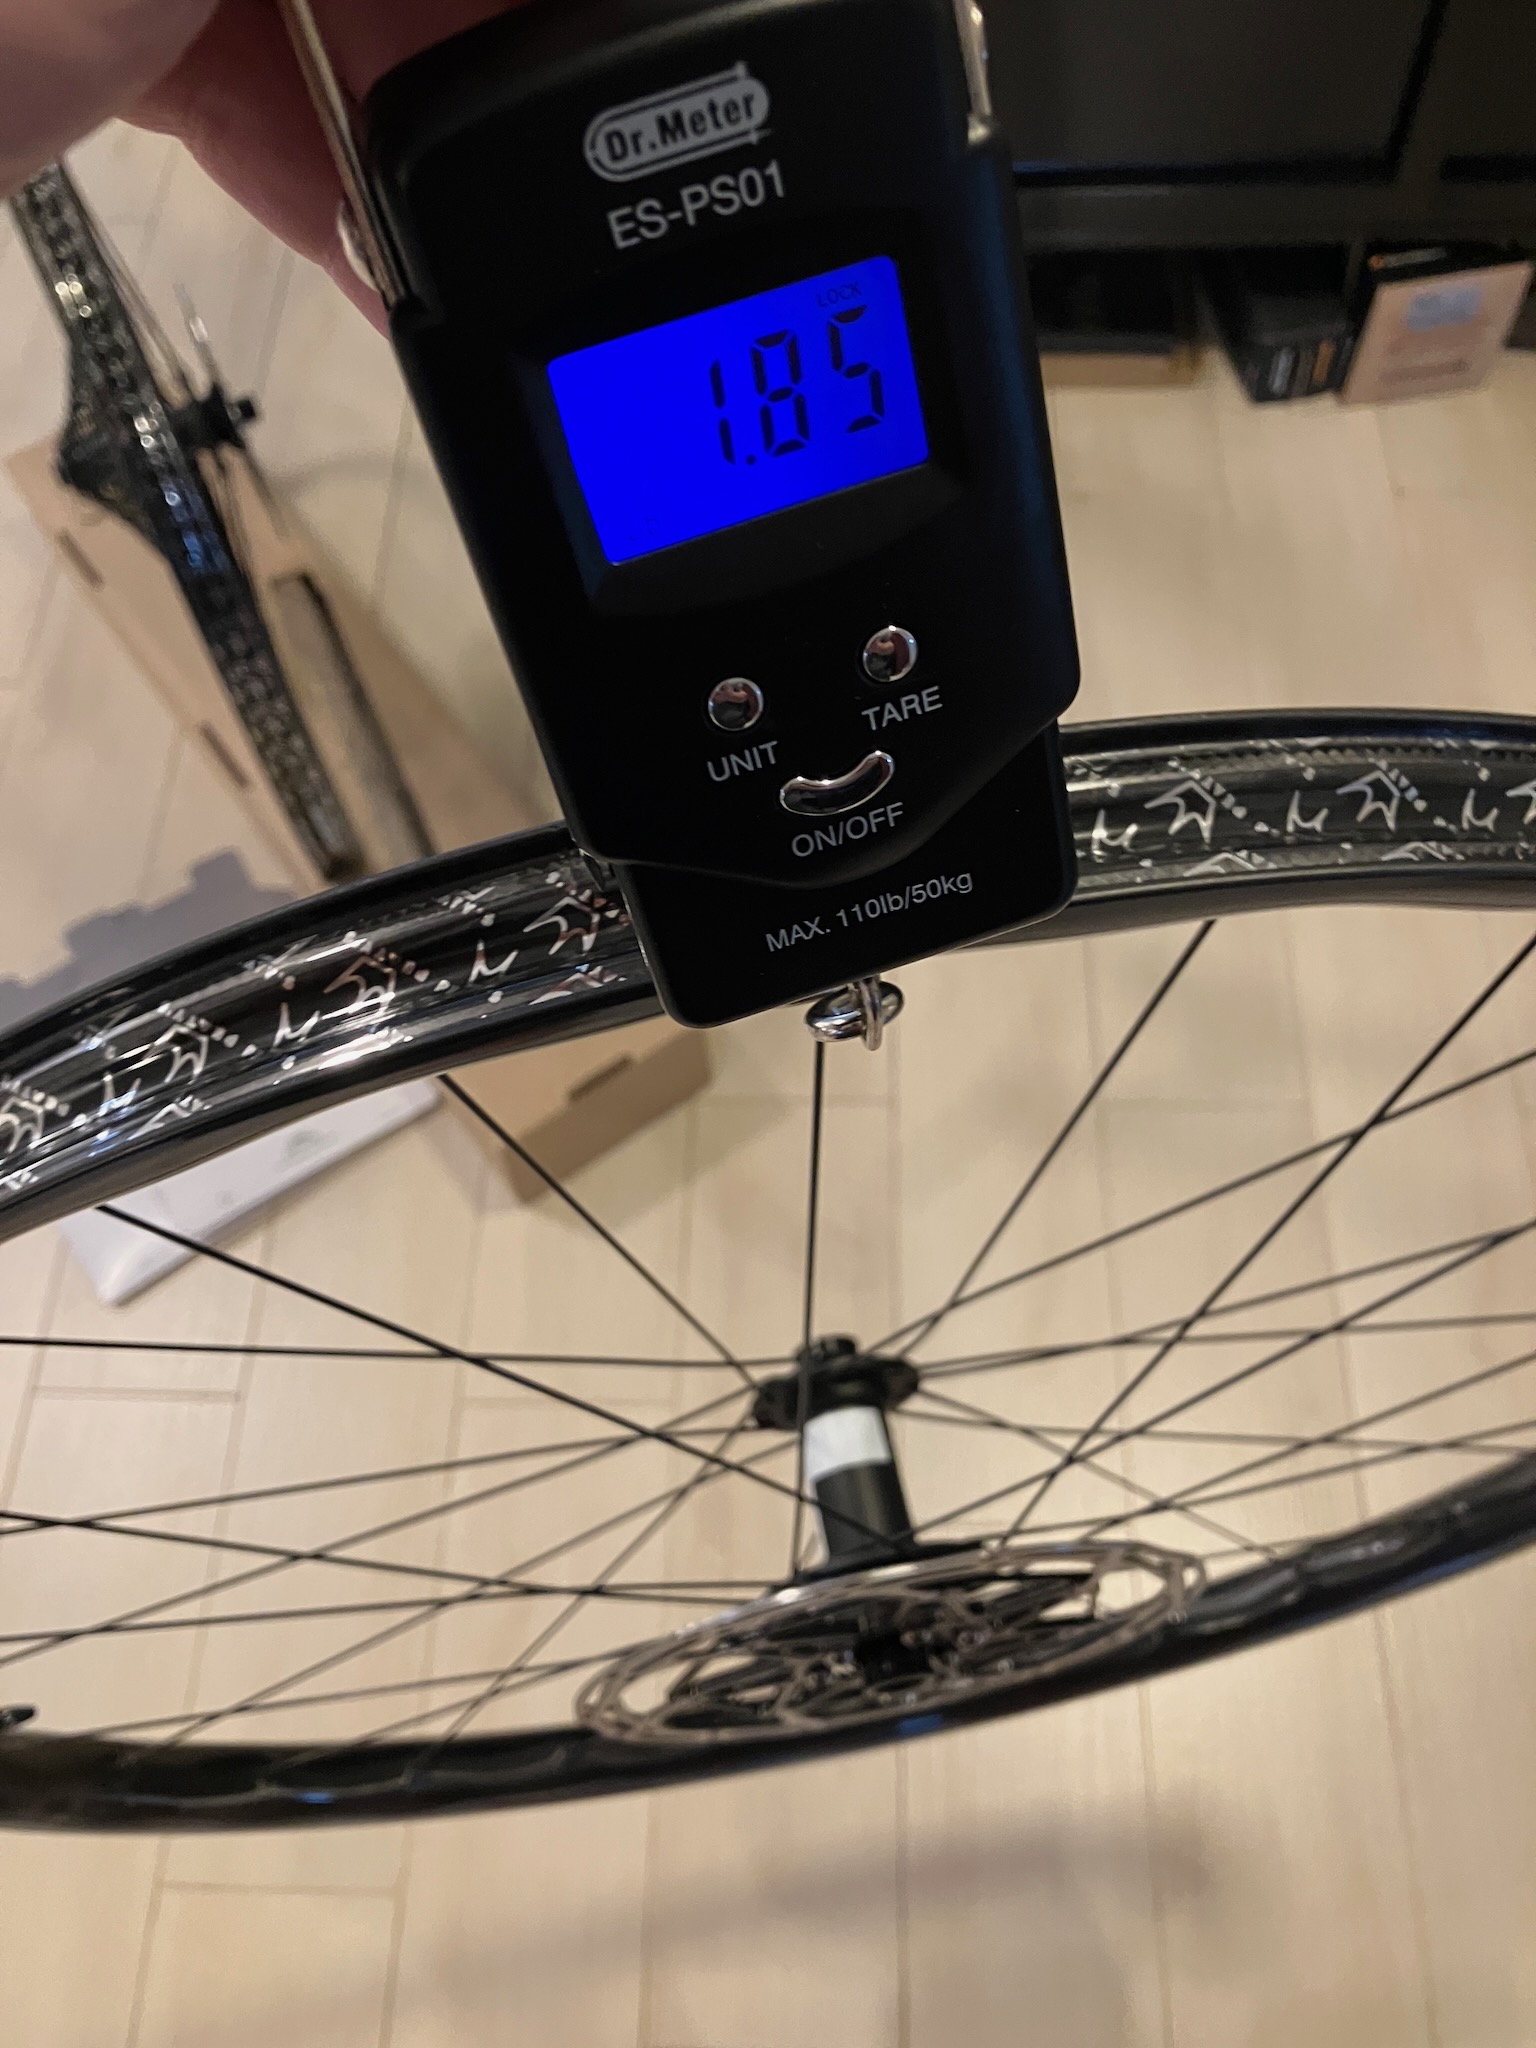

But these carbon rims laced to DT 350 hubs, equipped with a cassette made out of unicorn tears... lightness achieved.
And it doesn't hurt that they look really good.

But we are still missing a vital component: the chainring. A few days later, it arrived from somewhere on the internet, and now we can install this 104bcd steel chainring made by SRAM onto this 104bcd Quarq power meter spider also made by SRAM.

No problem, right?

Uh, right?

Yes?

Wow, ok, what the actual fuck, SRAM? Looks like I'm off to buy ANOTHER chainring, and wait ANOTHER week or so for it to arrive. Thanks.
In the meantime, there's some minor tasks I can busy myself with, like removing the bolts originally intended to mount a front derailleur, and replacing them with some much tidier stainless steel set screws.

Don't forget a dab of purple loctite to keep them from rattling loose.

You don't want to leave the holes just open to the elements, since dirt and crap can get into the threads, and since these are through-holes open to the inside of the frame, that dirt can get all the way inside too. The set screws keep everything nice and tidy.
Ok, chainring take three, this time for sure.

Well, there's not a ton of room, but clearance is clearance.

The aluminum chainring isn't going to last as long, and will be more prone to getting damaged if I bash into rocks, but I guess that's just something I'll have to deal with. The important thing is that it fits, it works, and I can finally move on with this rebuild.
We're in the home stretch now, and speaking of stretch, we might have to stretch the chain a little.


Wrapping around a 50t cog takes a few more links than a 42t, who would have guessed.
Normally one would need to replace the chain at this point, but I've got a few things going in my favour here. First, this is already a 12-speed chain, so it's compatible with the new 12-speed drivetrain. Second, it's the SRAM XX1 12-speed chain, which means it lasts basically forever, so I don't need to change it for chain wear concerns. Third, I never throw anything out so I still have some extra links I can splice in to make up the needed length.

I'm a little ashamed at the fact that I didn't have the foresight to order a new quicklink in a matching colour, but oh well.
So, what did all these upgrades get me? Well, we now have a wider range drivetrain, an easier to use dropper post, stronger brakes, and we went from 25.5lbs initially to...

Under 23.5lbs. Very respectable.
Let's get a glam shot to see how it all came together.

Hmm, that' background is a little busy, let's try again.


That's more like it. Now all I need to do is get out and ride!
No comments:
Post a Comment