Thursday, July 4, 2024

Bibbity Bobbity Boo

I have three hose bibs around my house. There's one in the front yard, one in the back yard, and one in the car hole.

They always leak from the stem and naturally the main seal has hardened up over the years so they need to be cranked down pretty hard to not leak through there too. So, let's go ahead and fix those leaks.

By throwing out these garbage hose bibs and installing brand new quarter-turn ones that don't leak.

This one has a 3/4 pipe thread connection, so replacing it will be the most straightforward. Just unscrew the old one and screw in the new one.

A little dab of pipe dope on the new threads...

And in it goes. The secret to these pipe threads is to thread them in finger tight, and then stick a wrench on it and spin it an additional number of times, which varies by the size of the fitting. For a 3/4 like these, the spec is I believe 1.5 to 3 turns, but with clean, fresh threads and good pipe dope you can probably get away with just 1 turn.

With the new valve in place, it's a simple matter to spin the quick-release back on and we're good to go.

Though it admittedly looks a bit silly with how far past the fitting the threads go.

Ok, that's one down, two to go. Let's hit up the one in the front yard.

This one does not thread into place, and is instead soldered. Now in theory you're supposed to be able to disassemble the valve body to remove the temperature sensitive components while you're heating it, but this thing has been corroding into place for 60+ years so there's really no hope of doing that. Since it's going straight in the bin, I'm just going to cook it and not care about it.

But first I'm going to need a threaded fitting to go in its place, and it just so happens that I have one left over from the previous plumbing project. I just need to free it from its pipe.

A little bit of thermal magic from the torch gets it loose.

And then it just needs a quick scrub to clean off the old paint and oxidation.

And it's good as new. Now let's melt off the old hose bib.

Wait hold up a second.

Oh, it's that kind. Well, the good news is that I have some spare 3/4 copper pipe laying around too. So let's clean off a section, cut off a little nub, put the fitting back onto the end of it, and solder it into place.

Ah, that's reassuring. I was starting to worry that I had lost the ability to screw up a sweat copper joint. I wonder what went wrong?

Oh right, lead-free solder. That explains why my tap water hasn't been tasting as sweet these days. Sigh.

Anyway, I'm pretty sure that what happened was that there was a little bit of oxide built up on the surface of the solder of the recycled fitting, which caused a little void to form in the joint. Pulling it apart, cleaning it, fluxing it and melting it back together solved the issue.

So with that mess out of the way, let's get to hose bib number three, in the back yard.

Since I don't want to melt that ATT box (not that there's anything inside of it) or set fire to my house, I'll unscrew the fitting from the wall and tuck one of those fireproof cloths in behind it.

Then apply heat again.

And as we can see the house did not burst into flames, nor did the ATT box melt.

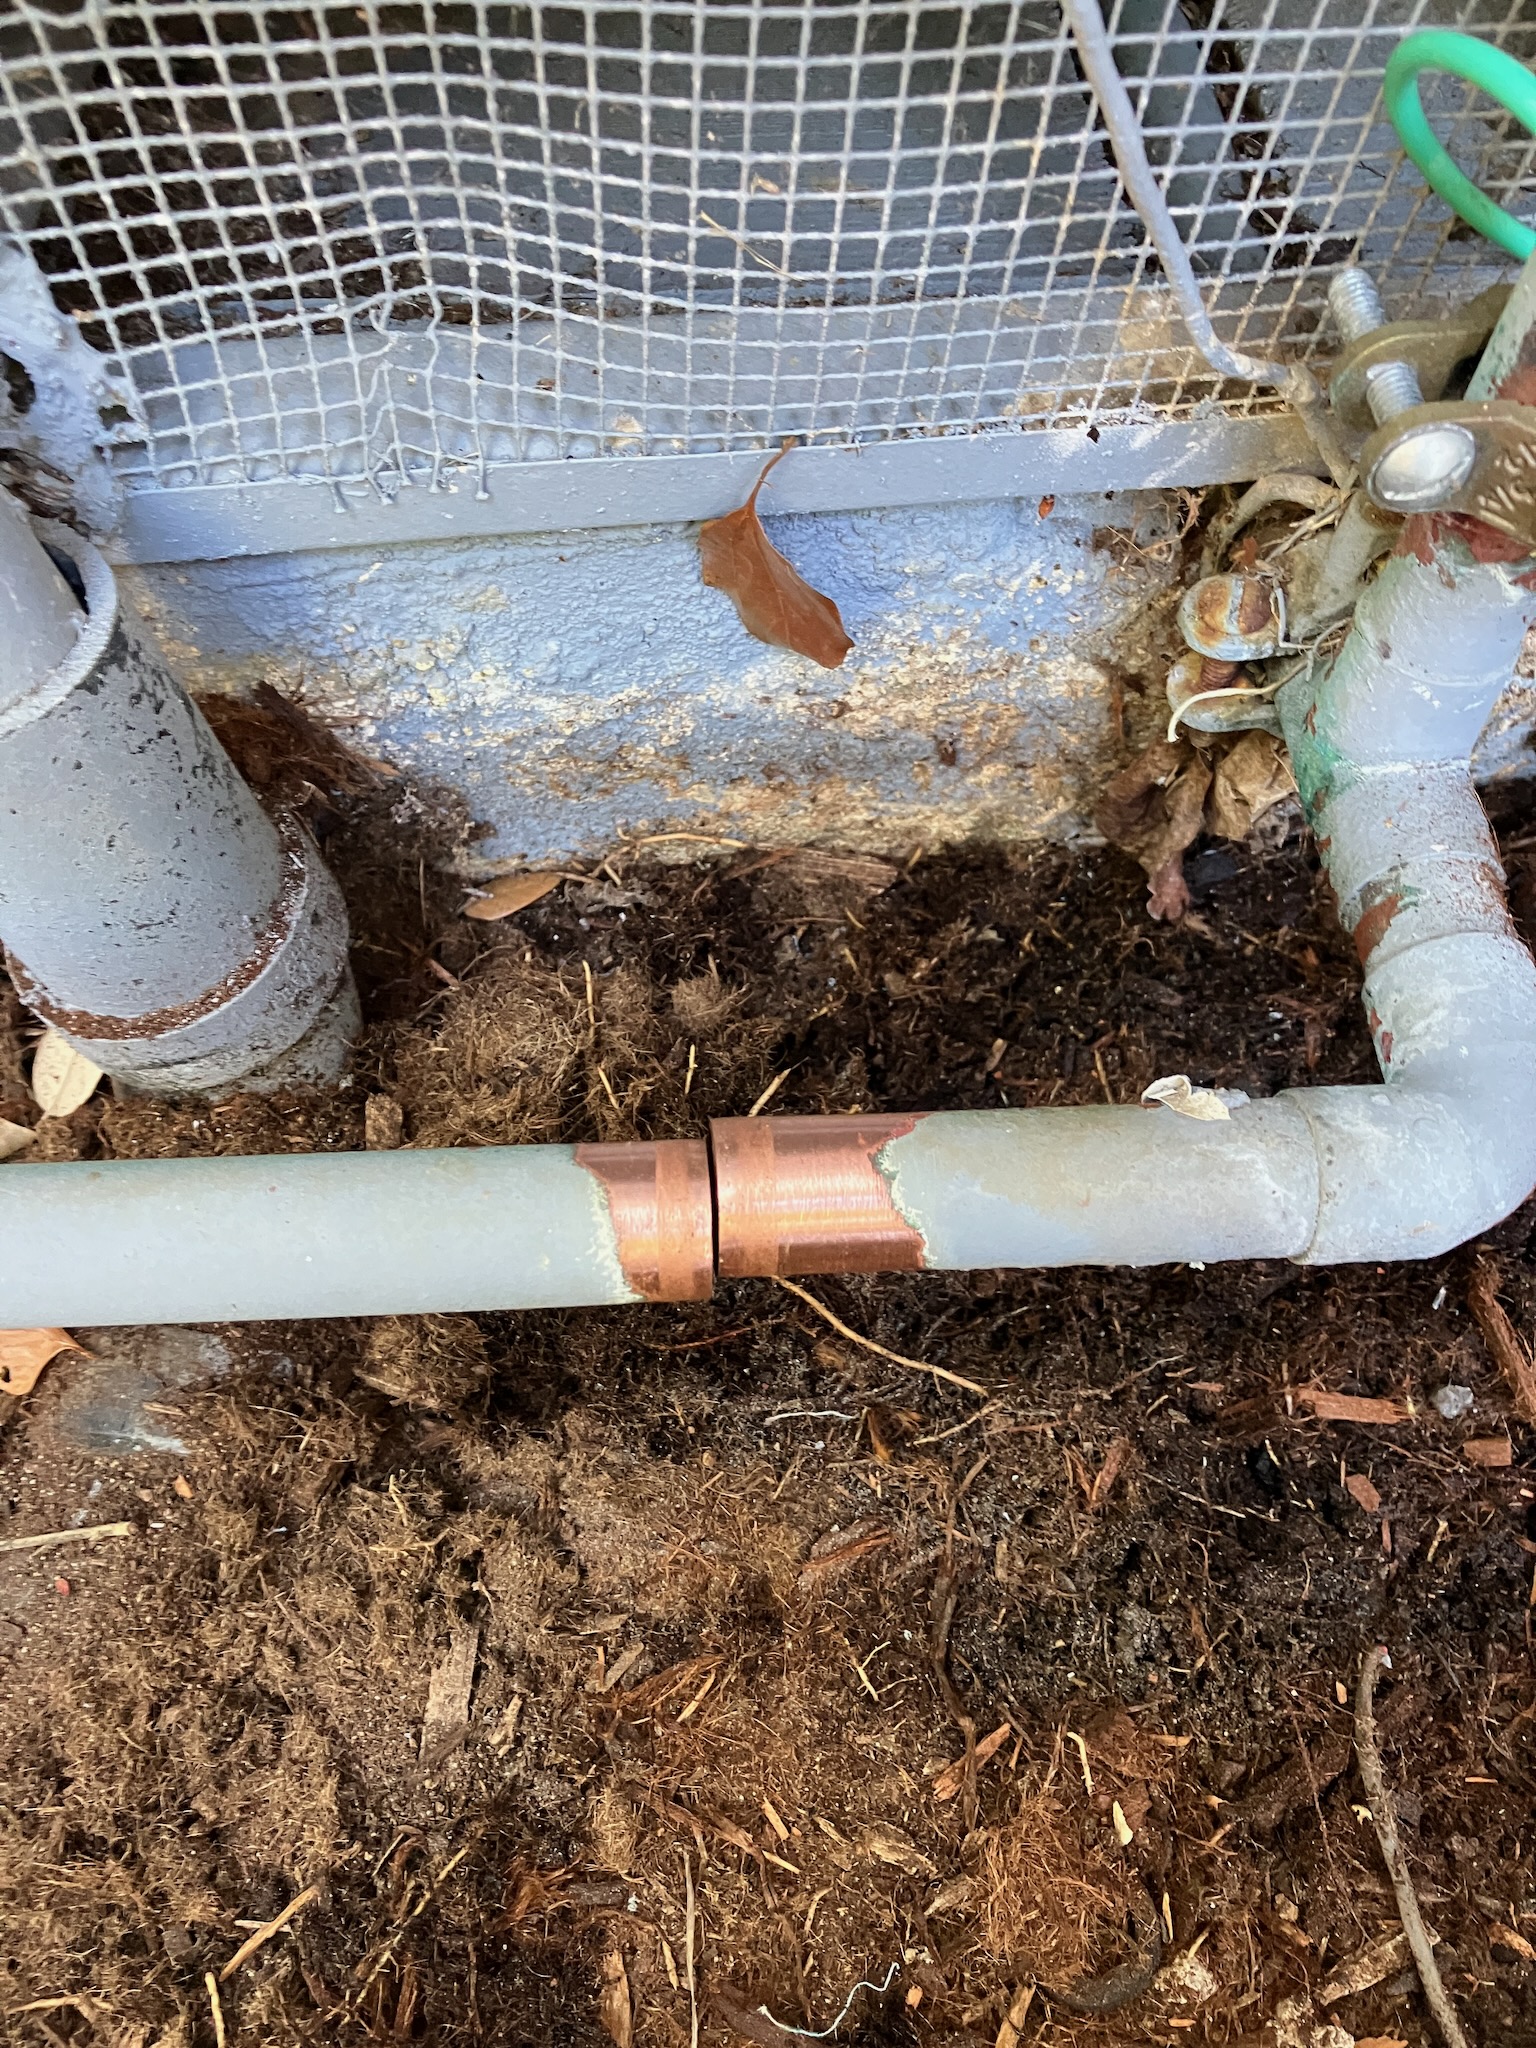
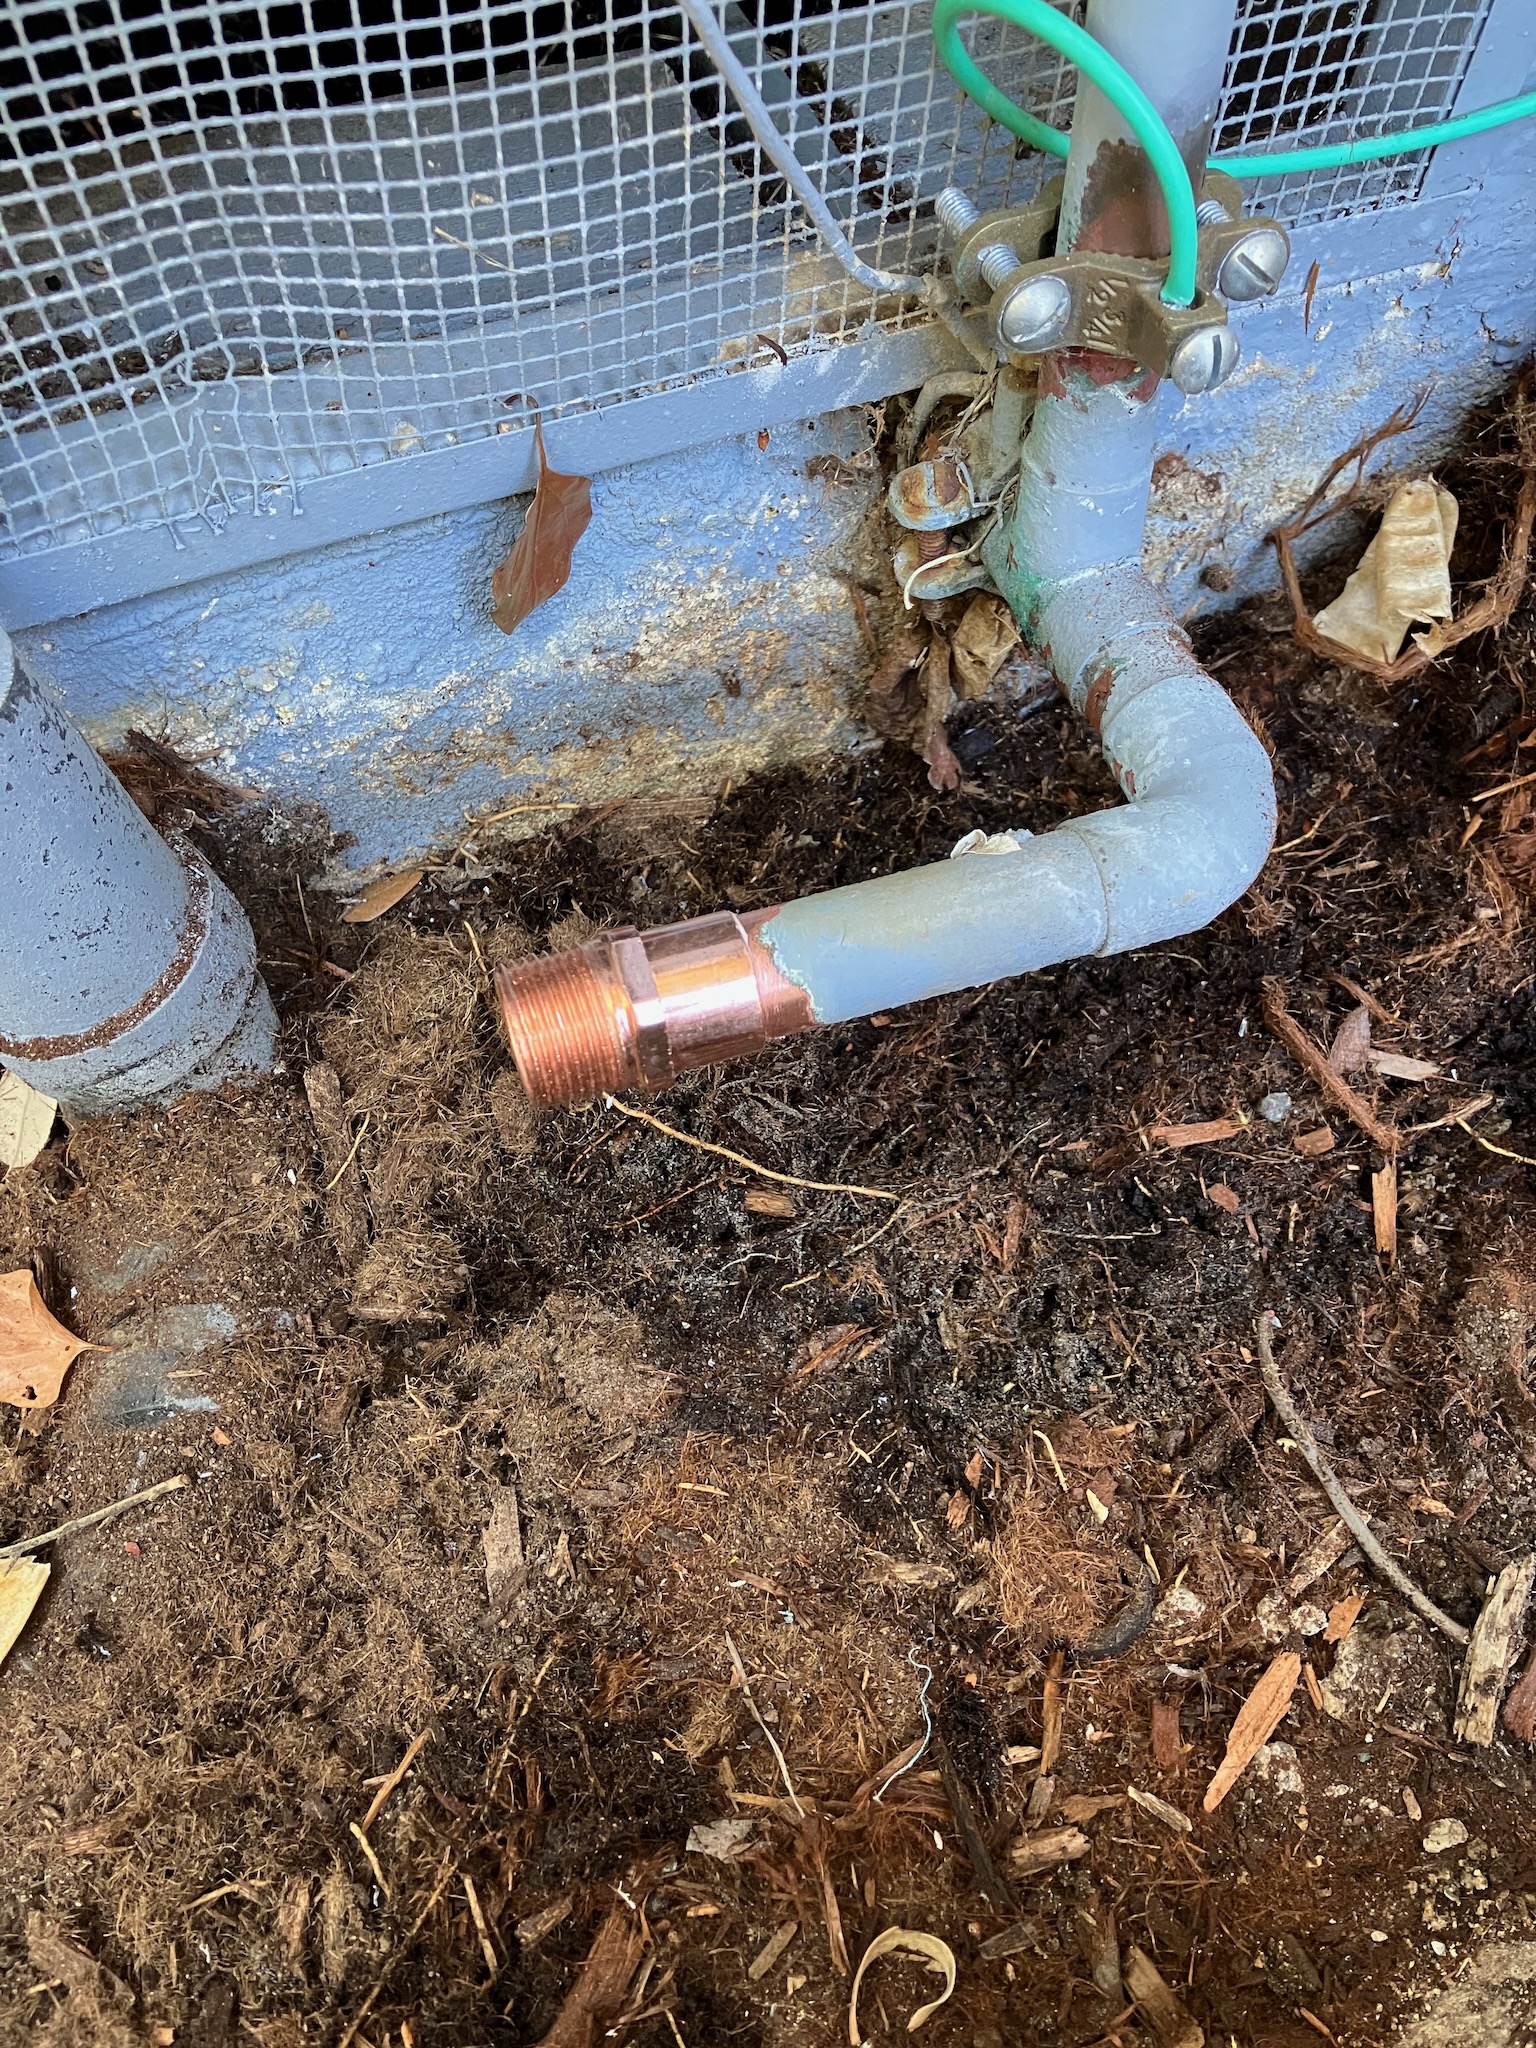
So now we pop in a new fitting along with a little stub of pipe, since I only had one used fitting to recycle.

The new fitting was thankfully a little less tricky to install, and the solder joint ended up pretty much flawless.
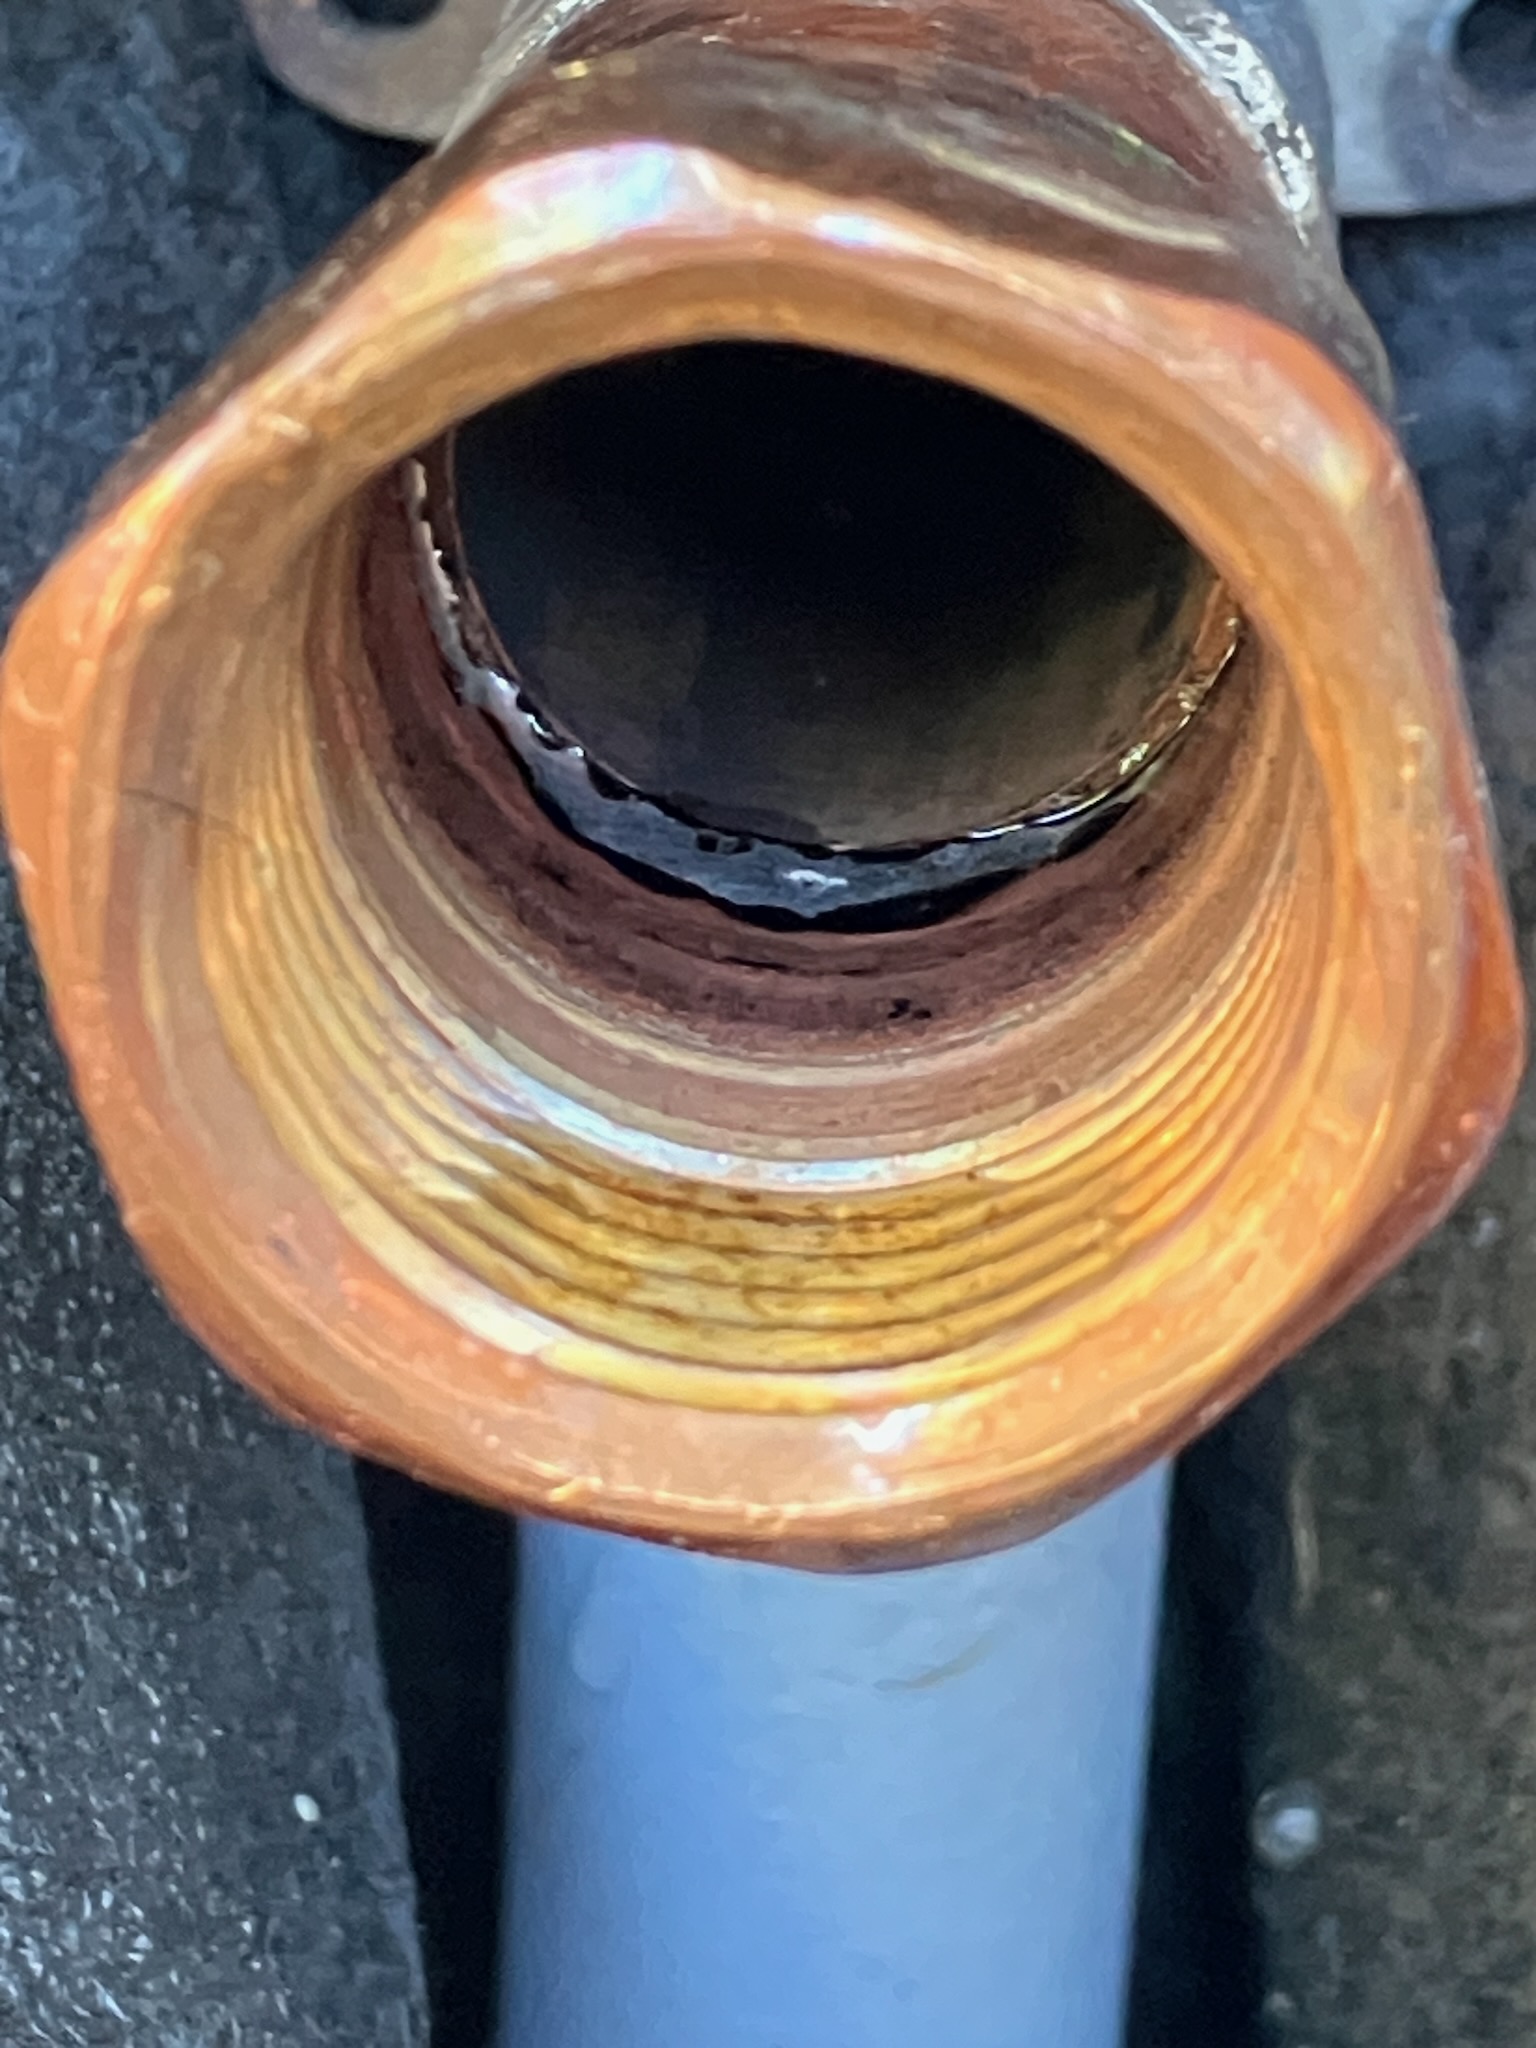
All that's left to do is screw in the new hose bib.

And we're done. No more leaks, no more worries. Plus if anything ever does go wrong with these, the replacement process will be much easier. Except the one in the car hole, that one will only be equally as easy, because it already had a threaded fitting.

Tuesday, July 2, 2024

Holding Back The Tide

I have a small emotional support lawn in my back yard. It requires irrigation, and that irrigation is automated by way of this bit of plumbing here.

I really have only one question I'd like to ask whoever installed this system many years ago.

Who hurt you?

Anyway, somewhat unsurprisingly the last threaded connection on this ungodly horror is leaking, and with everything soldered/glued into place, there's no way to actually tighten it, or pull it apart to re seal it, or really do anything other than let it leak.

That is, without cutting out this mess and redoing it better.

So, step one: clear away the mulch to give ourselves some better access.

Now we can get in here and sand away the paint and grime on the outside of the copper.

It's a good thing I bought a fresh roll of emery cloth.

Also it's very important to check the underside when cleaning up a pipe in preparation to solder, as there can often be some corrosion hiding under there, such as there is in this case.

That would not make a good solder joint.

Not perfect, but way better.

Next step is to test and see if I remembered to shut the water off.

And I did! Well, no turning back now, let's get this fluxed up and soldered.

While taking the appropriate precautions to not set my entire back yard on fire.

And then we solder.

It's maybe not an instagram-quality joint but it's nice and solid all the way around. Remember to wipe away any excess flux and solder blobs with a wet rag while it's all still hot.

And once it cools off we can butter it up with pipe dope and screw the valve in place. Despite the corrosion on the outside caused by the slow leak, the valve is actually in great shape and should be able to handle many more years of reliable service.

And thankfully this is the milestone where we can turn the water back on and check for leaks, of which there are none.

Moving on, I decided to save a little plastic by reusing part of the short stub pipe from the original work.

This piece gets glued together with the part that should have been in here all along: a union.

This will save me a lot of potential headache in the future.

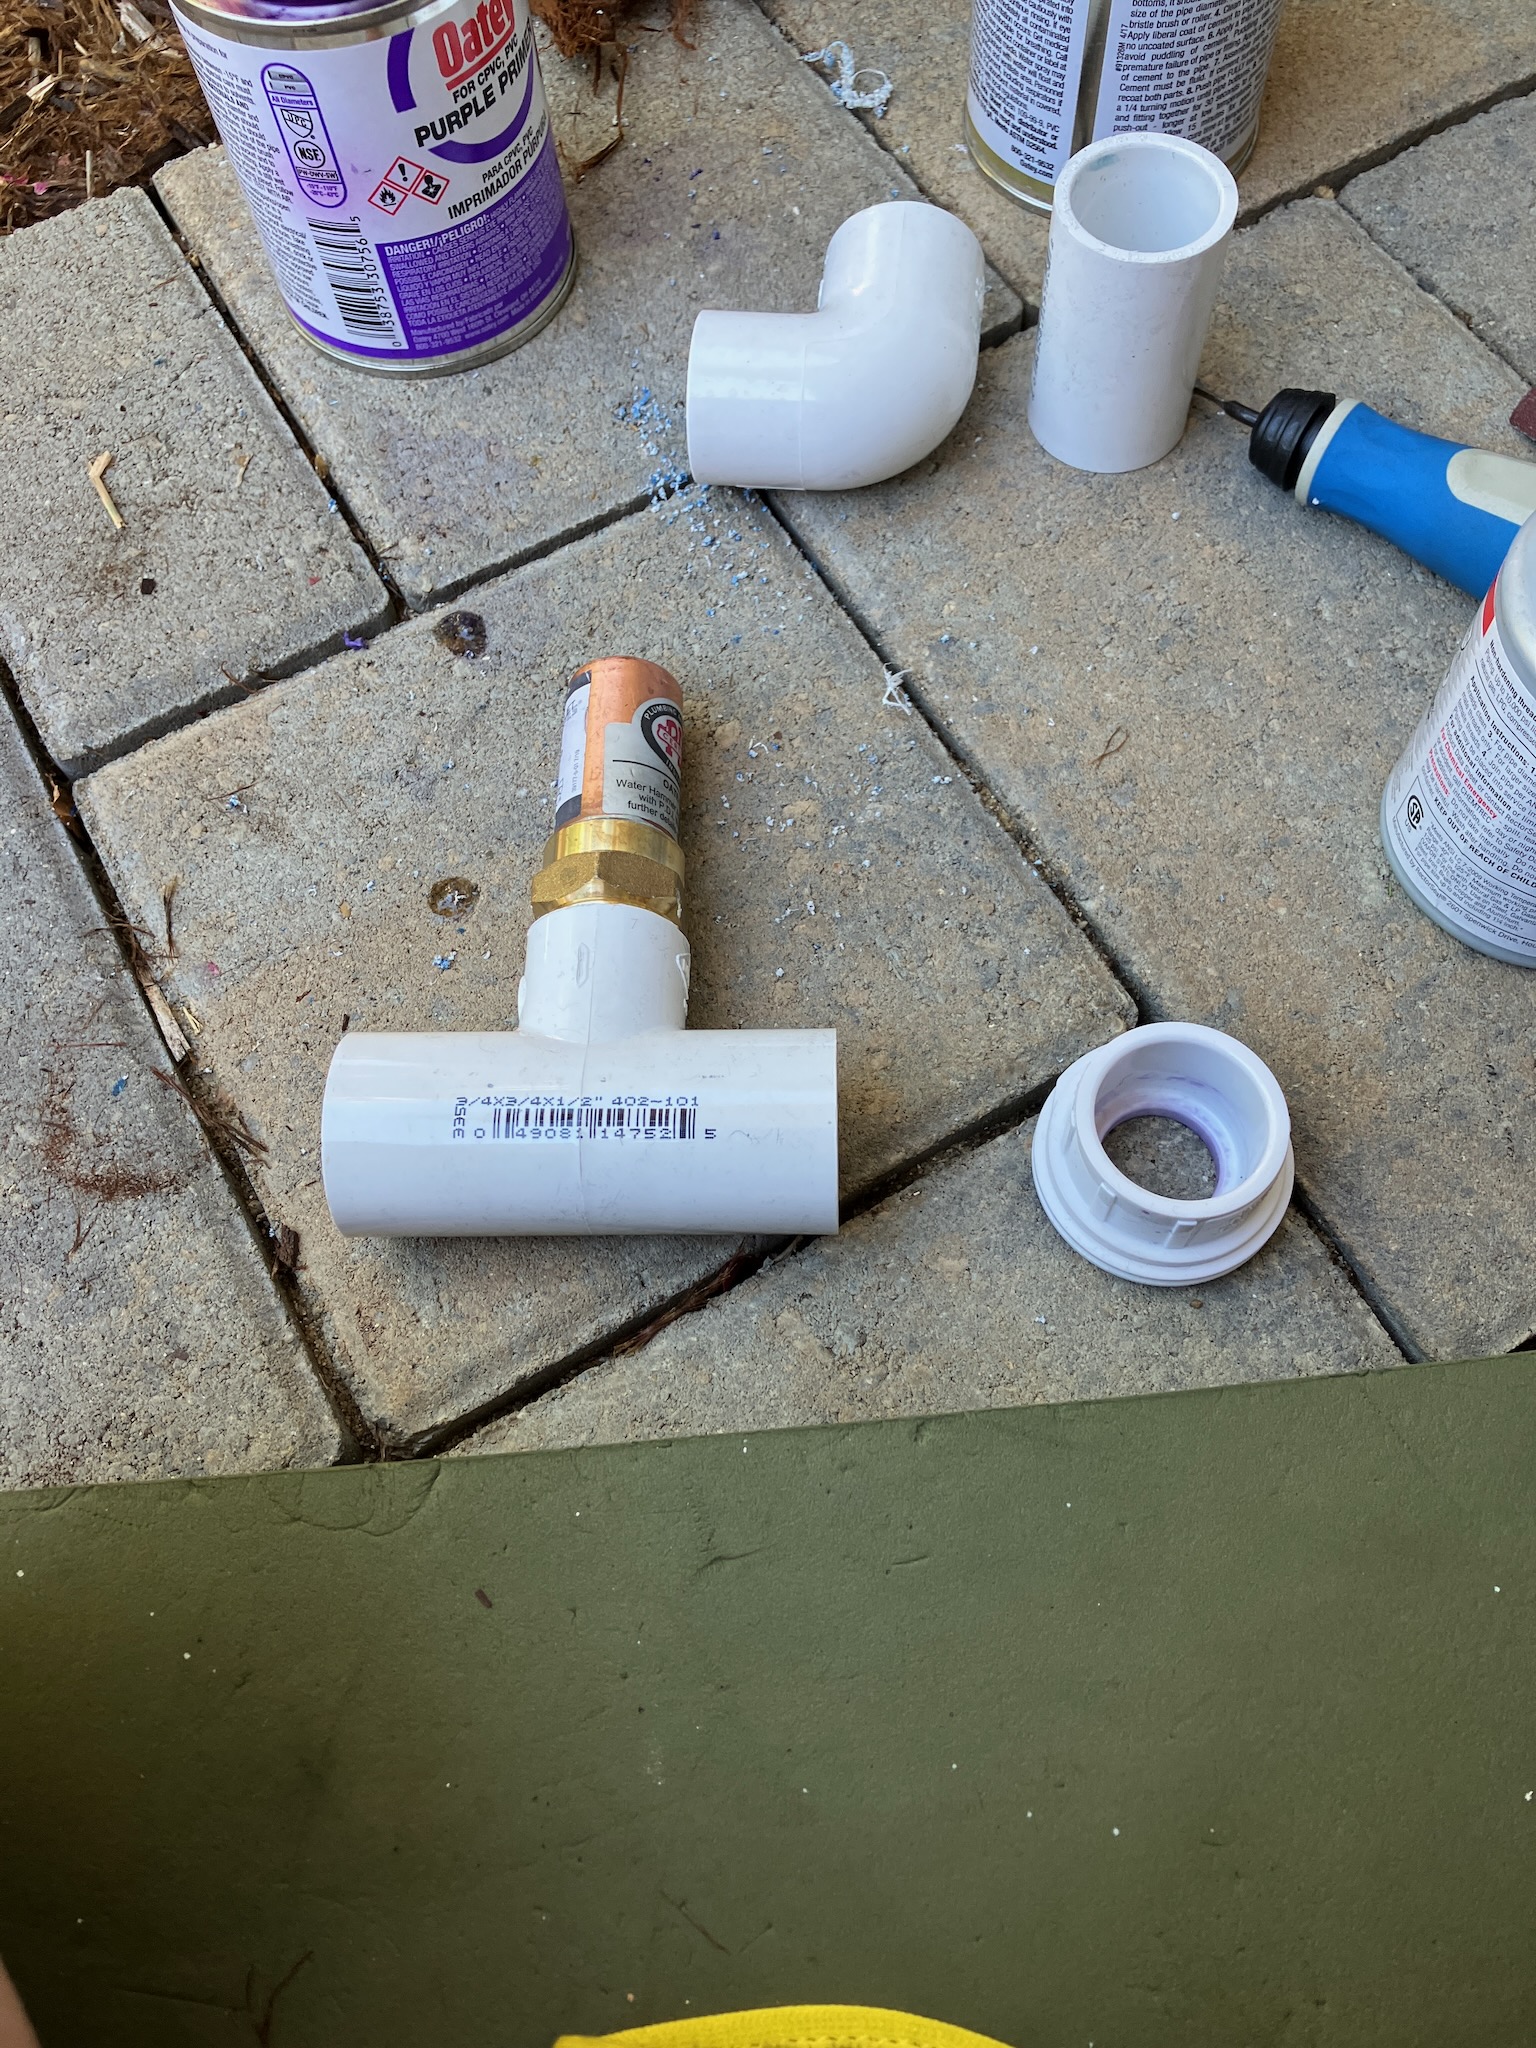
Next up is the real reason I wanted to finally address this slow leak (which, by the way, was doing wonders for the shrub growing next to it, which I believe is a Cordyline Baueri), which was to finally install a water hammer arrestor in this line to keep the pipes from banging all throughout the house at fuck-you-AM while I'm trying to sleep.

It's going on the other side of the union with a short stub in between.

There's probably better hydrodynamic orientations to install this in, but this reducer tee has a 1/2 FPT branch on it so I could thread the arrestor in directly, and that just seemed like the cleanest installation.

So with that end stubbed out, we need to address this very sad and annoying threaded street 90. Luckily there's just barely enough room in here to get a hacksaw moving, if only just.

Now granted this pipe doesn't need to be hugely optimized for efficiency but come on, at least make an effort.

Anyway, the last pipe is glued into place and all there is left to do is wait for the glue to cure and then check for any heartbreaking leaks.

And as it turned out, there was just a tiny little bit of seeping from the arrestor when I turned the water back on, since I had threaded it in before assembling the tee into the rest of the plumbing, and hadn't quite got enough leverage to torque it down properly. Giving it an extra half gronk with the wrench cleared up that issue and now it's all sealed up.

With the mulch scooped back into place, everything is as good as new.

Monday, July 1, 2024

A Bounty of Boards

So as we remember from a previous episode of "I'm spending too much time talking about keyboards", I got a replacement keyboard, or at least most of a replacement keyboard, sent to me for free when the NTC wire on the battery connector pulled out.

We're talking about this keyboard, specifically.

Well that replacement finally arrived.

And so begins the process of transplanting the switches and keycaps from the old to the new, making use of this lovely keycap and switch puller.

Which is apparently a bit of an overachiever, occasionally removing both at once.

But no matter, one key down, and like a billion left to go.

Thankfully most of the keycaps were a bit less sticky.

Fast forward a little bit, and we have a fully transplanted keyboard.

So we just have to do something with the old keyboard.

Well that was easy, job done.

But wait, what if...

What if we just happened to get a new set of keycaps? And a new bucket of switches?

These are the "Moss" switches which, unlike the "Blue" clicky switches I had originally equipped the keyboard with, are a tactile switch. Most keyboard warriors will be familiar with the "Brown" tactile switches, which contain a little tactile "bump" in their travel, but without the more crisp snap sound of the "Blue" clicky switches. The downside of the "Brown" switch is that the tactile point has a lower spring force than the bottom out, and so rather than your finger really falling into the key after the tactile point, you just kind of feel a bump and have to keep on pushing. The "Moss" switches reverse this, making the tactile point the highest force point in the travel, which I find I prefer greatly.

Anyway, now that we've got some switches, we need to put them into the keyboard.

Now yes, this does look a bit chaotic, but trust the process. Give it a shake and the switches will settle down into their respective holes.

Now just brush away the extra switches and, wait, hold up.

One of the switches didn't quite make it into place.

This can happen sometimes, but just give it another shake and it'll settle into position.

Then we put the keycaps in.

Some mossy keys for some mossy switches.

And some mossy backlighting, which really does not photograph well.

It does at least show up on camera in a dark room, but again looks nothing like what it looks like in person. Oh well. The important thing is it looks lovely and works great!