Sunday, July 21, 2024

File It Under Files

A while back I bought a set of files. Just a basic, cheap set; nothing too special. But apparently I went a bit too cheap as they didn't come with a full set of handles.

I finally got fed up with not having handles on nearly half of these files, so I bought a set of file handles. Just a basic, cheap set; nothing too special.

Though I may have, once again, gone a little too cheap.

It's not the end of the world though, and the set doesn't look half bad now.

But I can't just leave well enough alone.

Taking the handle off the file, gluing it back up, and tossing it back in the bag while I hammer a different one on was my first instinct, but as it so happens getting a handle off of a file is kind of an exercise in futility.

So, plan b: mix up way too much epoxy putty (the only amount you can ever mix up) and smush it into the cracks.

I thought of leaving it like this, with just the putty in the crack itself, but that would have left a ridge on the file handle, so I decided to get a bit fancier and feather it out.

I'll give it a light sanding when it's cured and probably leave it as is, though I might give it a quick shot of clear finish if I feel so inspired.

Monday, July 15, 2024

A Chill In The Air

So I was trying to track down the source of some water hammer noise recently, and narrowed the culprit down to the water dispenser in my fridge. For some reason the tubing slaps back and forth inside the fridge whenever there's even the slightest amount of water hammer in the system. I didn't make any progress on actually fixing that, but I did notice something peculiar when I was poking around.

These are the refrigerator condenser coils, and this picture was taken after vacuuming a bit of dust off the front of them to verify that I was, in fact, looking at the refrigerator condenser coils, because all I saw before that was a fuzzy grey mass.

Anyway, a little bit of vacuuming later and things were looking a lot better, though not yet 100%.

The coils were unfortunately stacked a bit too close together to get all the way to the back with the crevice tool on my vacuum, so I had to call in the big guns.

This thing is apparently called an appliance duster. Basically it's just a semi-floppy plastic paddle with a microfiber towel wrapped around it. I don't know what other appliances it's intended to be used on, but it works great for dusting fridge coils.

It's not spotless, sure, but it's good enough for another 20 years.

Saturday, July 13, 2024

3-2-1 Contact

So for pretty much as long as I've lived here, the AC compressor has had a bit of a rough time starting, particularly in very hot weather. Early on I checked the start/run capacitor and it seemed to test fine, so I basically just ignored it since it was still basically working. Later, after it didn't show any signs of magically fixing itself, I added a hard start kit, which is basically an extra start capacitor that switches in when the compressor motor is starting up to give it an extra boost, then switches back out once the motor spins up so as not to fry the start windings. That seemed to improve things a little bit, but there were still times when the AC would just growl and stall instead of starting up properly.

Now despite their outward appearance, a modern AC outdoor unit only really consists of a few parts: the compressor, the fan, the refrigerant plumbing, a start/run capacitor for the compressor and fan (either a combined unit or two separate caps), and a contactor, which is a fancy name for the high current relay that turns the whole thing on.

Given I'd ruled out the capacitor as the issue, and given that replacing the compressor would basically mean getting a whole new HVAC system at this point, I decided to tackle the only other part that could be to blame: the contactor.

And it's comforting to know that it has a definite purpose.

Thankfully these things are stupid cheap. This one was a whole $14 delivered to my door. And since it was delivered to my door, the next logical step is to install it.

Make sure to turn the power off to the AC unit first. And, if you're smart, turn the power off to the furnace as well so that you don't blow the fuse on the 24v control circuit if you accidentally short out the relay leads when the thermostat calls for cooling.

A quick peek in-situ shows that these contacts have probably seen some shit.

Anyway, we're just replacing like-for-like, so out with the old and in with the new.

Then button everything up, switch the power back on, and...

... yeah, remember what I said about shorting out the relay leads?

It's a very effective way to blow a fuse.

Thankfully I have a big box of replacements.

And you know, the 35A fuse is the same colour as the 3A fuse, and would probably blow a lot less easily...

Ok, just kidding, I put the 3A fuse in.

Ahh, much cooler.

Now that the old contactor is out, we can have a closer look at the terminals.

Ok, sure, it's possible I could get in there with some emery cloth and clean up those contacts and put this one back in service, but for $14 this is just going in the trash. I'll be happy to pay that again in another 20 years once the new one wears out.

Lean On Me

So ever since I brought home my Juki LS-321, it's had a minor setup issue.

You see, industrial sewing machines are designed to tilt backwards for servicing, giving you access to the mechanics underneath, as well as loosening the belt that leads down to the motor.

However, if the machine just tilted all the way back to the table, it would likely crush some smaller parts on the rear of the machine, along with the operator's fingers, and so usually there's a wooden or plastic post mounted in the table behind the machine, like this one behind my Singer 251.

But no such post exists on the table of my LS-321, and oddly there's no sign that a post ever existed back there either, which is a puzzling oversight.

The good news is that these posts are cheap, and very easy to install. You just need to drill of 5/8" hole and slip it in.

Unfortunately this 5/8" drill bit is cheap garbage and drills a bit oversized.

But that's nothing a little hot snot can't fix.

You do need to be careful with this stuff though, it solidifies really quickly when you're sticking the part into a big, cool slab of plywood like this.

But I got it in place just fine, so let's test it out.

It's like the machine is just magically hovering in midair!

And more importantly, it's not smashing the foot lift lever, or my sewing light, or any of the other gubbins back here, into the table. A solid improvement, I'd say.

Walking Shoes

So we're back on the Consew 18 again today.

When I got the machine the needle bar thread guide was nowhere to be seen. Or, well, most of it was nowhere to be seen. There was still a tiny chunk of it remaining, plus the screw holding it in place.

Luckily these thread guides are very cheap, and the replacement one just arrived.

And so on it goes.

It's not an especially critical part, but it is good to have, since it keeps the thread in line with the groove on the needle.

Anyway, that's not the only parts that arrived, I also got the new feed dog, needle plate, and inner and outer walking foot.

The machine came to me with what I'm gonna call the "mattress kit" installed.

It's basically a feed dog and foot set that primarily grips the fabric on the right-hand side of the needle, leaving a lot of clearance on the left to be able to feed in welting cord, or get right up close to the edge of a mattress to sew it closed, or sew in zippers, or whatever else. This is all fine and dandy, but for the projects I have in mind I'm not always going to be dealing with a lot of seam allowance, so having the feed be primarily on the right hand side of the needle isn't going to necessarily work too well.

You can see in this photo how the 56882 outer foot will only grip to the right side of the needle, whereas the 56896 foot spans both sides. The 56883 and 5792 inner foot are also slightly different, but the changes there aren't notable enough to point out here (mostly the left side of the foot is bevelled so as to provide clearance for welting).

So the new feed dog is pretty easy to install, just two screws and it's in place.

And then the needle plate is installed over top of it.

This needle plate is green because it's teflon coated. It only costs a few dollars more than a standard steel plate, and makes sewing sticky materials like vinyl way, way easier, even given the fact that this is already a walking foot machine.

Now we just need to install the new feet and... uh...

You know, it occurs to me that the mattress kit comes with 5 parts, not 4. There's the feed dog, the needle plate, the inner and outer presser foot and... a shorter outer presser foot bar.

Part number 6319 instead of 4744. Note that these are all Singer part numbers, the corresponding Consew part number for the regular outer presser foot bar is 6335.

Well fiddlesticks. At least the good news is that this part is still available, though for a bent piece of metal with 3 holes in it, it's not exactly cheap.

But what is cheap is this little round red piece of felt, which sits over the upper thread guide.

Its whole purpose in life is to simply allow you to stick a spool of thread on this post rather than feeding thread from a cone in a thread stand, without wearing a hole in the paint here.

Will I ever actually use it? Who cares, it cost me 23 cents.

Well, I thought I'd have this machine sorted today, but it looks like it'll be at least one more blog post before it's all set up the way I want it.

Monday, July 8, 2024

To Servo Man

My Juki LS-321 came equipped with a clutch motor. It's pretty smooth, plenty powerful, and not incredibly noisy. That said, it doesn't really have the control that a servo motor has, and I'm planning to use this machine for some pretty small and intricate projects. Given the choice, a servo motor would be more appropriate for the task.

But since I had a clutch motor already, I didn't really fancy the idea of swapping to a servo motor, since then I'd have a clutch motor just sitting around taking up space, or I'd have to try to unload it on Craigslist, or whatever. Not a really appealing option.

Fast forward a little bit and a Consew 18 falls in my lap as a head-only purchase, meaning it'll need a motor of its own. So the opportunity presented itself: move the clutch motor from the Juki to the Consew and buy a servo motor for the Juki.

So naturally that's exactly what I did.

These instructions probably make more sense in Chinese, but luckily things aren't too difficult to figure out.

I will have to learn how to unhold a button, though.

Anyway, things are pretty self-explanatory so it's not a big deal.

Before we stick the new motor on, we first need to get the old clutch motor out of the way.

One of the advantages of using a servo motor is that, for the same power (about 550w), the servo motor is much smaller than a clutch motor.

But I perhaps didn't really appreciate how dramatic of a difference it would be.

I'm not sure how much of a noticeable impact it makes once it's installed though, since it just hangs out under the table. And speaking of installing, let's get the motor bracket and motor bolted in place.

And hook up the actuator rod from the pedal to the speed controller.

And mount the actual servo driver.

This servo motor goes up to 5000rpm, which is another advantage I didn't mention earlier. The Juki LS-321 is rated to go up to 2400spm, and with the previous setup it had a small pulley on the 1750rpm clutch motor which resulted in a top speed of around 1050spm. The servo motor on the other hand has a pulley that's only about 10% smaller than the machine's pulley, so the 2600rpm I've configured here translates into 2356spm up at the machine.

And I can get there without sacrificing the slow speed performance, which is really nice.

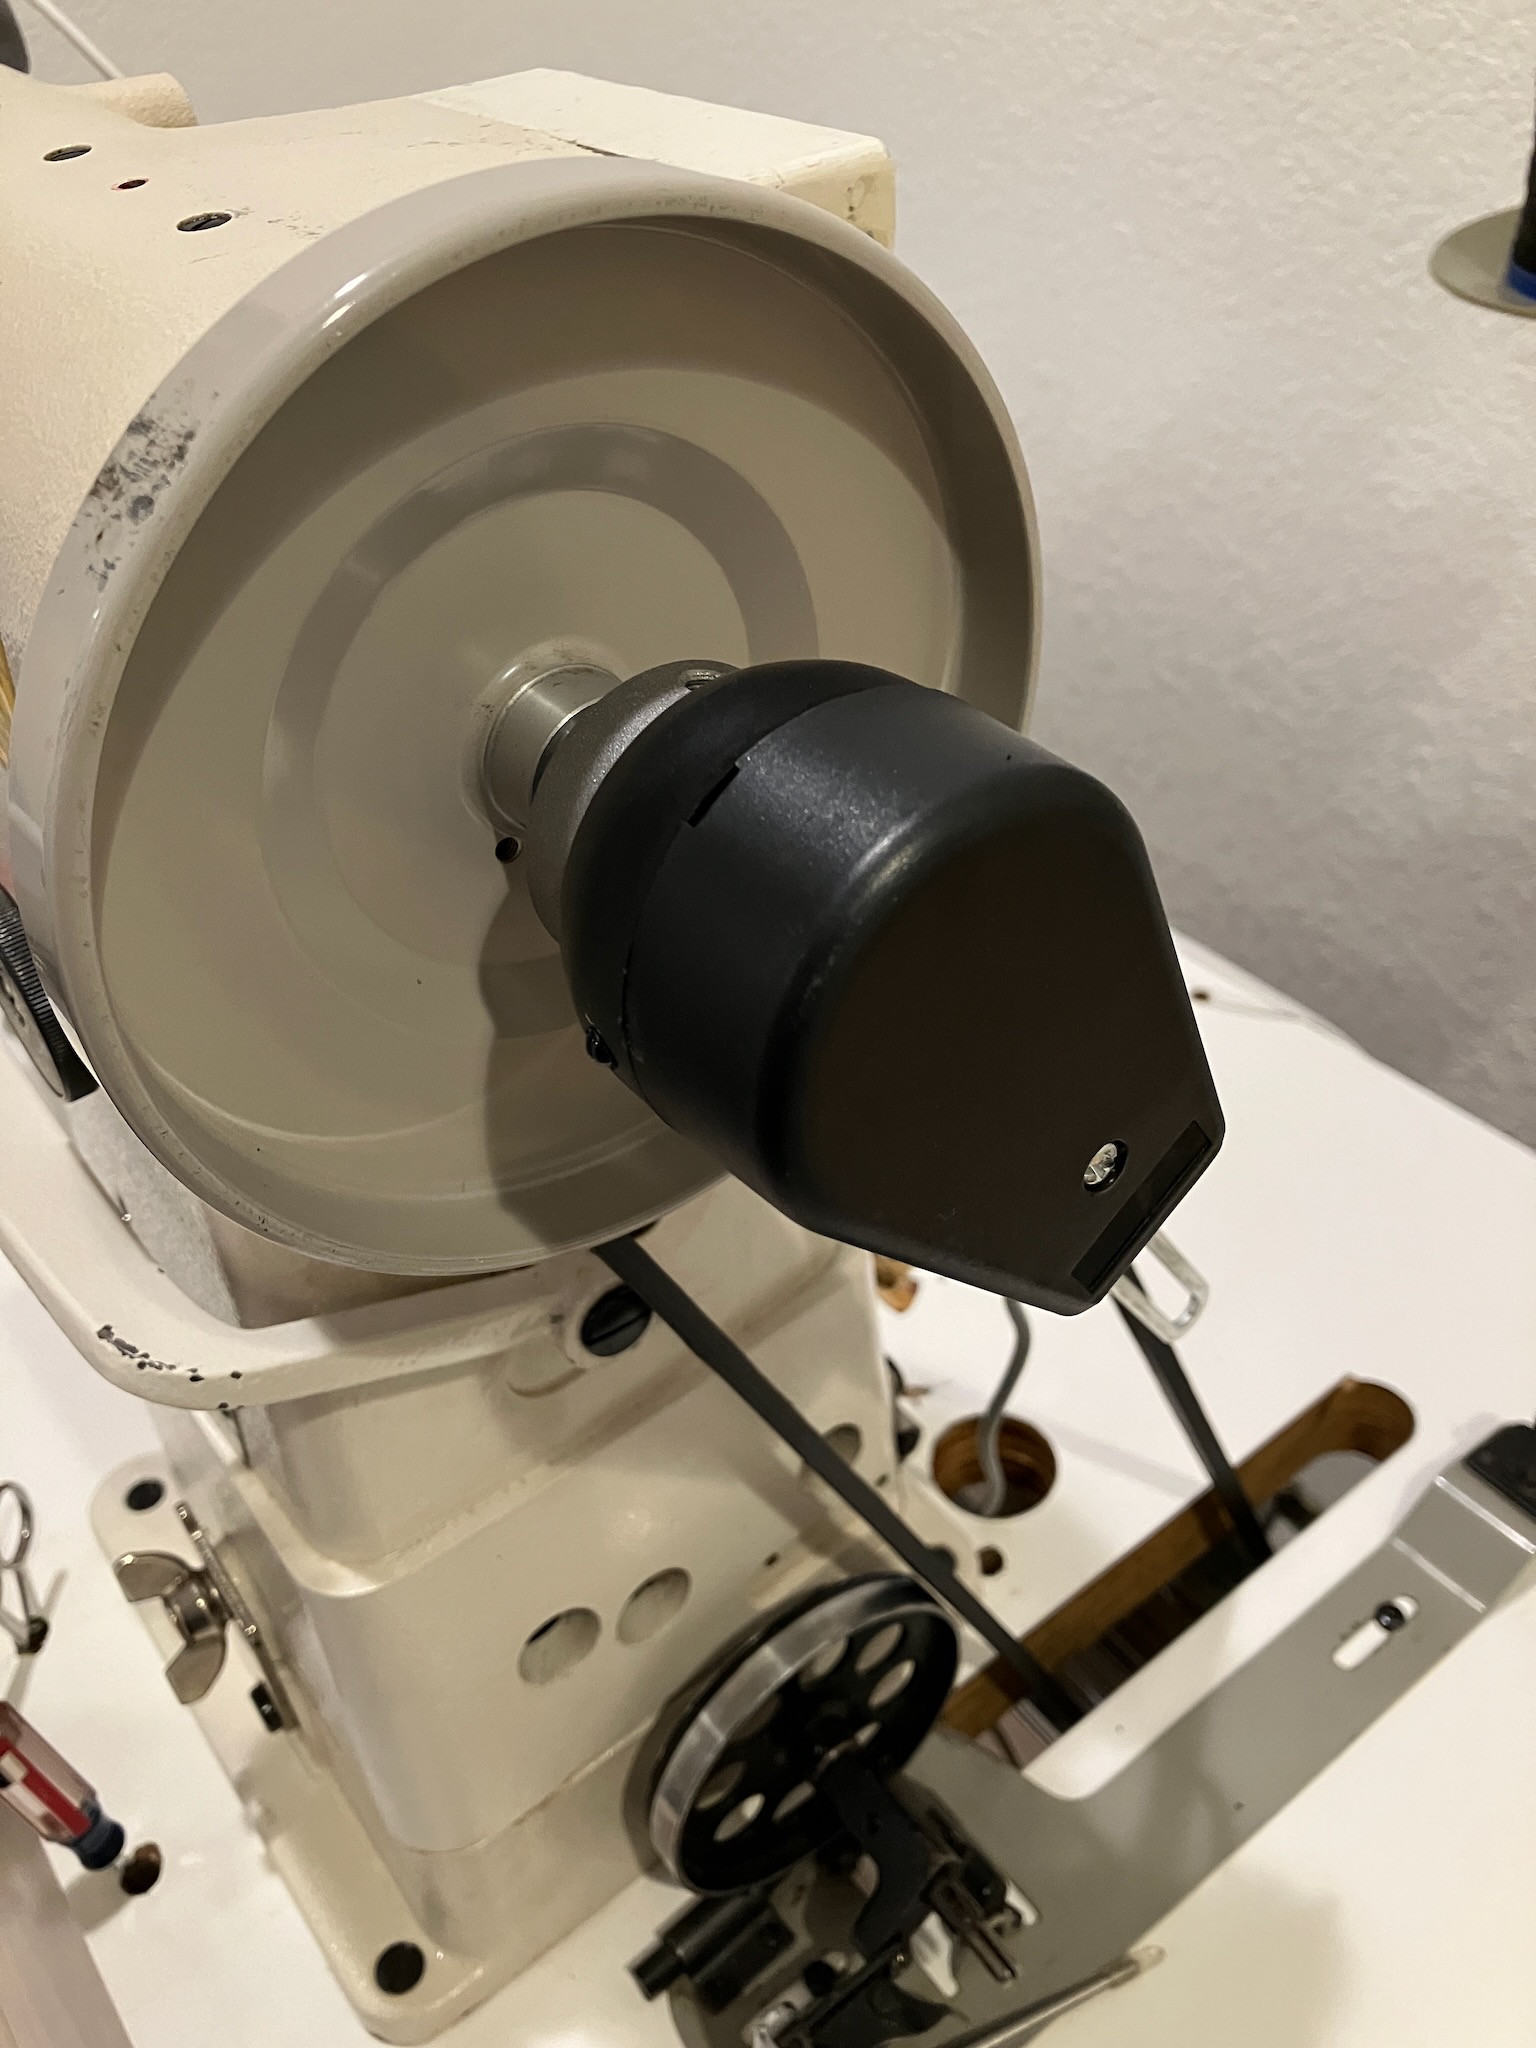
Speaking of slow speeds, one of the other advantages of a servo motor, or at least a brushless servo motor like this one, is that you can equip it with a needle positioner.

This is basically a simple encoder that you clamp onto the end of the main shaft of the sewing machine, so that the servo driver knows exactly when to stop to put the machine into either a needle-up or needle-down position, rather than just letting the machine stop wherever it happens to stop.

And if you do happen to choose the needle-down position as your default, a simple heel press on the pedal will make the controller spin the head to the needle-up position so you can remove the work.

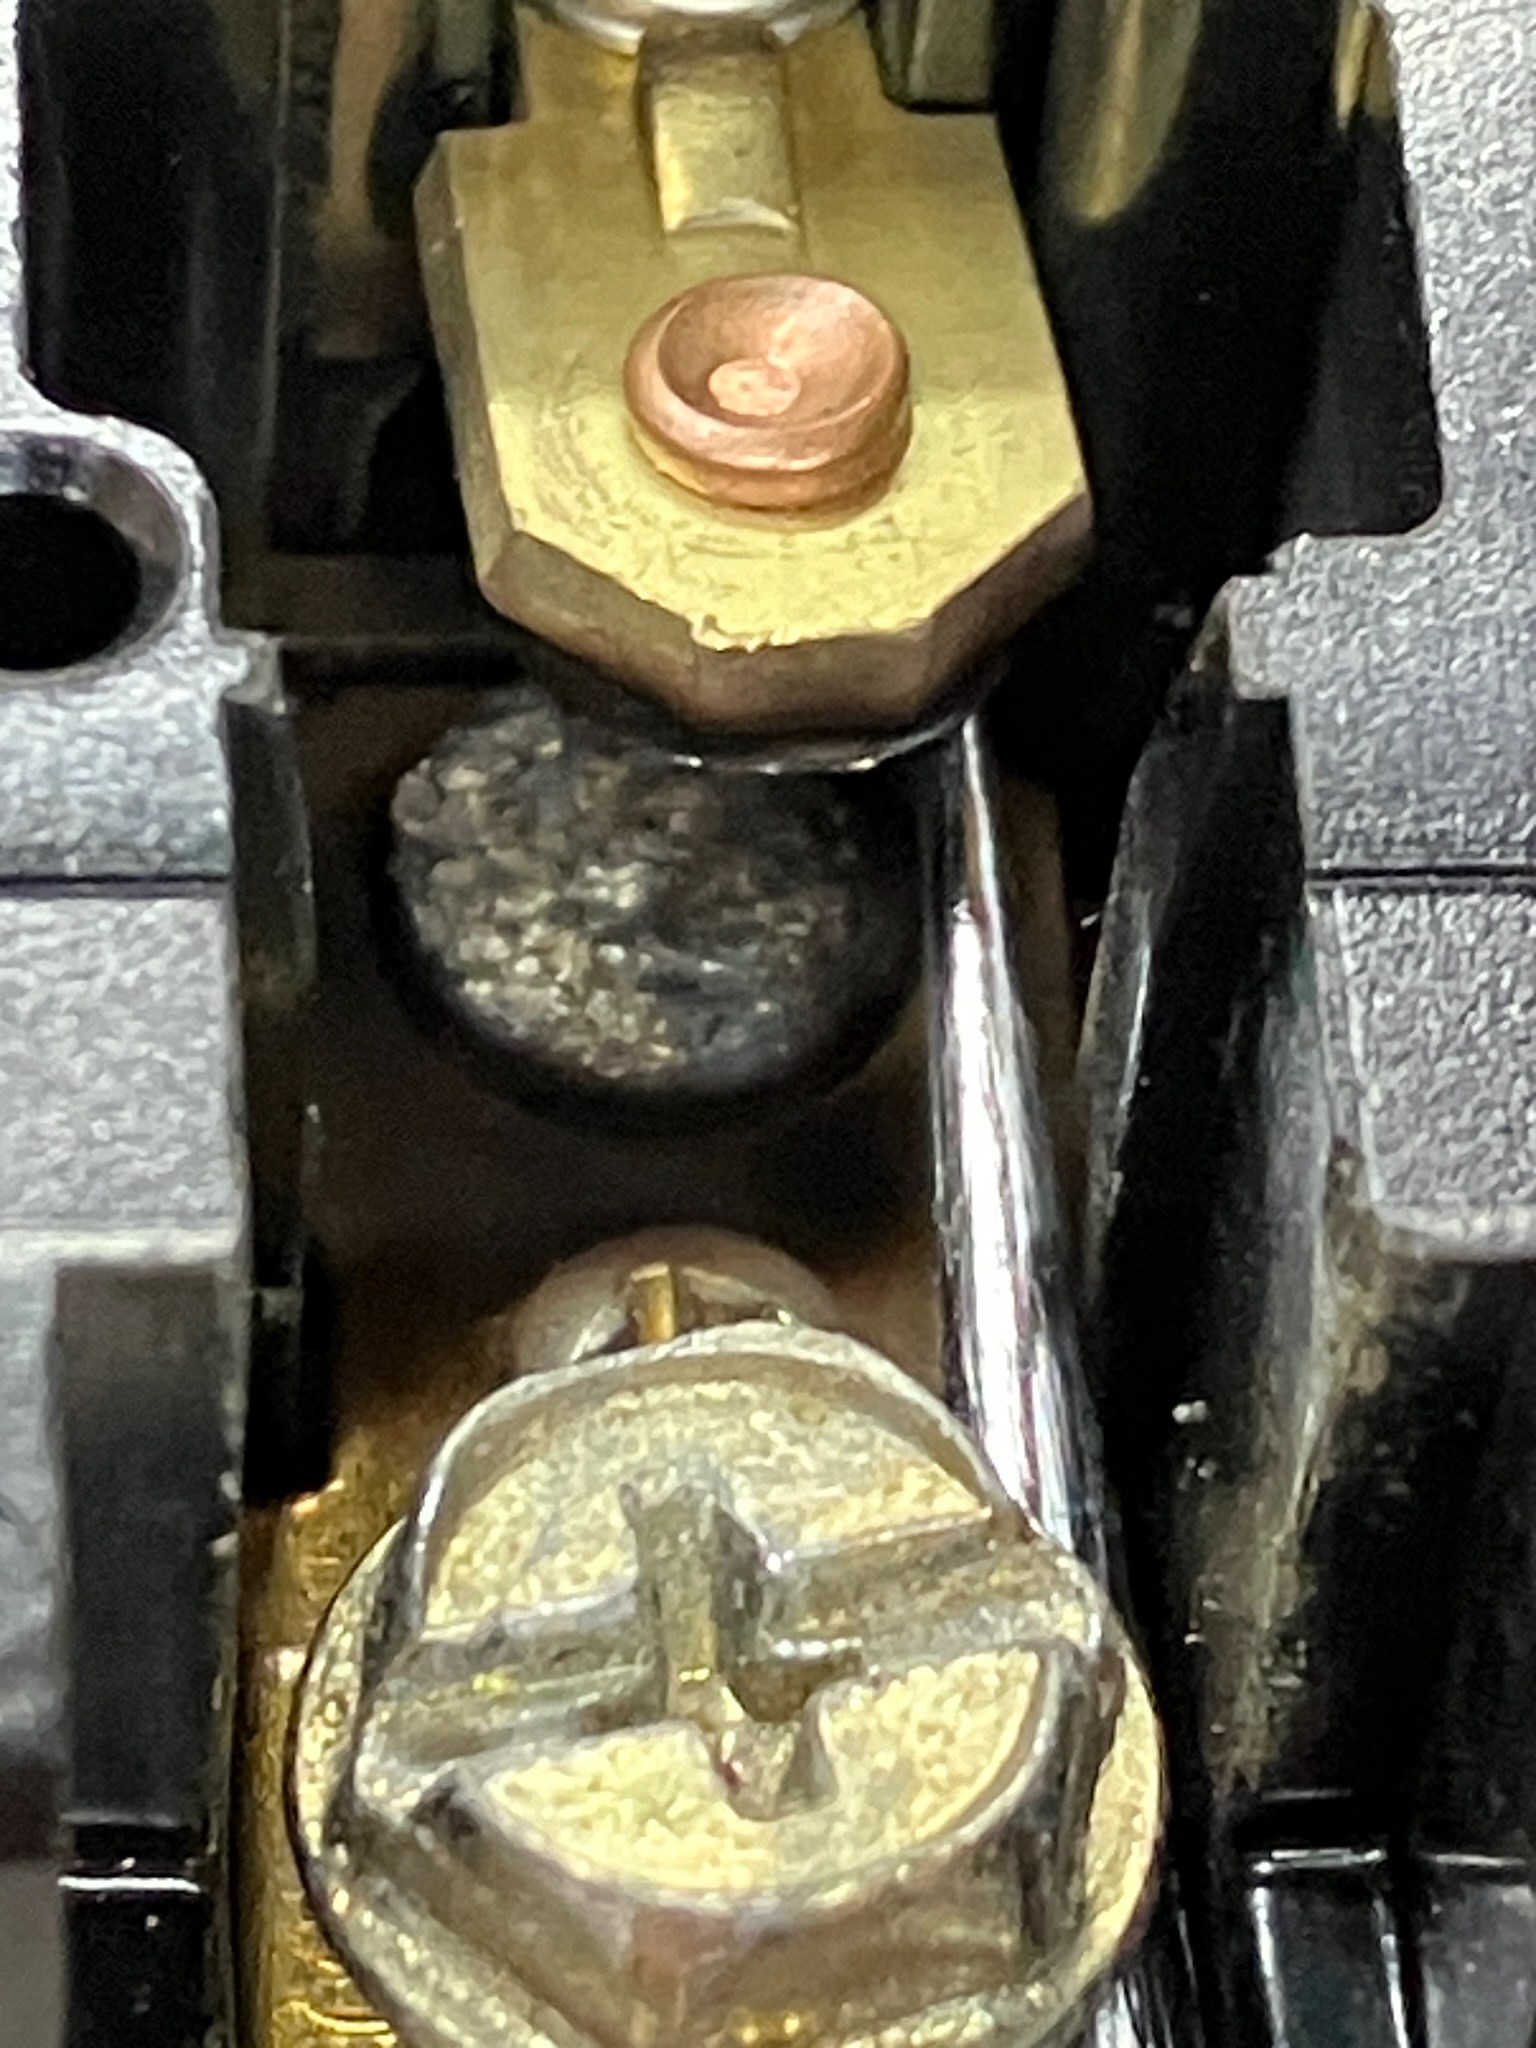
Of course, if you only attached the encoder to the main shaft, it would likely spin wildly when the machine is running and not report anything sensible to the controller. To fix that, they provide this peculiar little bracket that you can use to keep it steady.

I think it's usually intended to fasten onto a belt cover or something, but I don't really feel like ever installing a belt cover, so I just positioned it so that the threaded rod is nicely wedged inside of this convenient hole in the main casting. It does the job just fine.

On the subject of positioning things: since I put a new motor in and changed the belt geometry, the bobbin winder will have to be readjusted, which is a pretty simple task to do. Just loosen the screws and position it so that the belt doesn't touch the drive wheel when it's disengaged.

And does press up against the wheel when it's engaged.

Simple as that.

Last but not least, I suppose I should probably figure out some place to put the motor's pulley cover. I guess this is as good a place as any to stick it.

And with that the job is done. The machine sews beautifully with its new motor; it's easily controllable down at low speeds, and putting the pedal down makes it spin up over twice as fast as it used to. A very worthwhile upgrade that I'm glad I finally found the opportunity to perform.