When we last left off, the door into my car hole was looking a little bit like this.

Functionally installed, but lacking a bit in terms of aesthetics and weathertightness.
As you might expect, this blog instalment is once again a bit on the lengthy side, so click through to read on.
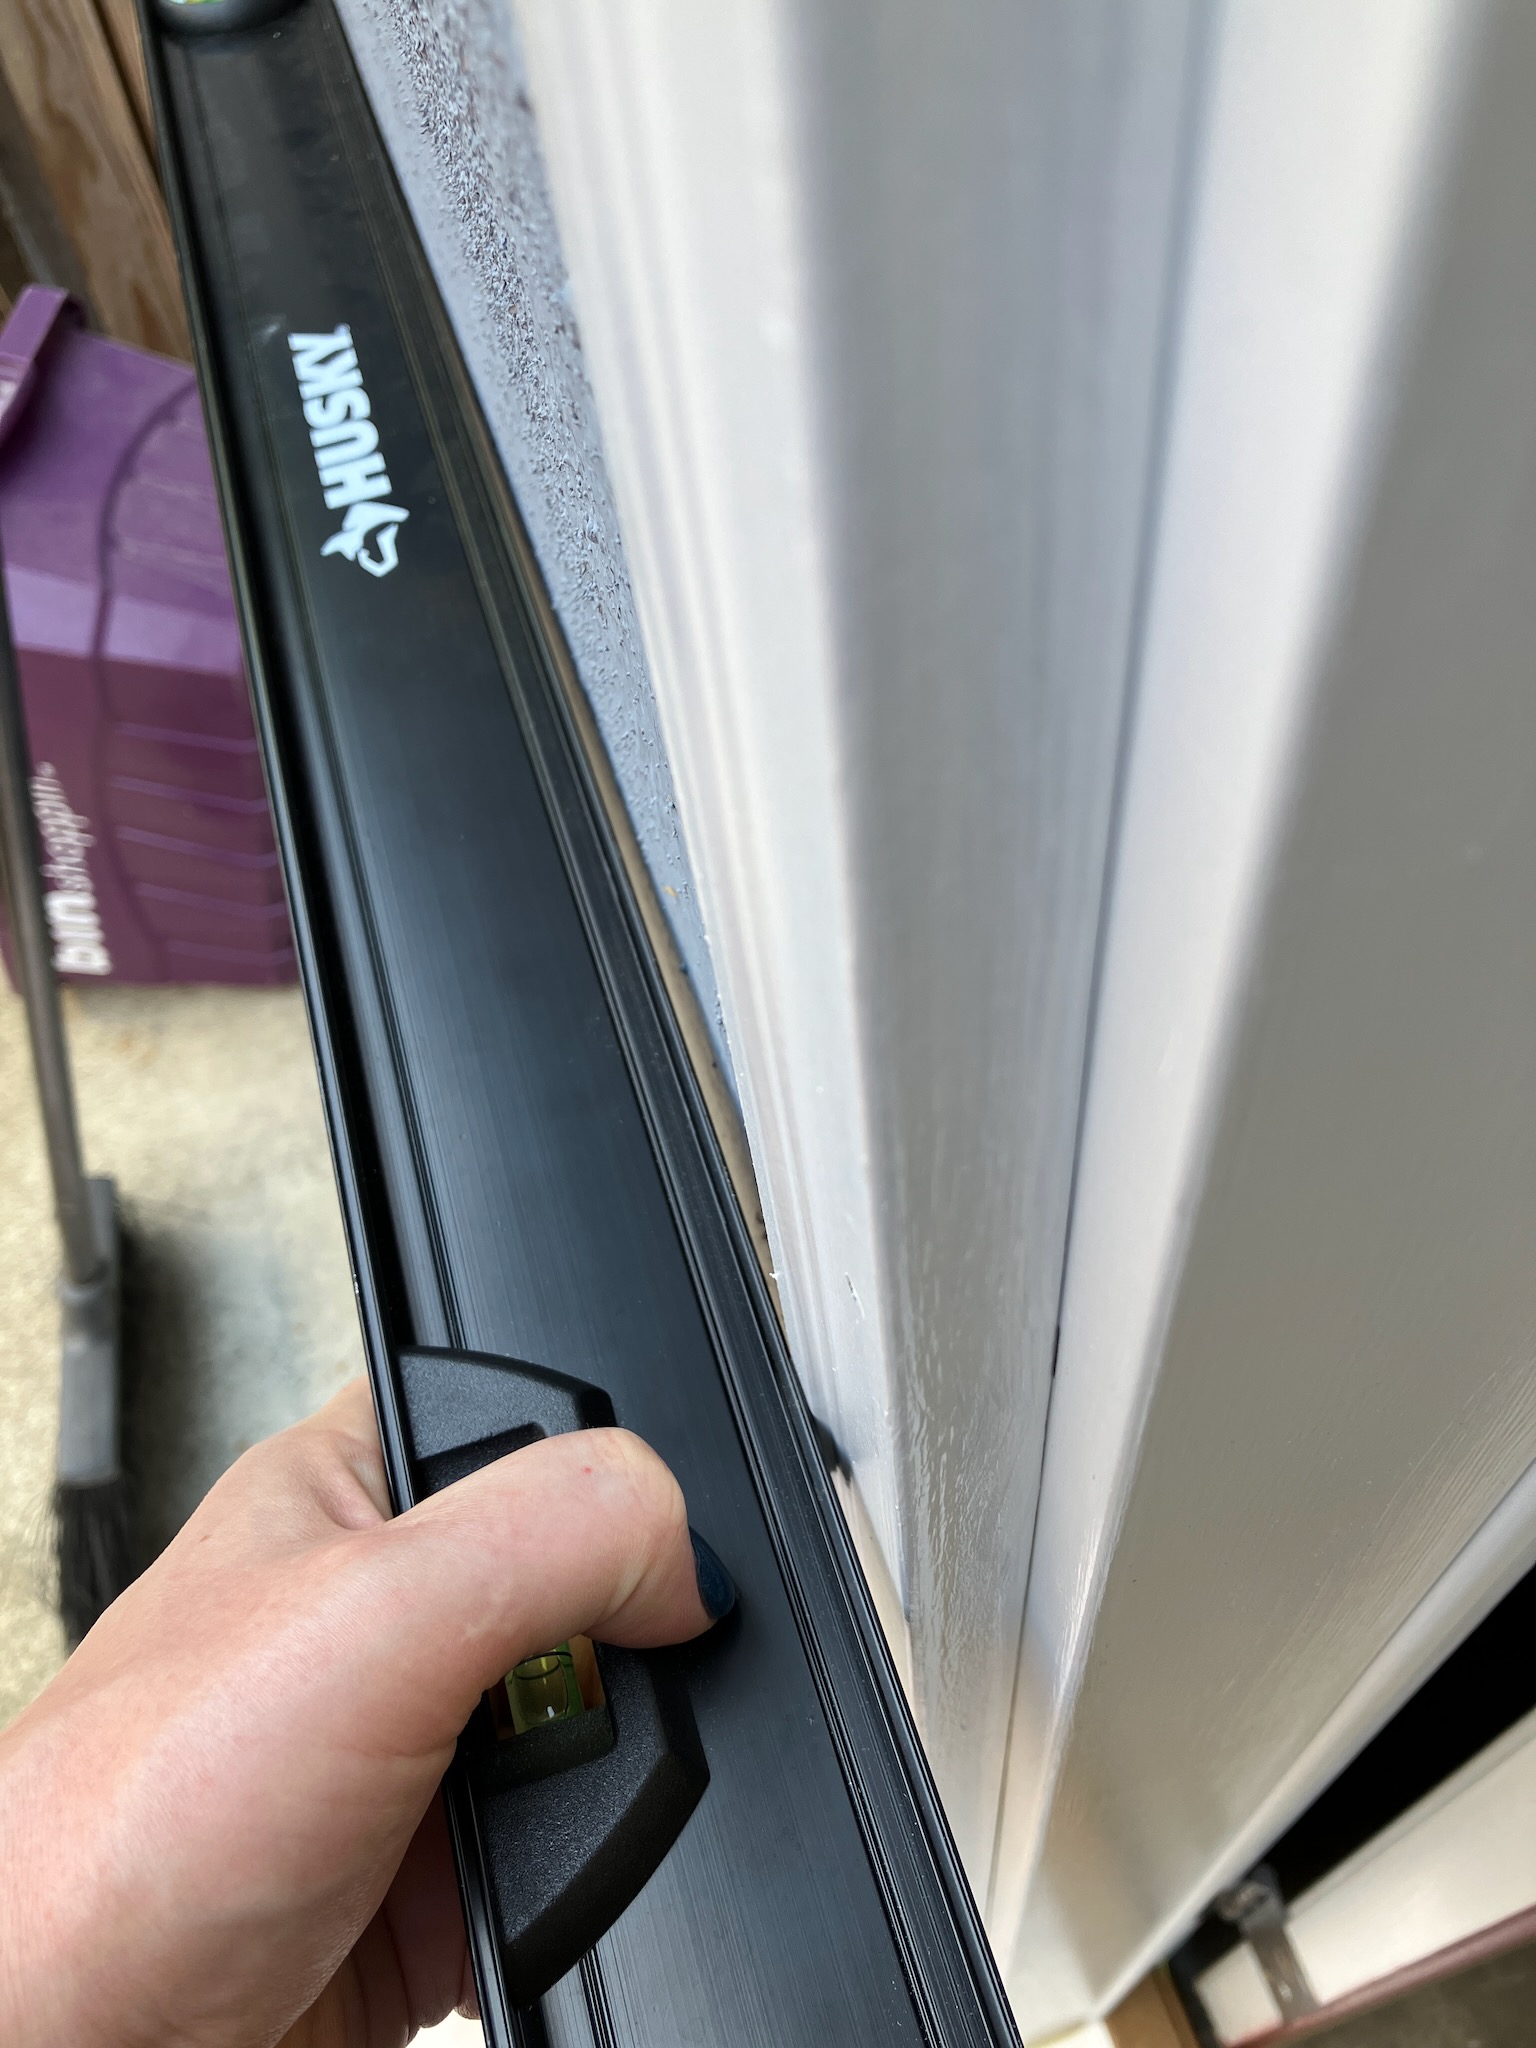
The first thing we need to do is buy the correct trim. The trim generally comes in two sizes, one that's roughtly 3/4 of an inch thick, and another that's closer to 1 inch. Since finished stucco is intended to be 7/8 of an inch, which one you buy will depend on which thickness will allow the trim to stick out from the stucco by approximately 1/8 of an inch when mounted on your door jamb. So, let's do a little measuring.

Ok yes, the 3/4 looks to be about the right size here, but just to be sure let's check the other side too.

Hmm, how peculiar. Let's double check things and measure from the studs instead.


Ok, well, stucco isn't an exact science.

And it's obvious that it was definitely built up on the right hand side to meet the original door molding. Luckily that side is free from obstructions, so I can break the stucco back a fair ways and smooth it into the new molding, whereas on the other side I'm pretty close to a dryer vent that I'd like to avoid, so I'll stay closer to the original thickness there.
So a quick trip to the Home Despot later and it's time to cut the molding to size. Normally I'd leave a 1/4" reveal around the molding, but in this case the threshold has a 1/2" overhang. I'd like the molding to go down to the bottom of the casing and I don't really want to notch it, so a 1/2" reveal sounds fine.

But let's not get ahead of ourselves, there's a joint in the door casing that needs a little caulking attention before we cover it up with trim.

So out comes the magical tube of schmoo.

And now we can proceed.
We measure the width and height of the door frame on the inside, and add 1/2" to the vertical measurement and a full inch to the horizontal measurement to account for the reveal.

Then we double-check that the miter saw is well calibrated.

Mmm, satisfying.
Then we make the cuts.

You can get a decent look at the profile of the molding here. The V-notch in the outside is what the stucco will key into once it's installed.
Also pro tip, most miter saws have a 3.5" deck height.

So you can use a scrap of 2x4 to prop up the far end of whatever you're cutting.
Now that it's cut, we'll preassemble it on the ground. This is the key to getting really tight corners on the molding, since molding is basically almost never straight. Glue and brad nails will keep the joint super flush.

Just do be careful with the brad nailer. The nails tend to go in unexpected directions.

Anyway, with the molding preassembled we can give it a coat of paint on the backside.

Which seals it up nicely, since we won't be able to get to it later.
Then a coat on the front side.

And another coat on the front side.

Well that was some work, time for a goat break.

So, back at it, we need to make some room for the trim to actually be installed, which means we'll need to chip away some of the existing stucco. Enter the best tool I've ever bought: my rotary hammer.

And a little chipping later, we now have enough room.

And a mess to clean up.

Now we measure and mark the 1/2" reveal all the way around. You don't need a full line, just a little mark every foot or so will do.

And then it's time for our good friend the brad nailer again.

I do love me some air tools.
A few brads later and the trim is in place, perfectly aligned. Don't be surprised if you have to nudge it into alignment in places since, as I said, molding is never straight.


So with the molding installed, it's looking a bit more like a real door again.

But there's still a bit of a gap between the molding and the stucco, and that part is going to take some doing, so let's have a quick little birb break.

Don't see these fellas every day.
So as I mentioned before, the stucco around the door is a bit uneven. On the left side, the thickness is ok.
But on the right side it's too thick by about a quarter of an inch.

So we're going to have to break it back far enough to blend it back into the correct thickness. But this is fine because we also have to break it back far enough to stick this flashing tape to the tar paper behind the stucco.

And that'll give us more than enough room to do our thing.
So once again, out comes the rotary hammer.

Have I mentioned yet that this thing is the MVP of stucco work? Also if you angle the chisel like this, the stucco will break out really cleanly without shattering behind the edge.

Hmm, but I feel like there's something missing here.

Oh there it is, the shattered, disintegrating remains of what was once a layer of tar paper behind the stucco. Yeah we're going to need to deal with that too.

Speaking of things that need dealing with, this vent has always bothered me.

It spends 90% of its life hidden behind my recycle bin, rendering it largely useless.

And the inside of it got well chewed by the previous owner's dog.

So I'm going to take this opportunity to get rid of it. There's still one more vent further down the wall, which will be sufficient for providing make-up air for the gas appliances I have in the car hole, so this one is largely redundant.
The first step is to pry off the vent screen, which was installed improperly. These are actually designed so that the screen goes on the inside, with the flange nailed directly to the studs, and then you stucco up to the trim ring.
Wait, did I say it was installed improperly? What I meant to say is that it was installed improperly twice.

But luckily for us the remains of the original, third vent screen were left in place behind the stucco, and we can see how the replacements should have been installed.

Anyway, with that stucco chipped away and removed, we can turn our attention back to the tar paper.

Which also crumbled to dust on this side.
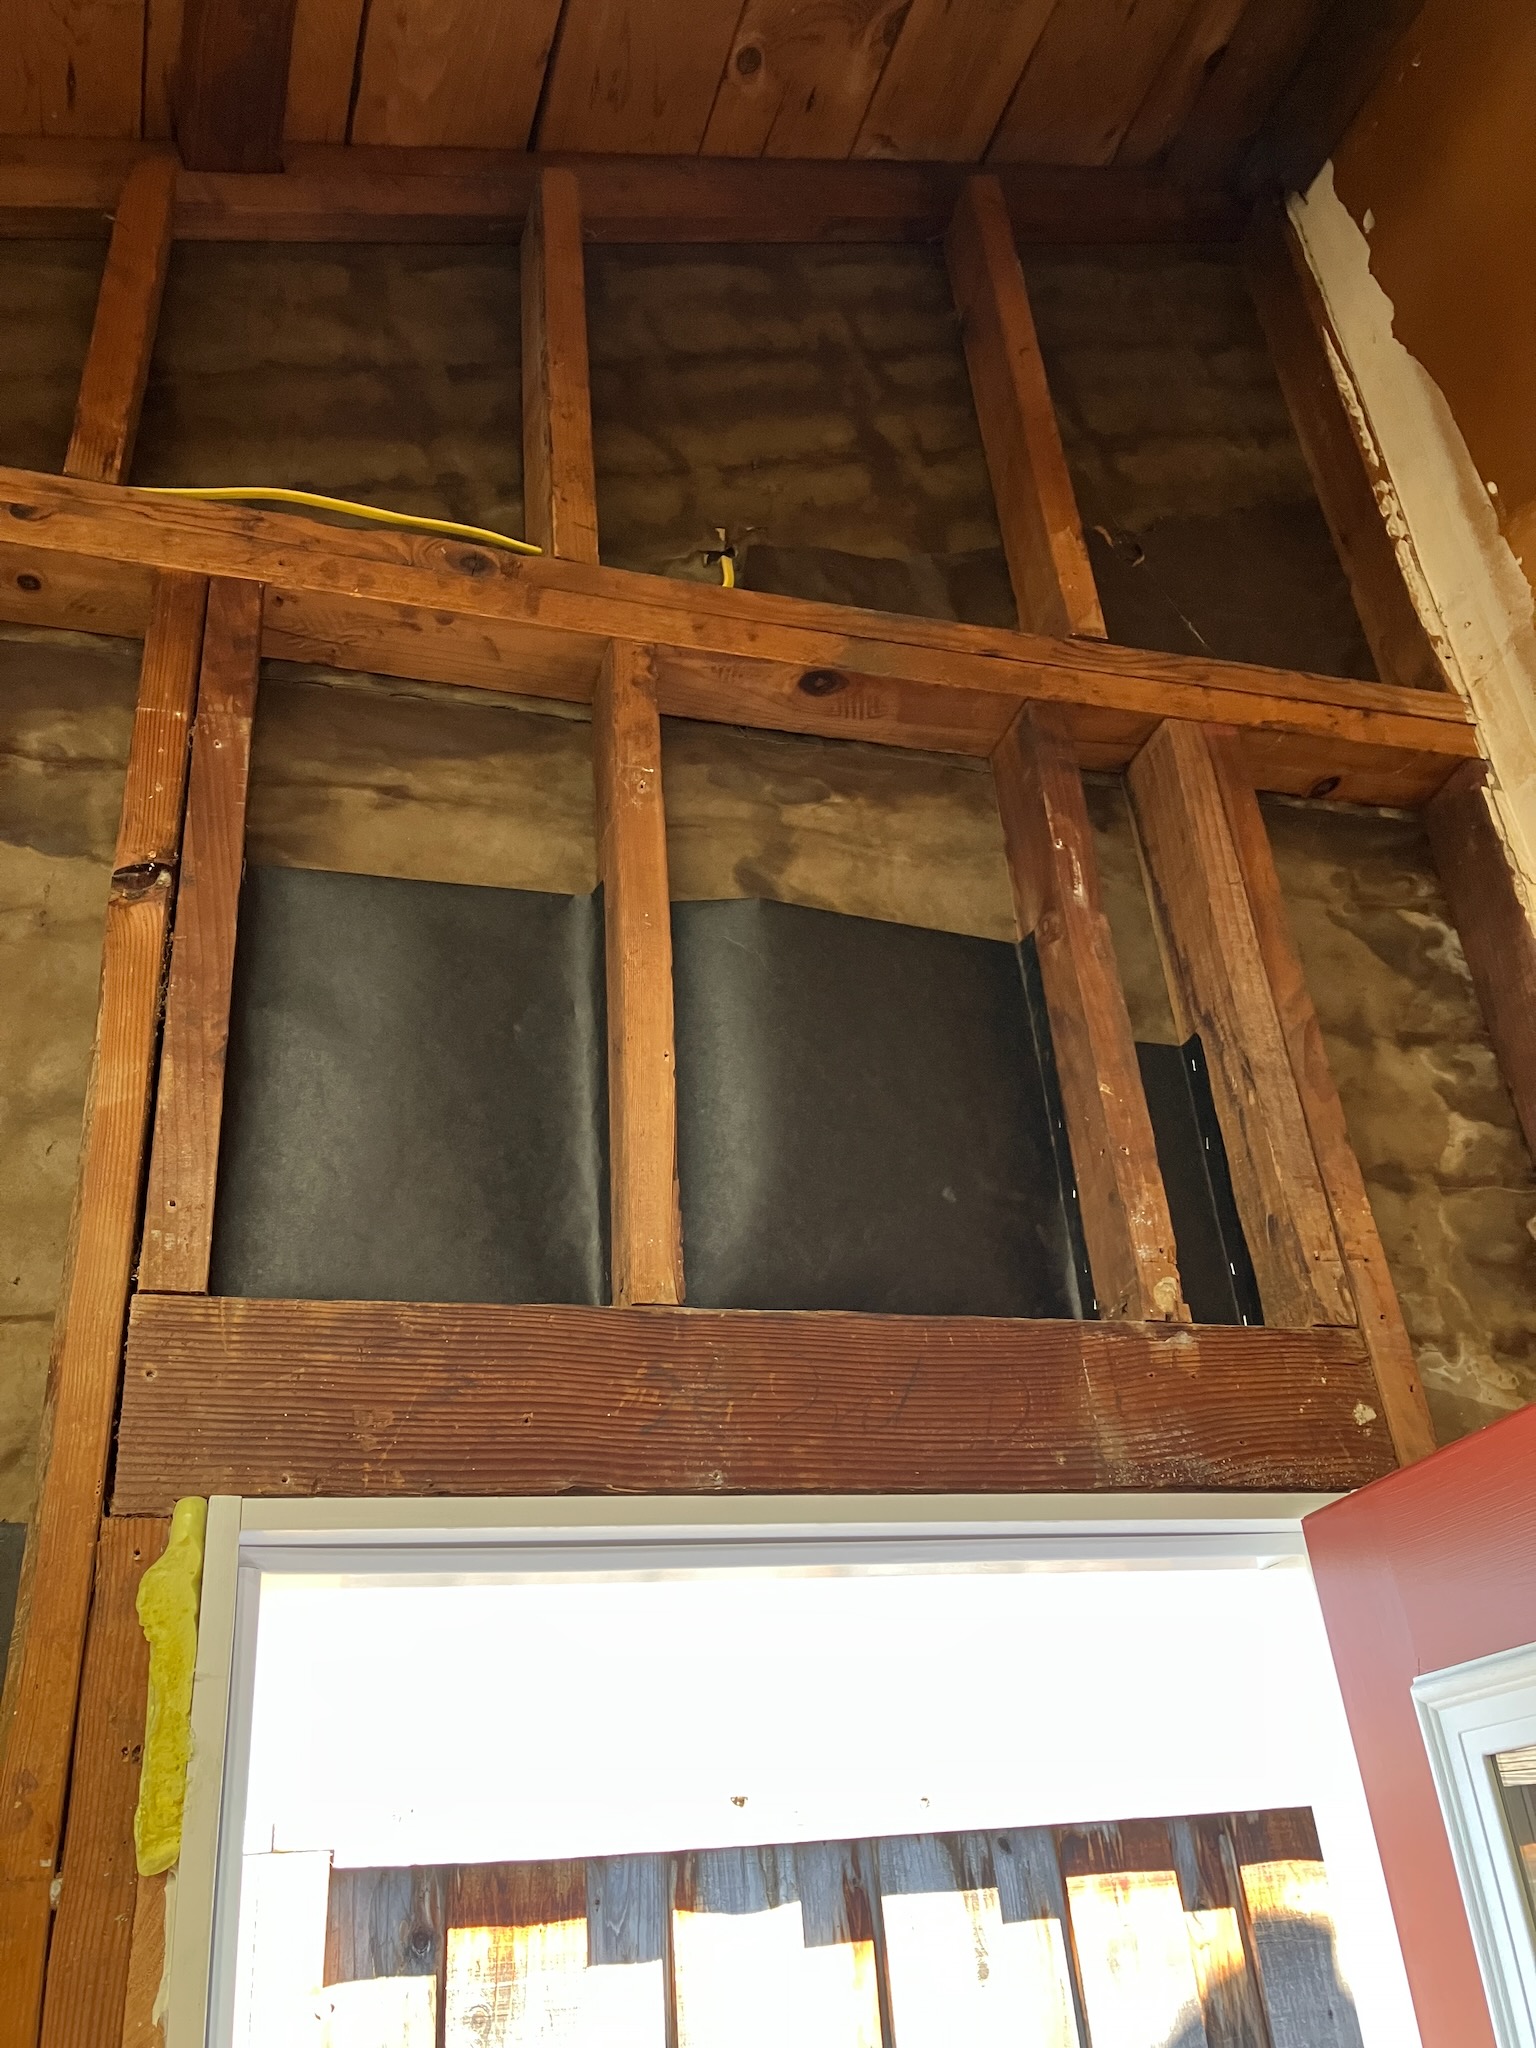
Now you can slip the new tar paper in behind the stucco from the front, sort of, and it'll do sort of an ok job, but since the drywall on the other side is in pretty shitty shape, it makes sense to access things from that side.

Which is also the perfect excuse for getting rid of this cursed pegboard. I hate pegboard.

And behind it I find a flyer that gives an interesting window into the tastes of the previous owners.
Anyway, with the drywall and pegboard out of the way, we can tar paper things up.

I can't really get it behind the studs where it should be, at least in the places where the stucco is still in place, so I'm just going to go with the assumption that the old stuff is still doing its job there and staple the new stuff to the side of the stud instead.
The important part is that the tar paper reaches close to the new trim around the door.

Because we'll be applying the flashing tape between the trim and the tar paper.

Stick it to the groove in the molding on one side and the wood and tar paper on the other, and it'll keep water from getting anywhere near the door frame.
At the top, make sure you feed it under (whatever remains of) the tar paper.

Across the top, the flashing tape sticks directly to the wood, under the paper. Or what's left of it.

Then we overlap fresh paper under the existing paper and over the flashing tape.

That way any water that gets back here will drip down into our little flashing-gutter and be diverted down the sides instead of soaking into the door.
On the backside, it looks like this.
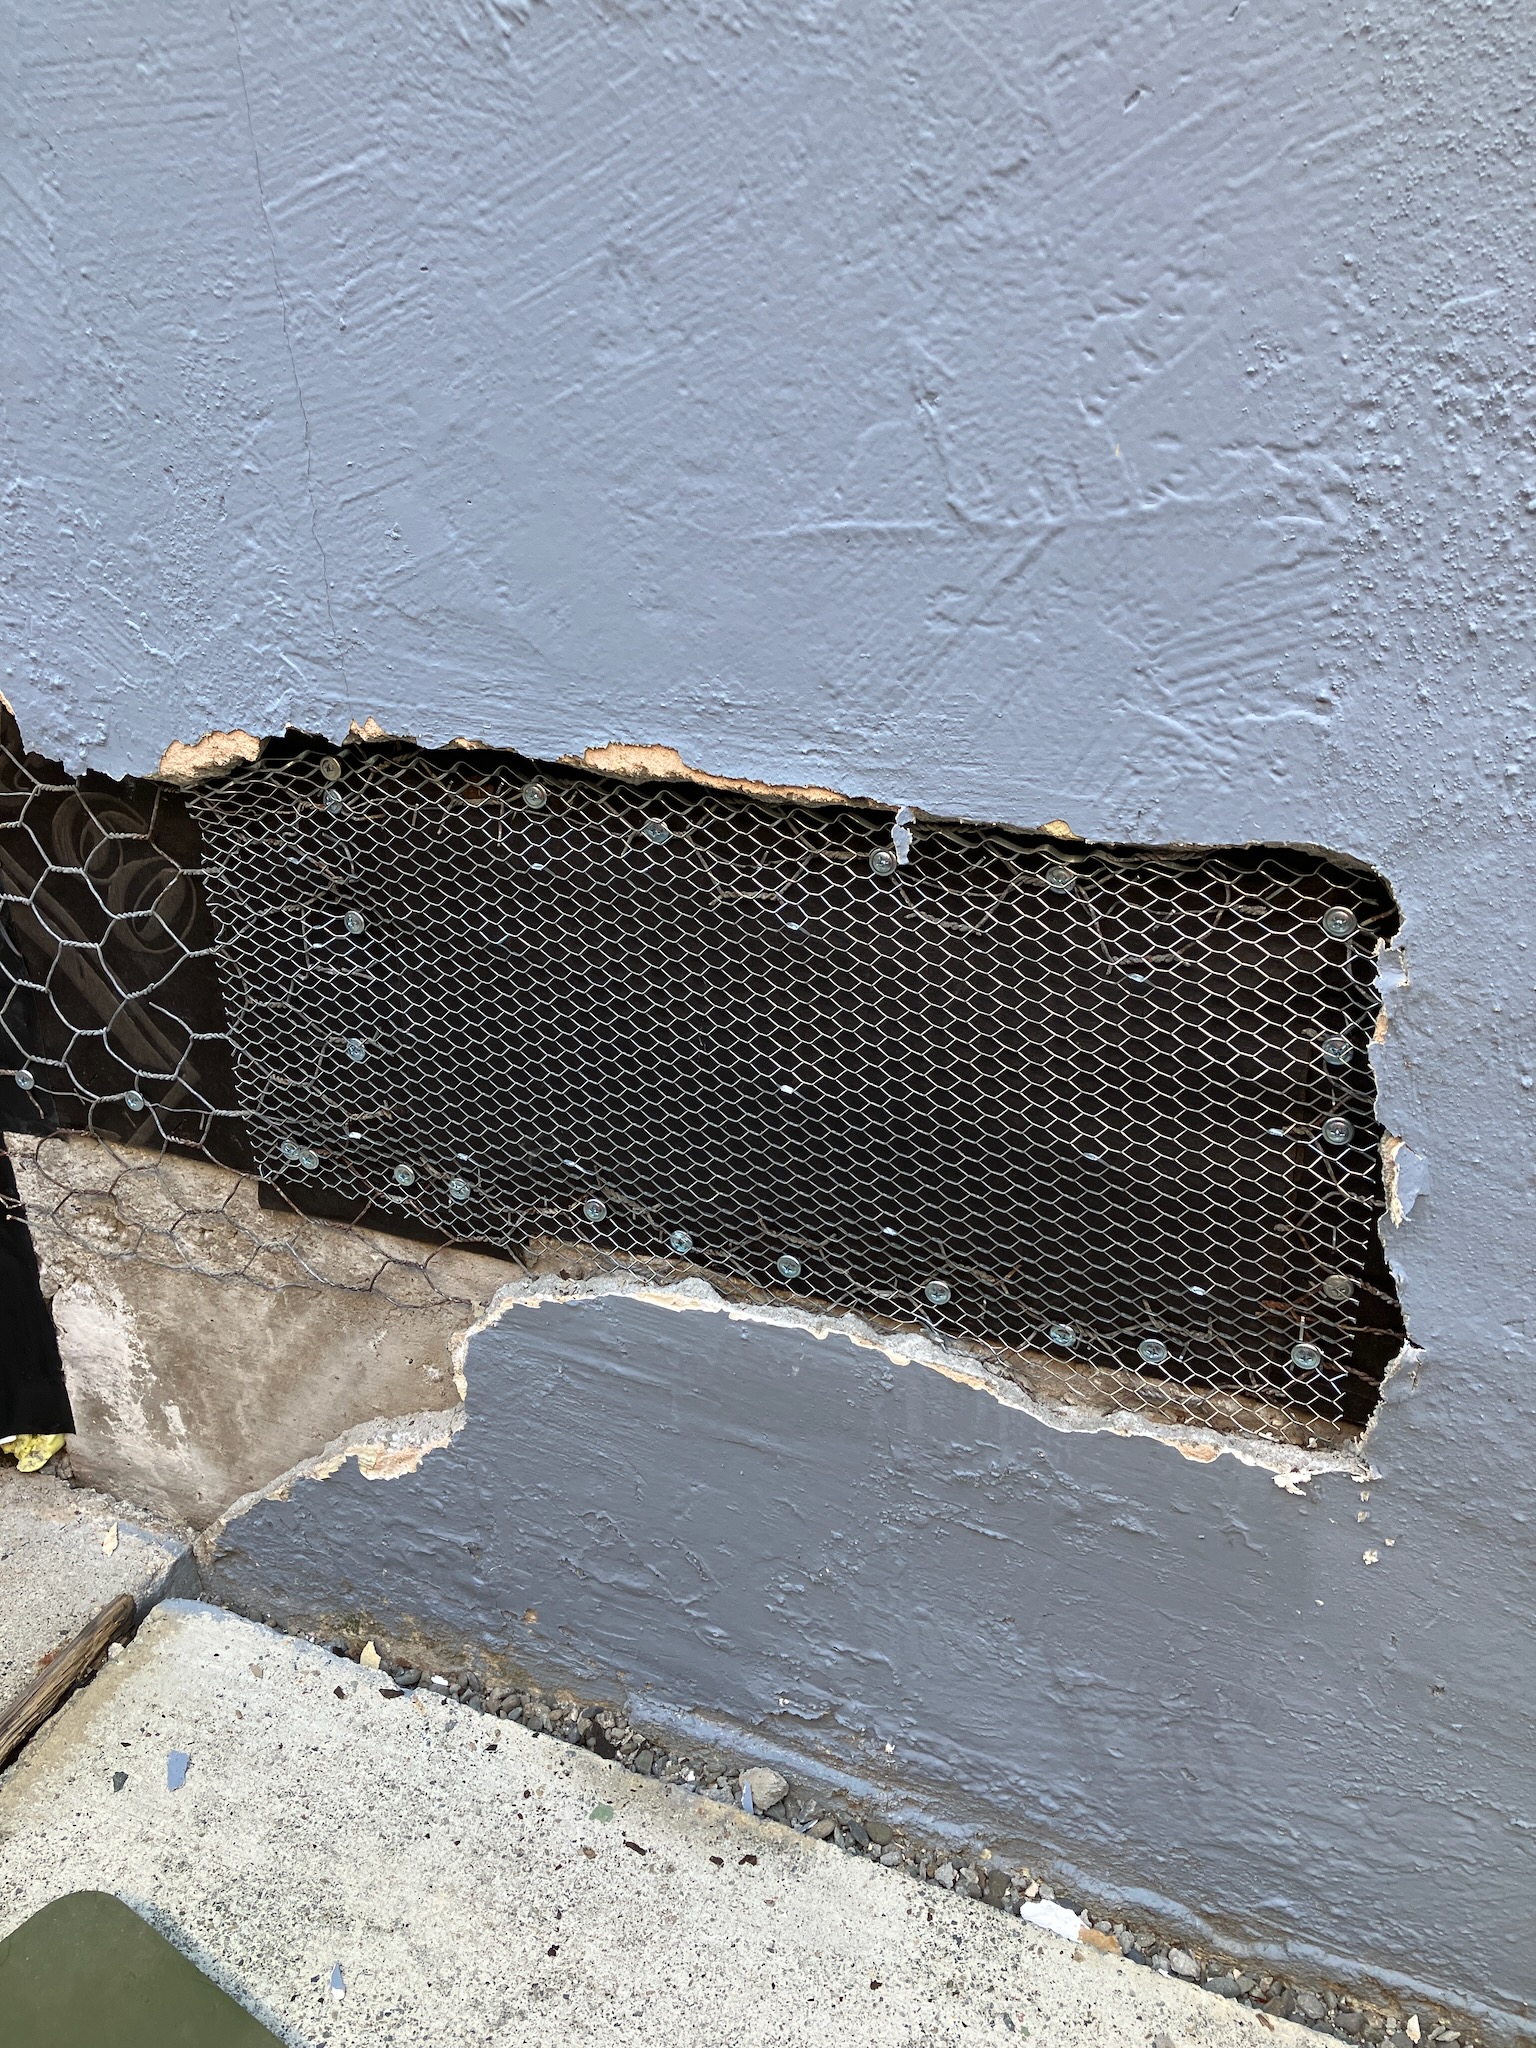
Then it's a simple matter of screwing down the old wire lath.

Making sure that the wire is pulled away from the paper a bit so that the stucco will envelop it. Don't be shy with the screws, these are what will be holding up the wall.
This is also when we fill in any gaps with new lath.
And then it's finally (finally) time to stucco.

Now it's worth noting here that the standard stucco trowel is 4 inches wide, so when you're chipping away the stucco, try to think ahead.

Or, alternately, just buy a smaller trowel.

Anyway, with the wall hosed down it's time to mix up some stucco.

Have I mentioned that I really like my rotary hammer?
The consistency you want is "self supporting". You're basically building a sand castle with extra-sticky sand.

I asked a physicist once how wet sand holds its shape, and he told me "any time you see something like that, a wizard did it. Whenever you're at the beach building a sand castle, just look around carefully and nearby you'll see a wizard quietly casting a sand-levitation spell." Physics sure is neat!
Anyway, the first coat gets squished into place uneventfully, thanks to wizard magic.

And then the second coat goes up after the first coat has cured enough to be stiff enough to push against. Which for me was the next day.

I was initially planning on doing three coats, with a thin skim of finish stucco going on over this, but the weather wasn't really cooperating (it's like a billion degrees out right now) and this coat went on smooth enough, so I just hit it with the sponge float and called it good... enough. It's good enough.
Now I get to keep this watered for the next month or so, and then it'll be time to paint.
No comments:
Post a Comment