This is the door to my car hole.

And let's just say it's seen some shit. Part of the problem is that it's just a basic wood door exposed to the elements, with no awning or overhang to keep the rain off of it. Part of the problem is that it was just never installed correctly from the get-go.

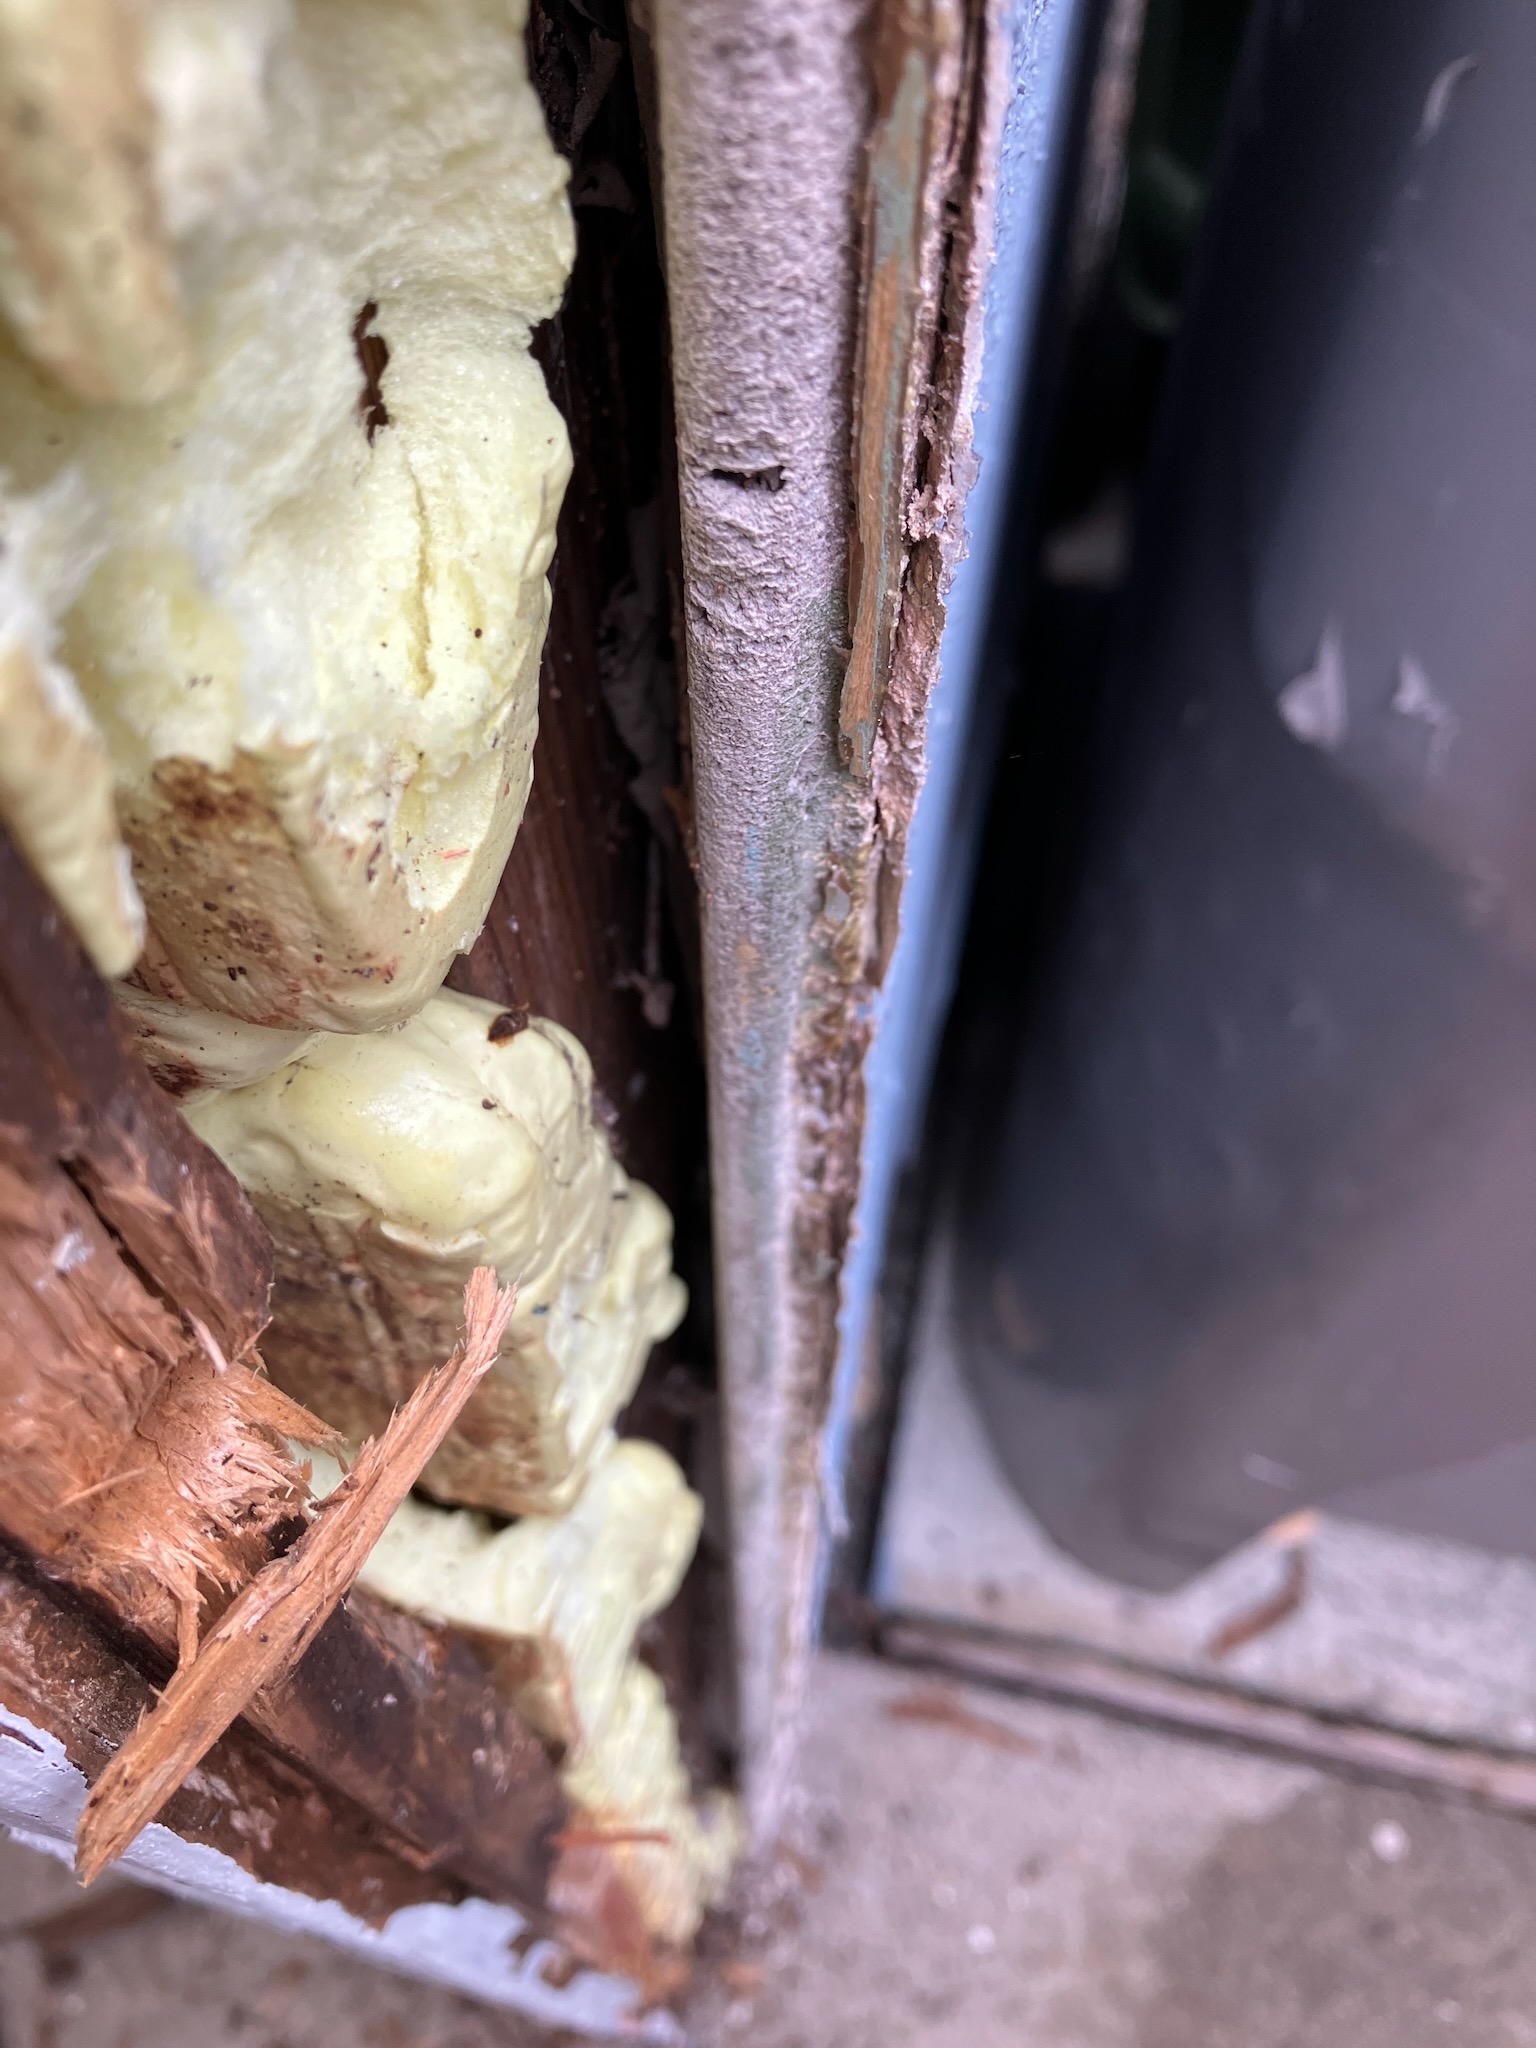
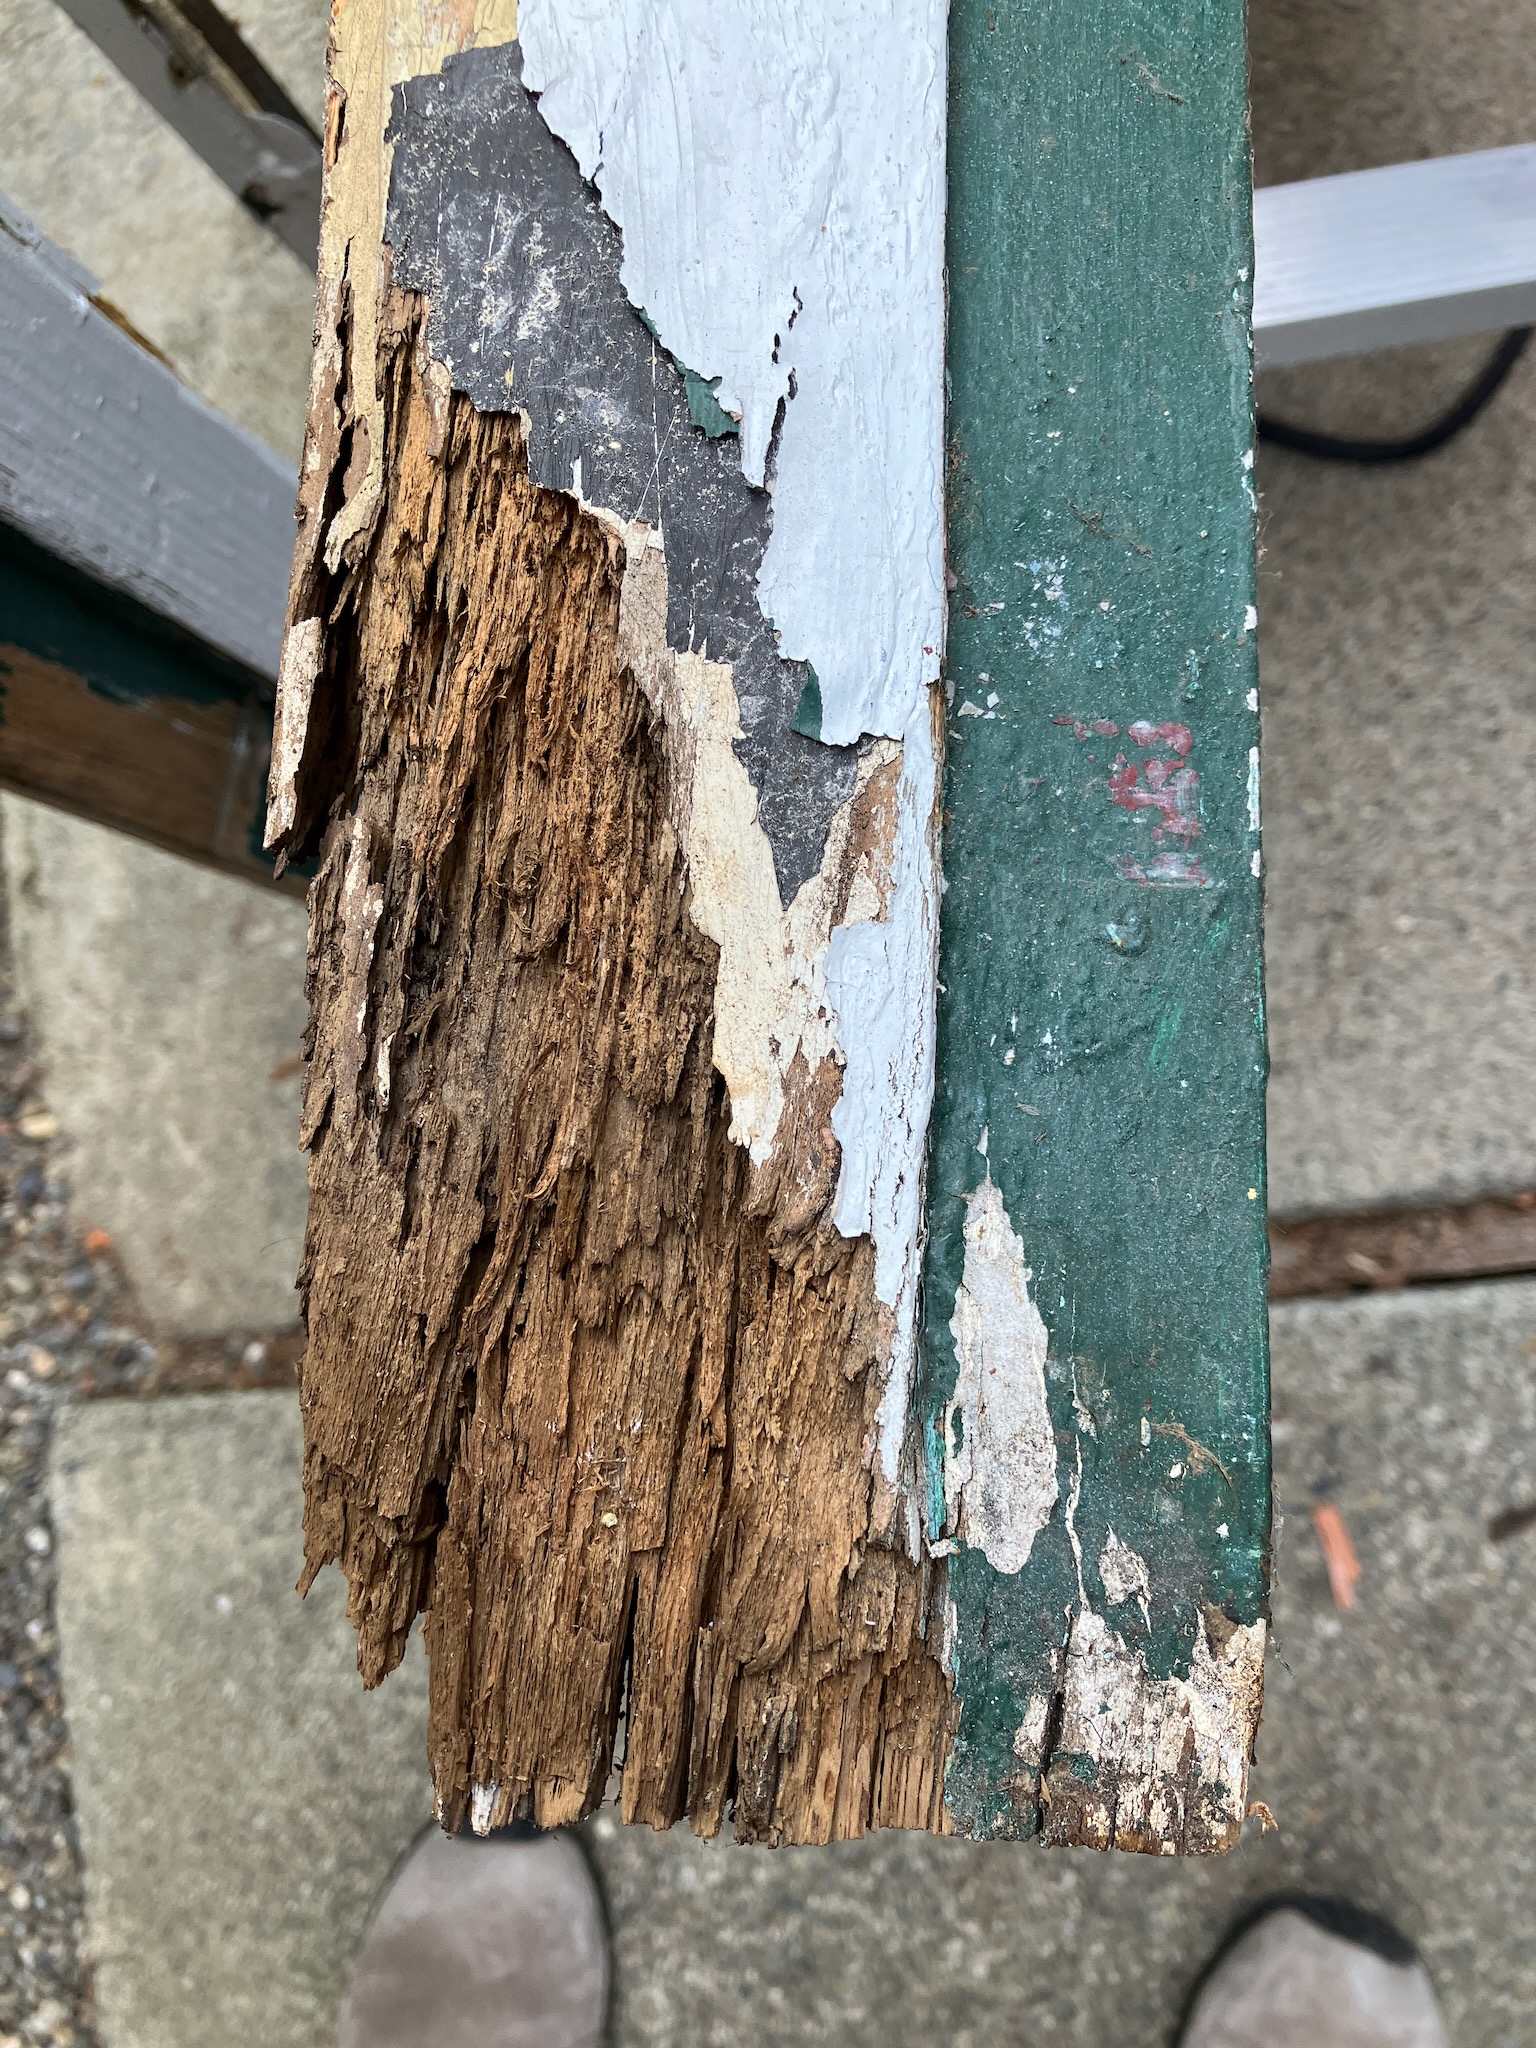
Part of the problem is that it's been literally chewed to pieces and (barely) cobbled back together with whatever bodge was closest at hand.
The frame is in no better shape of course, having rotted out at the top and definitely at the bottom.

On both sides, of course.

So a simple slab-swap isn't going to do here. Instead, we'll need to get much more invasive.
This is a long one, so click through to read more.
After a good deal of searching I managed to find a left-hand inswing half-light steel prehung door. This is a bit trickier than you might imagine, mostly because it's a 30-inch door rather than a 32 or 36 which would be much more common for an exterior door.
But a prehung door isn't a prepainted door, so we'll need to unprehang it first.

And while we're here, we'll fix the sloppy job that the factory did when they installed the hinges. The middle hinge is in the right place...

But the top and bottom hinge, not so much.

This was misaligned enough to make the door a bit banana-shaped when closed, so we're going to have to fix that. Out comes the drill and dowels to get rid of the old holes.

And we'll probably want to replace these safety-screws with something longer. As much as it's nice to be able to open the door in an emergency by pushing firmly on the hinge side, I'd rather the door stay in place.

We'll need something to screw those screws into, so let's get rid of the factory holes.

And plug things up.

While we wait for this glue to dry, we'll take care of painting. For the inside, it's easy to just pull the trim off the window, which avoids the fuss of having to mask it.

And we apply coat 1.

And coat 2, after remembering that I do have some painter's tape to cover up the sweep at the bottom.

On the exterior we don't have the luxury of removing the window frame, since this side is glued in to keep it weathertight. So masking it is.

Then on goes coat 1.

And coat 2.

And since the red is a pretty big colour change from the white primer, it's gonna need a third coat.

What's nice about painting a steel door like this with a brush is that you can orient the brush marks to give the door a bit of an illusion of having wood grain.

It's not a perfect illusion, but it's enough to keep it from looking like a flat, featureless slab.
Anyway, the hinges need to go back on, so we'll slice off the dowels nice and flush.

And then we'll be a little more careful than they were at the factory with lining things up.

And then poke some well-aligned holes using a self-centering bit.

And we'll swap out the safety-screws later.

For now we need to deal with painting the jambs, and the easiest way to paint around the weather stripping is to yank it out.

And then it's a relatively simple matter of painting it.

Here's coat 1, taking care to hit the end grain of the jambs.

And coat 2.

Don't forget the end grain at the bottom of the jambs too.

Well that was a lot of work, let's take a little sheep break.

Ah, that was refreshing. Just what I needed before I ripped out the old door.
And just as an example of how far gone it was, this is slime mold that was growing inside the cutout for the door handle.

The hinges were actually in surprisingly good shape, but they're not really worth saving so they'll be going into the bin.

Ah, it's nice to finally be saying goodbye to this old door.

It's even leaving me a few parting gifts, like this rusty nail that just fell out of it at random.

Thanks, door.
Now the jamb meets its end.

For the record, this is neither the correct type of casing to install against stucco, nor is it the correct method of installing it.

And the result is a bunch of glue on one side, and a bunch of rotten wood on the other.

And when I say rot, I mean rot.

I suppose I'll need to remove both halves of that board.

Here's a better shot of the incorrect casing that was used.

This is a casing designed to go onto wood siding. It has a rabbet in the back to sit on top of the boards of the siding, whereas it should have a rounded V-shaped notch that keys into the stucco.
We can see that there was originally the correct style installed, as the stucco has the expected rounded V-shape.
But clearly they decided to be lazy when they replaced it. As a result, there was a ton of water infiltration, leading to rot and rust.

Well, removing that old door was a lot of work, let's take a quick mole-break.

Perfect, that's just what I needed to work up the energy to fill this hole in the wall.

There is one tiny issue, though.


It's a bit of a tight fit. So let's take care of that.

We'll make a few cuts on the header.

And then chisel out about half an inch of wood.

I'm not too worried about losing strength here, there's really nothing above this doorway that needs supporting.
Anyway, with the rough opening suitably roughed up, we now have enough room to get the door in.

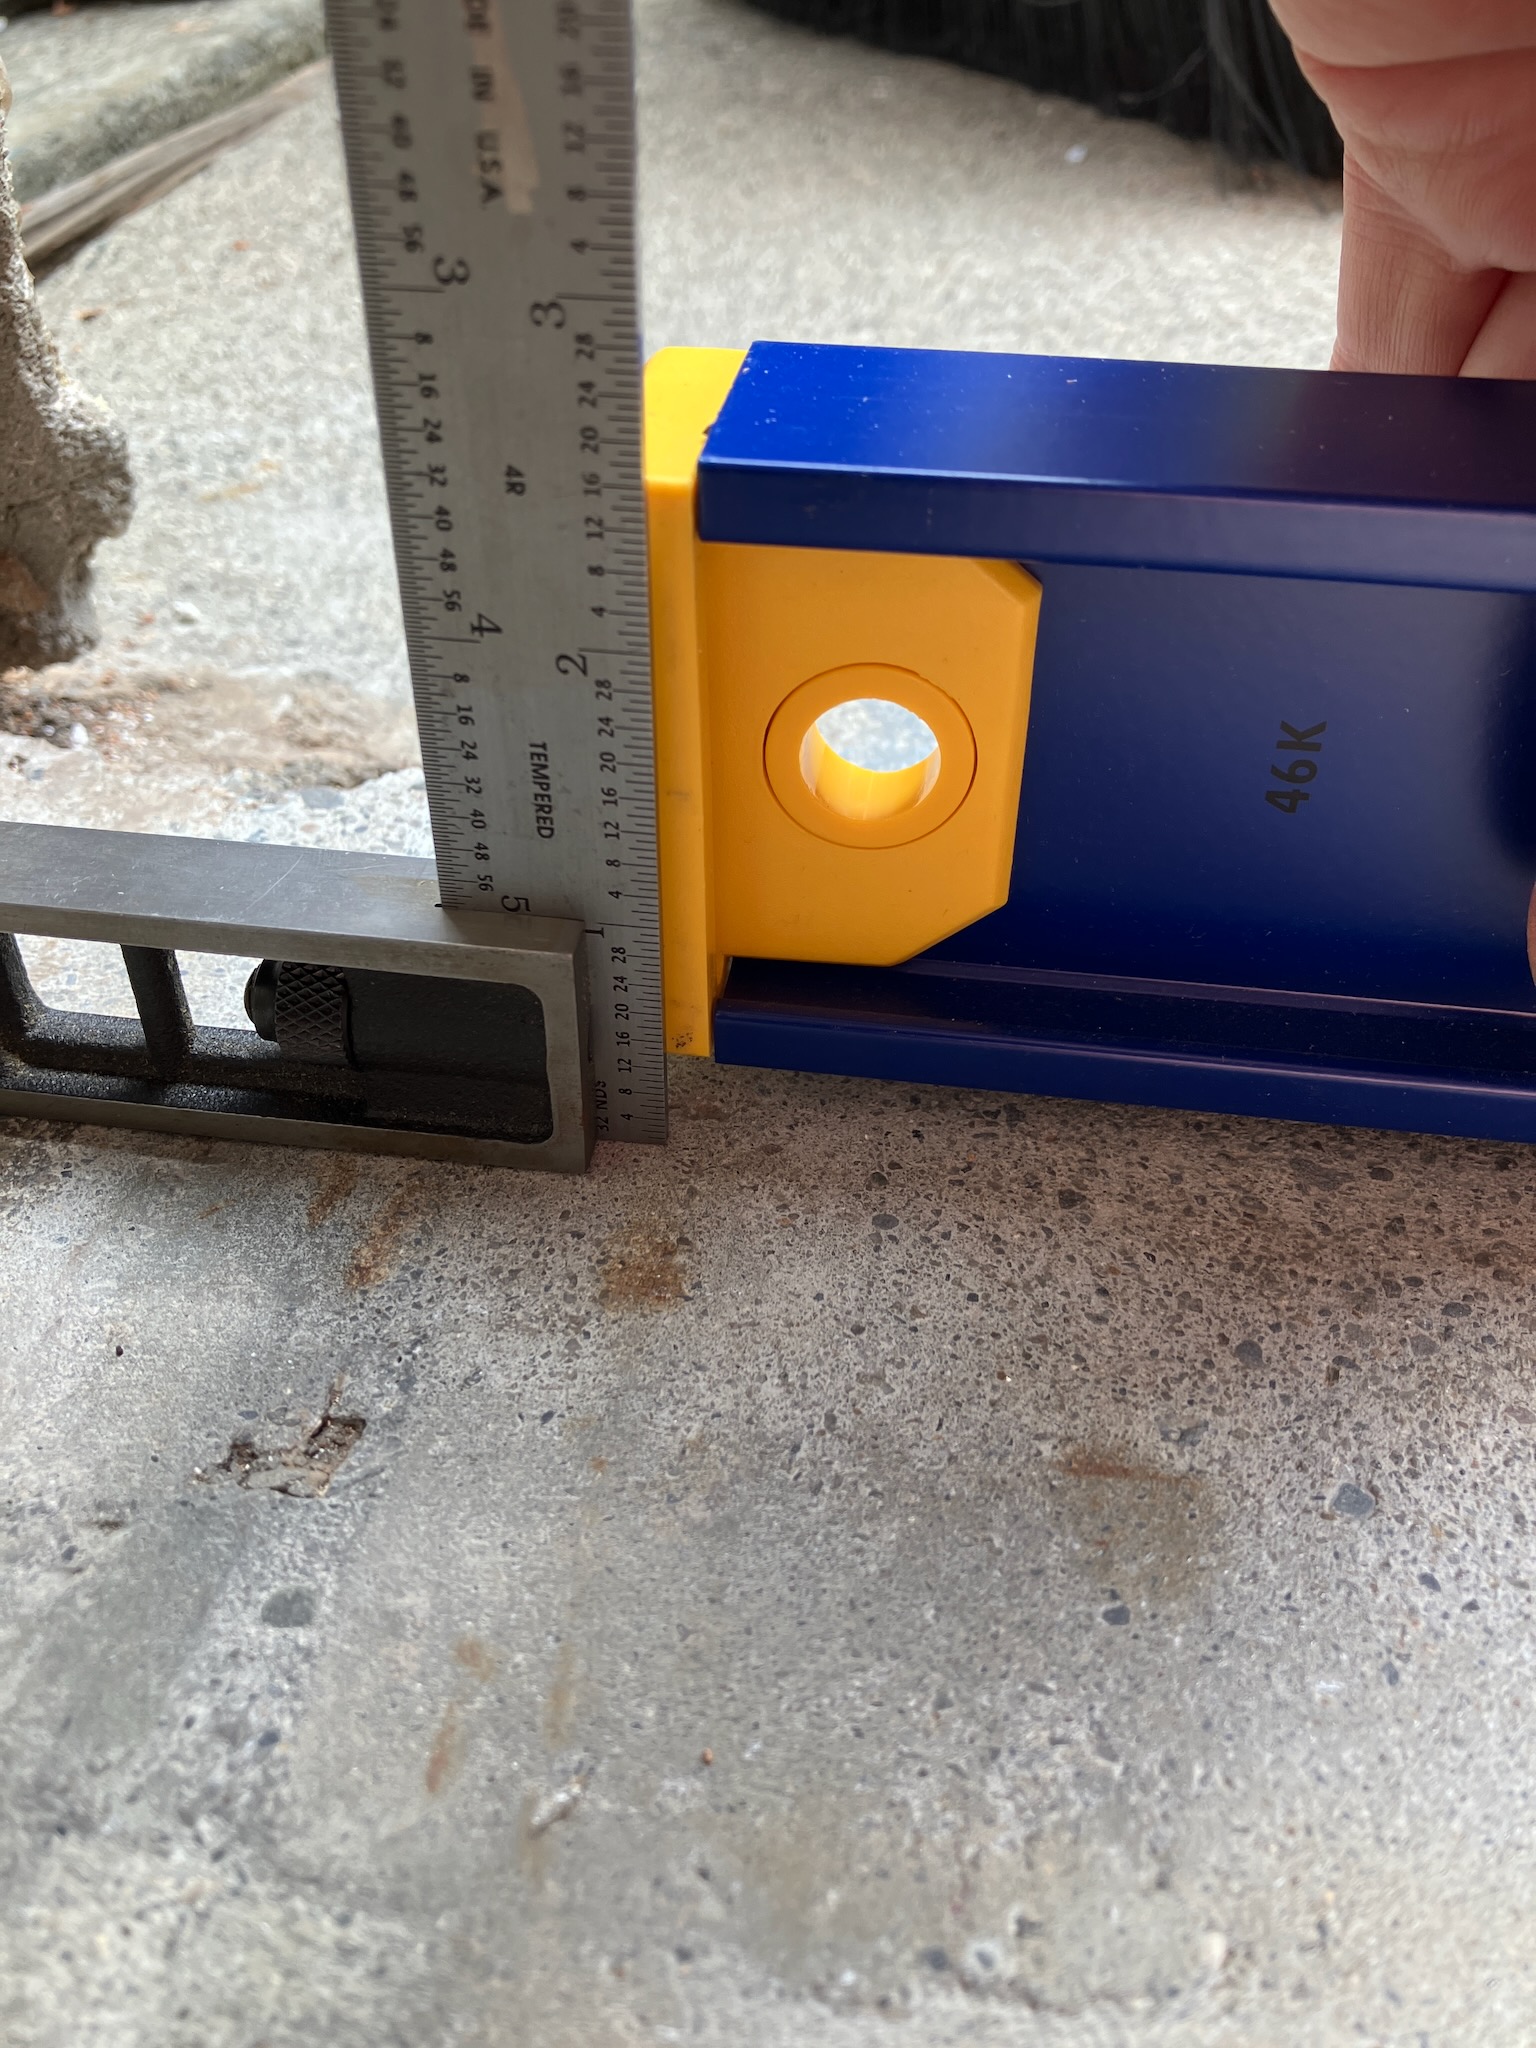
But as you can see we have another problem: the concrete floor is sloping a tiny bit, which is going to result in the door frame being way out of square.

By a good quarter inch or so.
Thankfully this adhesive flashing has a bit of thickness to it, so we can just build up a few layers on one side to even things out.
And by a few I mean more like 16.

To get it to stick, though, we're gonna need it to be clean, so a quick brush with the wire wheel will freshen up the surface.

And then we can stick down many, many, many layers of adhesive flashing.

I actually needed a few more layers on top of this since it was also low in the middle.
Luckily I have a lot of adhesive flashing, so there's still plenty left to go over the top of the jamb.

And also add an extra layer of protection for the end grain at the bottom.

And now finally we can lay down a few beads of caulking along the bottom of the rough opening and set the frame into place.

And shim it up nice and square and plumb.

I did end up needing just a tiny bit more height on the left side of the door here, The factory left an exceptionally small gap between the door and the top jamb, so there wasn't much hope of avoiding a last second adjustment.
But with the door in place, we can install the latch.
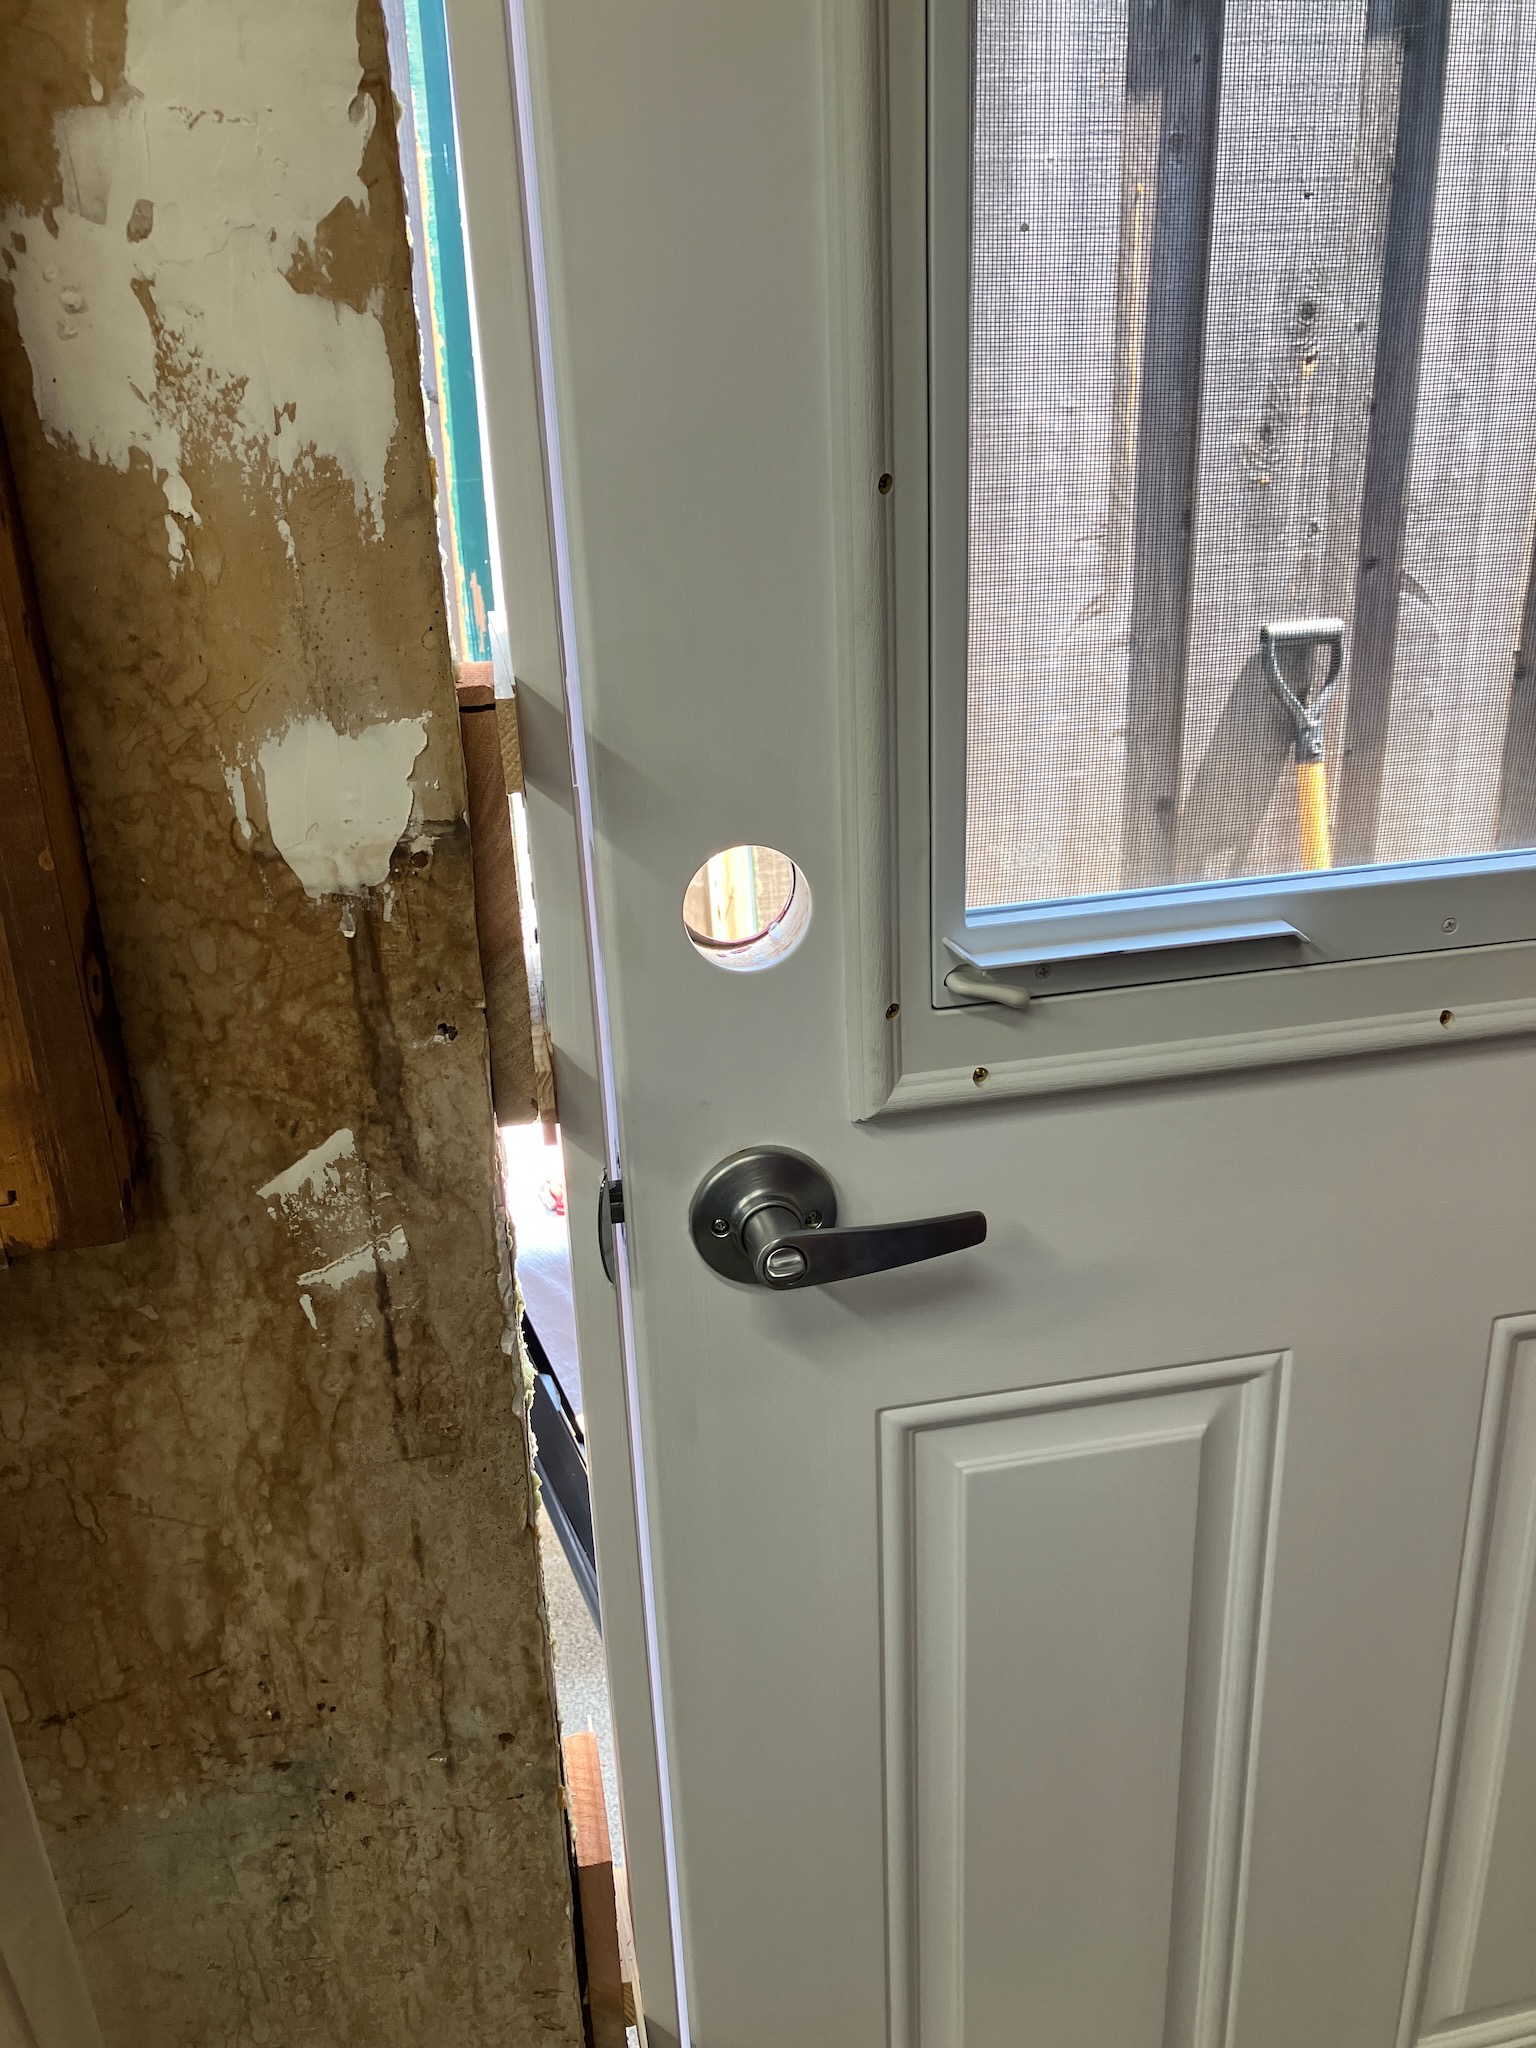
And the fancy deadbolt.

With its fancy keyless entry.

And speaking of keys, I really love the Kwikset Smartkey system.

It was super easy to rekey this to match my existing locks.
Now we foam up the gaps and we're basically done.

Just need to take some glam shots.


And of course open the window to enjoy some fresh air, once all the screw head plugs are in.

And just as a reminder of what we replaced...


This finger joint was so degraded that it literally fell apart.

And while I don't usually badmouth people I've never met, I'll say that maybe you shouldn't hire Schulte & Company to install your doors.

You're probably better off doing it yourself.
No comments:
Post a Comment