I've done a lot of work to fix up my Juki LS-321 cylinder arm needle/drop feed sewing machine, but the table it sits on has also needed some attention that it hasn't been getting.
There's three main categories of problems with it. Well, more like four if you count one that I'm not gonna fix: it's sagged a little in the middle over the years due to the weight of the machine.
Or five problems, if you count the glitter.
Ok, but enough of the problems that are never going to be fixed, let's deal with the ones we can do something about. This'll be a long one, so click through to read on.
The first problem is all the speed holes.
There's obviously been a variety of equipment attached to this table at various times, not all of which still remains.
There's also some chunks of the surface that have been chipped out, either around a hole or just in the middle of nowhere.
Of course, not all the speed holes are going away. Some of them are kind of convenient.
Before we get to fixing the speed holes, however, we need to deal with the delamination.
And we deal with it by gluing it back down.
Remember to wear a mask with this stuff!
Anyway, it's not too hard to spread it on the underside of the loose laminate and the opposing side of the plywood below it, and then it just needs to be held open while we wait for the solvent to flash off.
And then with a firm press, the laminate is glued back in place.
But that's not the only delamination that's happening in this corner. It obviously took a pretty good hit at some point, and the plywood here is splitting on two separate layers.
Again, glue is the answer, but this time in the form of Titebond 3.
And since wood glue doesn't form an instant bond like contact cement does, we also need some clamps, and the glue syringe helps get the sticky stuff where it needs to be.
Don't worry, this won't hurt a bit.
So long as you try not to imagine this going under your fingernail.
Anyway, a little clamping and a little waiting later, and we can get on with fixing the speed holes.
To start with, the chipped-up sections have some areas where the laminate is lifted above the surrounding surface.
So we need to chip those bits away to not end up with a lump in the table.
And speaking of preparation, using a countersink on the rest of the holes will give us a much better finish around the edges with way less of a risk of getting cracks and gaps at the edges.
And now we can fill these in.
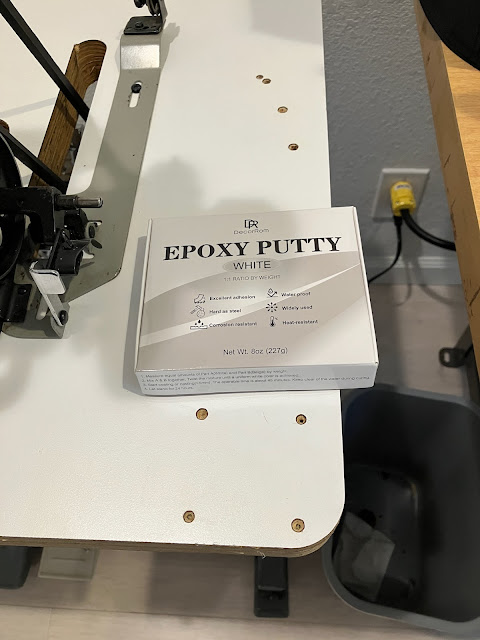
And to do that filling, we'll be using white epoxy putty.
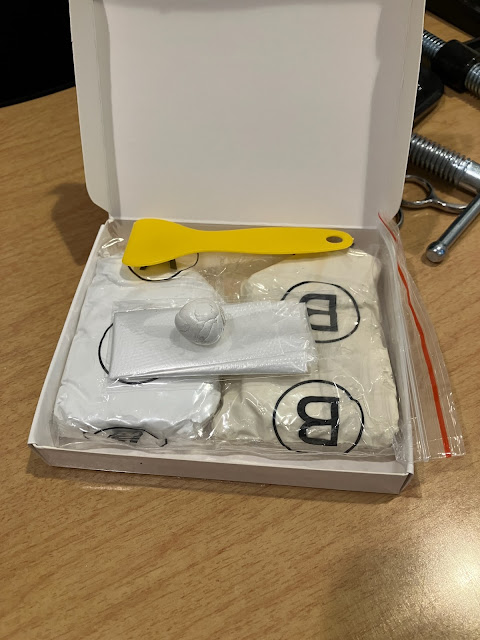
This brand seems to be a little nicer to work with than the black stuff I've used previously. That stuff was a bit crumbly and stiff, while this stuff is very smooth and pliable.
Once it's sufficiently kneaded, it's just a matter of smushing it into the holes. A putty knife helps a lot with this: you stick a wad of putty into the hole, then use the putty knife to flush it off by scraping outwards from the center.
And that leaves the putty perfectly flush with the surface.
You can still tell there used to be some holes here, if you look closely.
But the improvement is already pretty dramatic.
Including at the back corner here where the thread stand mounts, which had a full chunk of the laminate and plywood missing.
And for once I didn't have a giant wad of excess epoxy putty left over.
Just a little marble's worth, which will provide a convenient test piece to check the cure.
Speaking of curing, after 24 hours it's hard as a rock and ready to be smoothed off. The stuff in the holes is already pretty good and only needs a little touch-up, but at the back here it needs a bit more smoothing.
But mental note: go easy on the laminate.
Ah well, lesson learned.
Now on to fixing problem number 3: the missing edge banding.
I ended up going for this "Dove Grey" colour because it was a whole $3 cheaper than white.
Although, I may have discovered why the edge banding was missing.
Apparently whoever cut the slot for the edge banding wasn't quite on their game that day. I think at some point in the future I'll glue a spline in to fill this slot and then cut a new slot at the right height, but that's a project for later, as right now I don't want to buy a router bit, unmount the machine head, drag this table out to my car hole...
Anyway, it's important to cut the spline off of the edge banding at the corners, or you'll never get it to sit right.
But with the spline removed, the corners will sit nice and tight without any tendency to spring away.
And remember, we're ignoring the spot where I sanded through the top surface of the laminate.
To get the ends matched up perfectly, it's pretty much as simple as making a notch at the top and the bottom where the overlap lines up, and then connecting the dots with a utility knife.
And with the edge banding in place, it doesn't necessarily look perfect, but it does look way better than it did when I started.
Even though that misalignment of that edge banding is going to kill me until I fix it.


2 comments:
Really nice! remember, "the perfect is the enemy of the good" :D
Are you making bags w/this?
Yup, bags is one of the plans!
Post a Comment