For a while now I've been on the lookout for a top-and-bottom coverstitch machine. Like any other coverstitch machine, the foundation of it is a three-needle chain stitch machine with a single lower looper. What separates it from these more common machines is that it also has an upper looper, which adds a thread that goes back and forth across the top of the seam.
Recently, just such a machine popped up on the 'ol fleabay, a Brother CV3550. One "buy it now" later, and this box showed up on my doorstep.

Mmm, internet shopping.
As you might expect, the machine showed up with almost no signs of use at all. I expect that the original owner bought it, got confused and frustrated with it, and then shoved it back in its original box until they needed to clean house. Given that the list price for this machine is $1700 and the price I paid was, let's just say, significantly less than that, I do have to thank them for taking the depreciation hit for me. Of course, like most list prices it's a complete lie, and the real price is more like $800, though that's still a fair bit more than I paid.
But enough about the financials, let's see the machine!

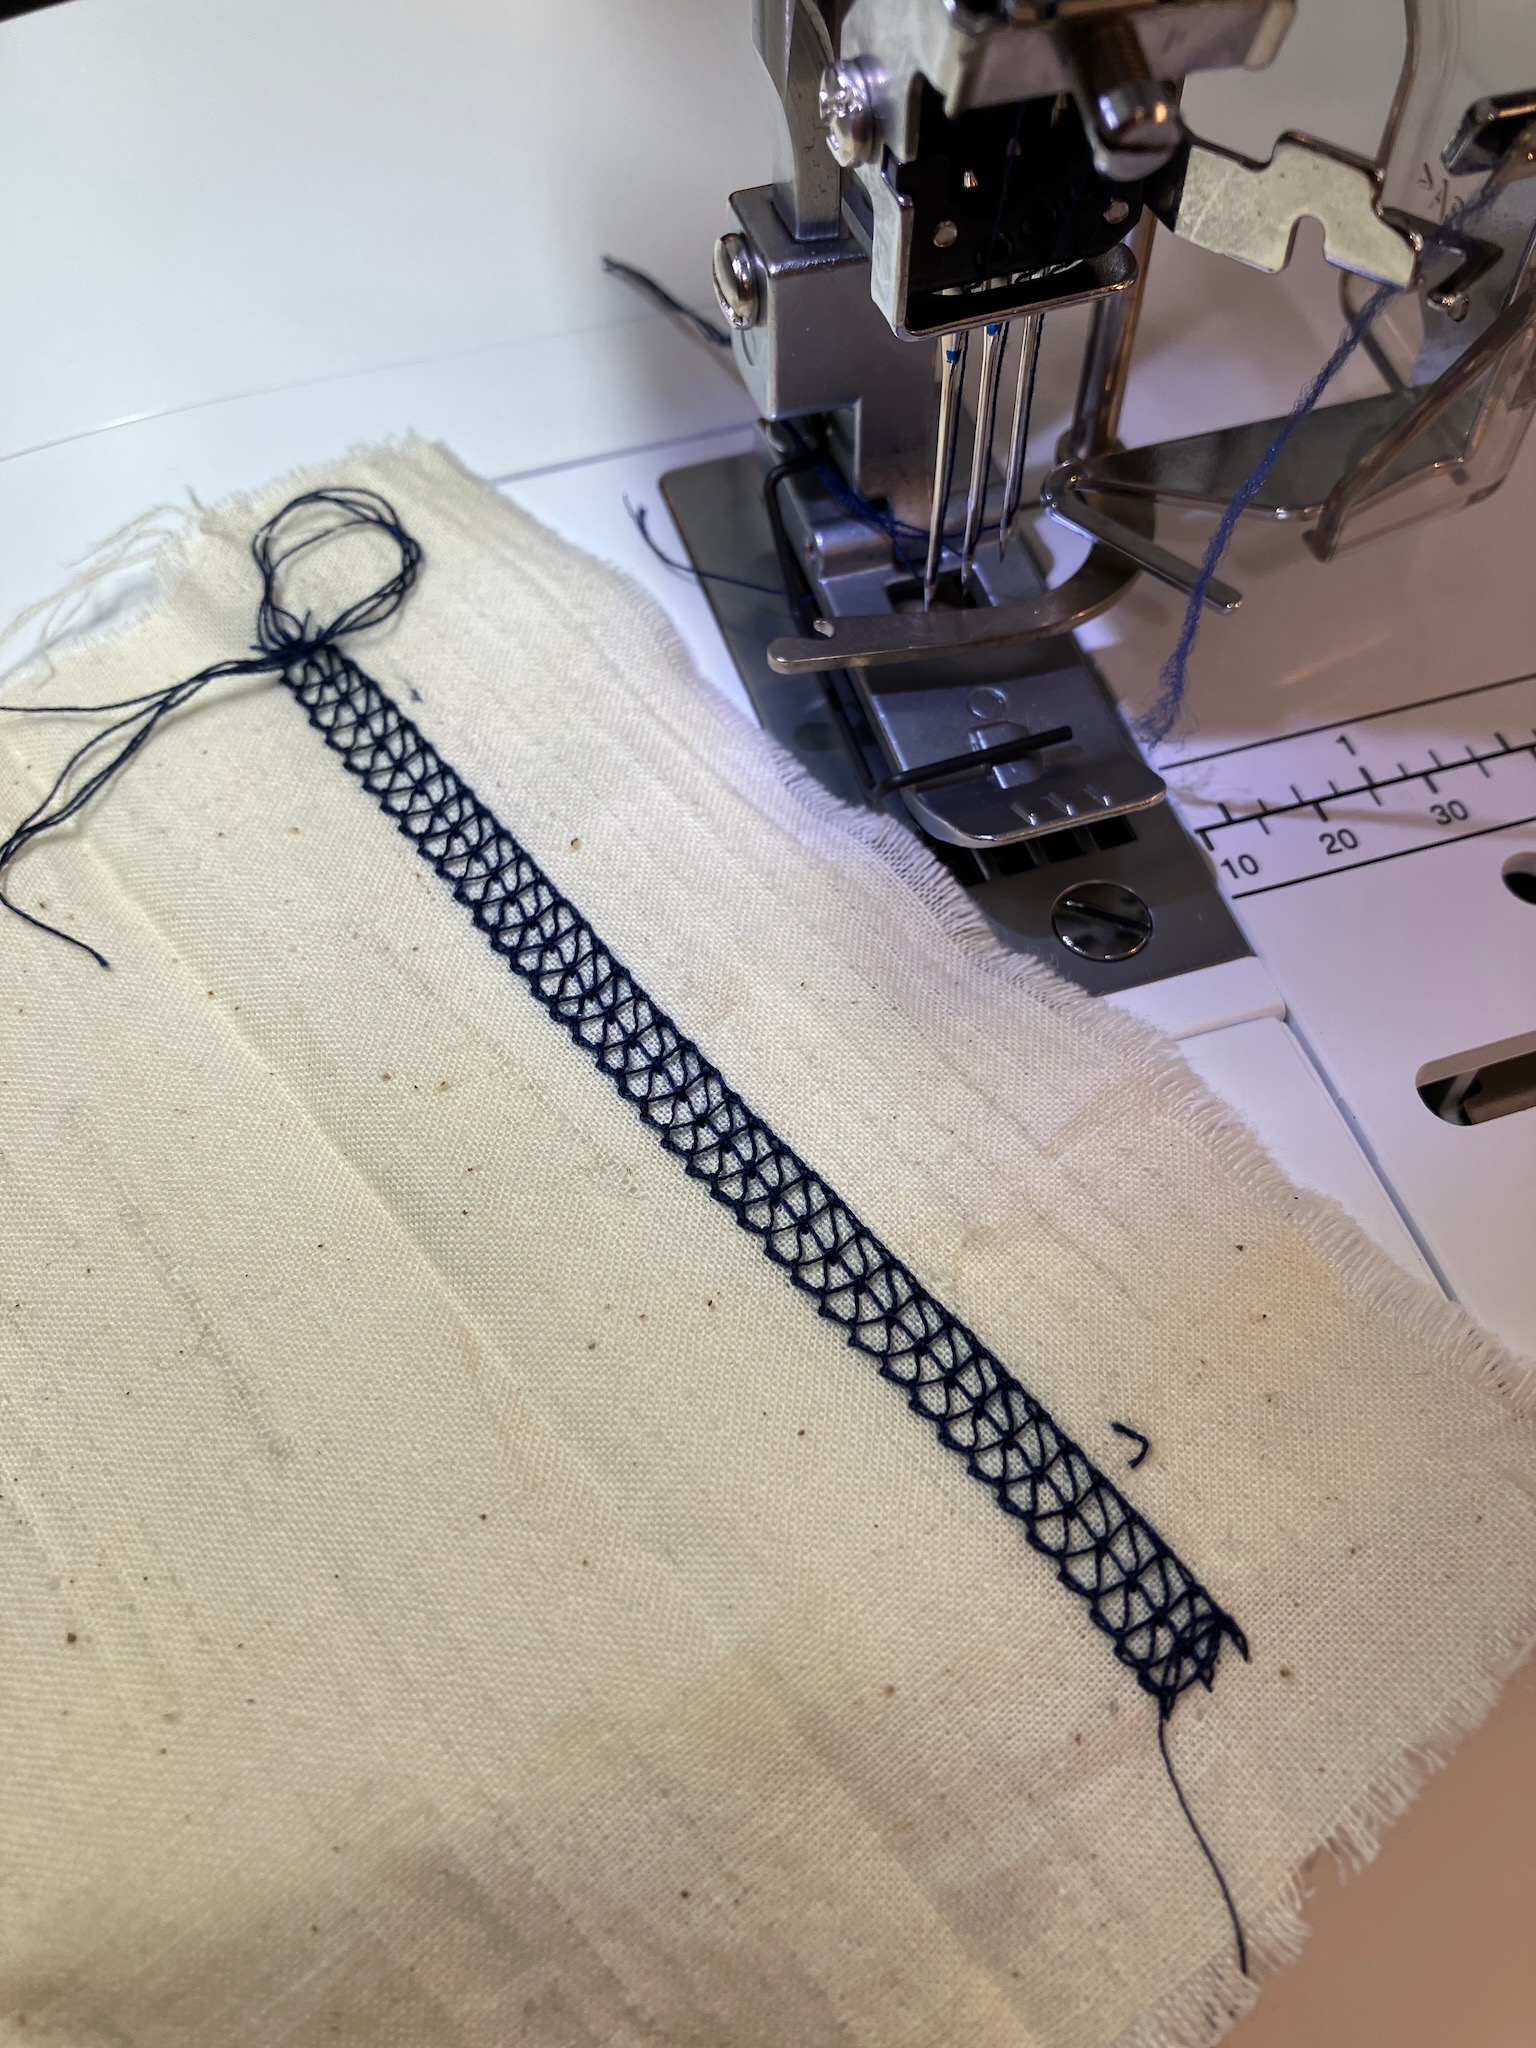
And a little close-up of the upper looper, where the magic happens.

The threading path for the lower looper is very simple, especially compared to my Singer Professional 5, which is a combination coverstitch and overlock machine.

Conveniently, there's also little snap-in spots for the spare needles, a set of tweezers, and the little hex key that you use to loosen the set screws holding the needles in place.
Also a convenient feature: the free arm. Granted, anyone who's used to the free arm on a more pedestrian lockstitch machine will find his hilariously small, but it's what you get with this type of machine.

Given that my Singer has basically no free arm at all, this is a nice step up.
So let's give this thing a test-drive to make sure everything is in order. A regular 3-needle coverstitch seems like a good place to start.


As expected, we get the usual three rows of stitching on the top side, and the looper thread on the bottom. This, along with its 2-needle variants (which this machine can also do), is very commonly used to stitch hems on garments. Generally the right needle (and center needle, for a 3-needle stitch) will pierce both layers of fabric, while the left needle will stitch just to the left of the lower layer of fabric, ensuring that the raw edge is trapped underneath the looper thread on the back.
Now let's spice things up by adding the top looper thread.

I used a wooly nylon in the upper looper here, just for the added dramatic effect.
Now this is very dramatic and all, but what functionality does it bring to the party?
Generally a coverstitch machine is not used for joining multiple pieces of fabric together to construct a garment, but rather only used for finishing hems and seams after they've been sewn together with a lockstitch sewing machine or an overlock machine. With the latter machines, this is done by placing the two pieces of fabric right-sides together, and stitching along the seam allowance. The overlocker will trim the seam allowance and encapsulate the raw edge with its looper threads, while the lockstitch machine will leave finishing the seam allowance up to the user. A coverstitch machine can't do that, as all the needles need to go through the fabric.
Now you might say that one could just overlap two pieces of fabric both right-sides up (or both wrong-sides up), and coverstitch through the overlap. With a regular coverstitch machine, however, this would leave one raw edge loose and unfinished, as the top side of the stitch only has the three lines of needle thread and no looper.
Ah, but my machine has an upper looper, and so it can encapsulate the raw edge on both the top and the bottom, making what amounts to the closest thing to a proper flatlock seam that can be achieved without resorting to industrial-level equipment.
Now a proper flatlock seam uses 4 needles, and looks a little something like this.

Two needles go through the fabric on the left, two needles go through the fabric on the right, and the upper and lower looper threads hold the two sides together. This type of seam is done on a machine that looks like this:
And that's not remarkably practical for home use, especially considering the price that those machines generally command.
So, with that style machine ruled out, I think I'll still be able to do quite well with what I've got. I've got a few projects planned for this, but I've also got a backlog of other projects that I've already started, so it may be some time before I get to them.
No comments:
Post a Comment