So my front yard is xeriscaped. In theory this means that I have a low water yard, but in practice "low water" and "no water" are not even remotely the same thing, and so in the summer months (and there are a lot of summer months here) I find myself standing around with a hose twice a week watering my plants.
Interestingly, there is some irrigation plumbing roughed in at the front of my house, left over from the previous owner, which seems to never have actually been hooked up. At least not since the xeriscaping was done.
The plumbing starts here by the main water service for the house. I think at one time the gate valve in the back there was connected to the half-a-union below the hosebib, and the manual valve would allow the irrigation to be turned on and off more conveniently than trying to operate a gate valve. The other side of this plumbing is just a pair of risers next to the fence though, so we'll need to do some work before we can put this into service.
This will be a long post, so keep reading after the break.
First things first, hiding behind my hose reel just out of sight is a big spool of wire that was fished through some conduit under the driveway here next to the irrigation lines. Curiously, it was also left in a state of partial completion, so partial that they didn't even glue the conduit bits together.
Also the cover wasn't properly fit to this box and so it was absolutely full of corrosion and three of the screw heads snapped off when I tried to open it. I'll be reusing this conduit for a future project, but more on that another time. For now I just need the wire out of the way.
The wire yoinked out of the conduit pretty easily, but I'm at least 99% sure it's not supposed to be slimy and somehow stained completely black. Yikes. This wire might be rated for direct burial but I'm not sure I trust it when it looks like that, so that end section is going in the bin.
Anyway, it's no longer in my way, which means I need to get to digging. To do this, I enlisted the services of a trenching shovel.
And, as per usual, they ship from the factory with a safety edge on them.
Do yourself a favour and sharpen your shovels. A few minutes of work now will save hours of exhausting frustration later.
So with the shovel ready, let's dig. We'll start off on the left side of the yard. You can see the riser next to the fence that we'll be using, and I'm planning to do a straight shot about 10 feet into the landscaping from there, terminating just short of the palm.
A little bit of layout and scraping the mulch away gets us going in the right direction.
And boop, like magic, a trench is formed.
And somehow, no matter how many holes I dig, I'm always somehow surprised by how much dirt comes out of them.
The photo doesn't really do it justice, but there's a lot of dirt there.
But the important part is the trench is dug, and we can now clearly see that the irrigation was installed by the lowest bidder.
I guess that technically counts as "buried". Just barely.
Well, over to the right side. This one is going to be a bit more of an upside-down T shape, with one branch going to the left behind the iris, and the other branch going under the rocks to... behind another iris.
Yes, there's a lot of irises.
With the rock and mulch scraped away, we can see where we'll be going.
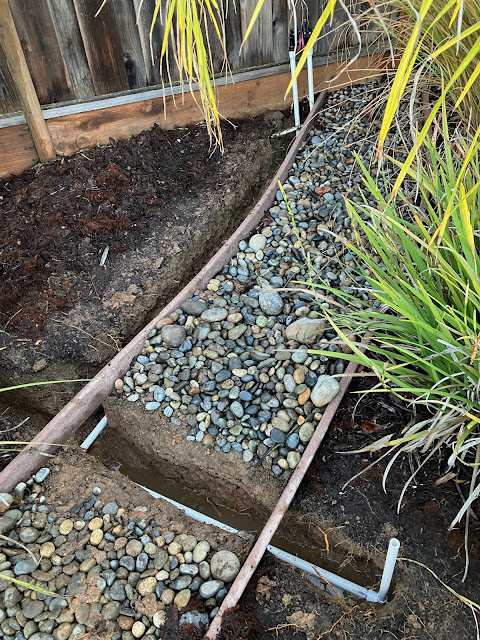
And magically, a trench appears.
And in case there was any lingering doubt, this was definitely installed by the lowest bidder.
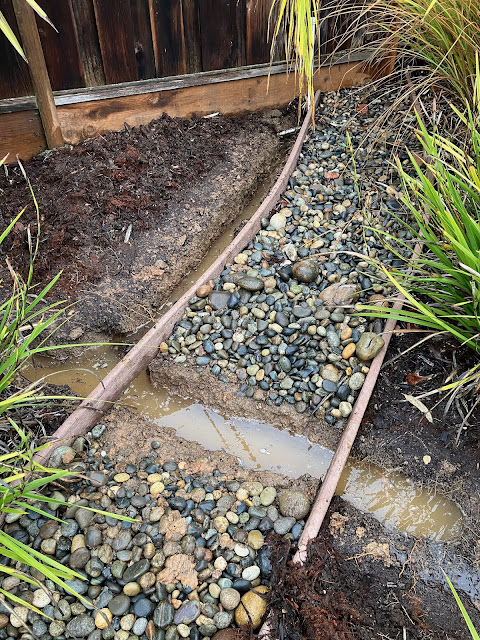
Well, that's enough work for one day, and I'm losing light, so let's pick up tomorrow morning. It's supposed to rain a bit overnight but I'm sure that won't cause any...
Oh. Well, maybe the other trench won't be...
Hmm. Well, it's a good thing I have a contingency plan for just such an occurrence.
Ok, so, ignoring the problem for a few hours helped a little bit, the water has gone down slightly, but definitely not enough.
So, it's time for the contingency plan for the contingency plan.
This shop vac is a champ.
The trenches are slooowly refilling at this point, but it's at a leisurely enough rate that I can keep up with it without too much trouble.
So let's start with working on something a bit more high and dry, building the plumbing to hook the system back up to the water supply. We just need to start by threading a 3/4 NPT adapter into this gate valve here.
Oh, hm. Yeah, nothing's gonna thread into that. For reference, here's the other side, showing what it's supposed to look like.
I guess we're adding a new valve to the shopping list. In the meantime, let's start from the other end instead. Two 1/2 inch risers on a 3/4 inch line gives us the run for the left side of the yard.
And we'll tie it in with a sprinkler valve. One that doesn't have to be operated manually.
And the other side gets the fancy t-shaped line, again with two 1/2 inch risers.
One of which is, unfortunately, out of frame. This is not an easy thing to take a picture of.
Again, a valve ties it in to the plumbing.
It's a bit tricky to see due to the perspective, but my plumbing here is a full foot deeper than the existing lines.
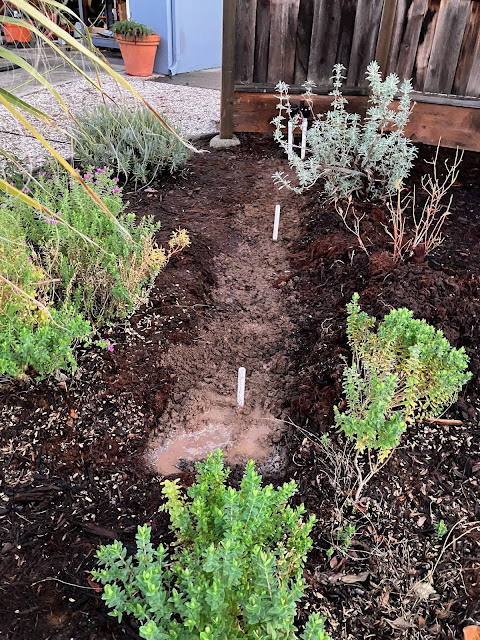
Anyway, those 12 inches of trench need to get the dirt put back into them.
And there's quite a bit of it. I didn't re-empty the water from the trenches which, in hindsight, I probably should have. This made the dirt a little soupy in places and made it a bit hard to get it packed in without making a mess.
But I got the job done, and I just need to wait a while for the water to soak back out into the surrounding soil and everything will be fine.
Now I'm not just doing these two spots in the front. There's also some plantings in the front of the house and at the end of the driveway extension, so let's get those irrigated too, since they're right there.
And for this run I won't be burying it, since apparently digging trenches is for chumps, but also because this will be right up against the house and well away from potentially being damaged.
And again, two 1/2 inch risers, and this time some landscape staples to keep things in place.
With the mulch pushed back into place, you'd never know how lazy I was here.
My secret will forever be safe on the internet.
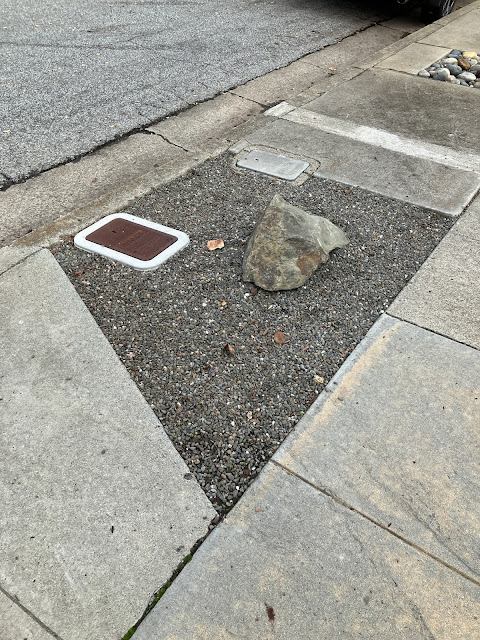
So since I was going to the Home Despot anyway to pick up a new valve, I decided to grab some rock while I was there. In particular, I got some pea gravel to top up this patch of pea gravel that for some reason exists here.
This stuff tends to get kicked into the gutter a lot, and otherwise scattered to the four winds, so it needs more topping up than the other areas of pea gravel around the house.
It's a good thing pea gravel is cheap.
It's also slightly muddy, but that'll wash off in a few rain storms.
Anyway, back to irrigation, since I've got a new valve now.
A nice quarter-turn ball valve. Very reliable, very easy to operate. Truly the queen of valves.
So we just need to get from A to B here, while chopping out this old valve and giving ourselves a branch to feed the line along the front of the house.
And... wait, that wasn't quite what I was expecting.
I guess in hindsight it makes sense now why the valve was offset from the water supply, but having two separate lines going under the driveway was not what I had been planning for, and leaves me a few fittings short.
Well first things first, it would also probably be a good idea to get all that dirt out of the pipe before tying things together so let's deal with that while we ponder this plumbing conundrum.
Good news, the pipe is actually connected.
And while I've got the compressor charged up, I might as well blow out the conduit too. It probably has a little bit of muck and grime in it.
Or I guess a lot of muck and grime.
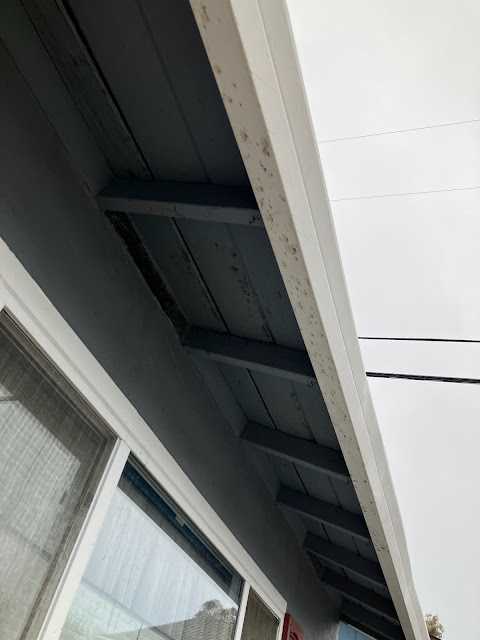
Which is now painted on the underside of my eaves, and the entirety of the front of my house.
Well, it's just a bit of dirt I guess.
So after a bit of pondering and a bit of planning, I came up with a creative way to reuse some of the plumbing that was already installed in order to create this abomination.
I call it "Windows NT".
Look, it does the job and saved me a trip to pick up more fittings.
Fittings don't just reuse themselves, though, which is why I'm glad I had the foresight to order a fitting reamer.
You cut the pipe off, then shove this bit inside to ream the remainder of the pipe out of the fitting. This one tends to work well for Sch40 pipe, but doesn't really center itself very well on the shitty thin-wall Class200 pipe that the low bidder before me had used. This made things a bit of a struggle, but I managed it in the end.
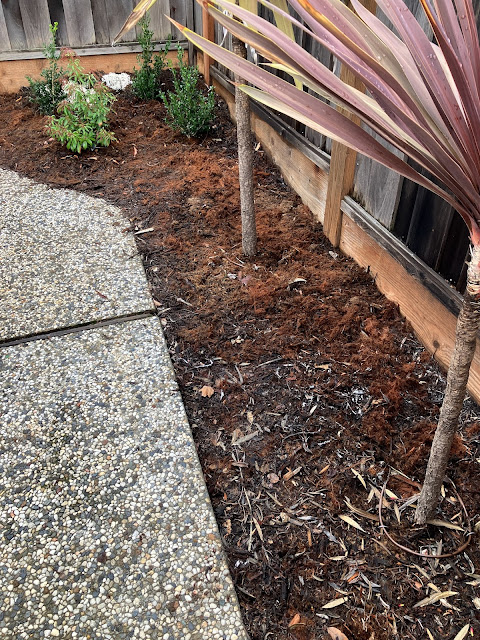
Anyway, the dirt in the trenches has dried out enough for me to put the mulch back into place, and things are starting to look more like a yard again.
And over on the right side it's a similar story.
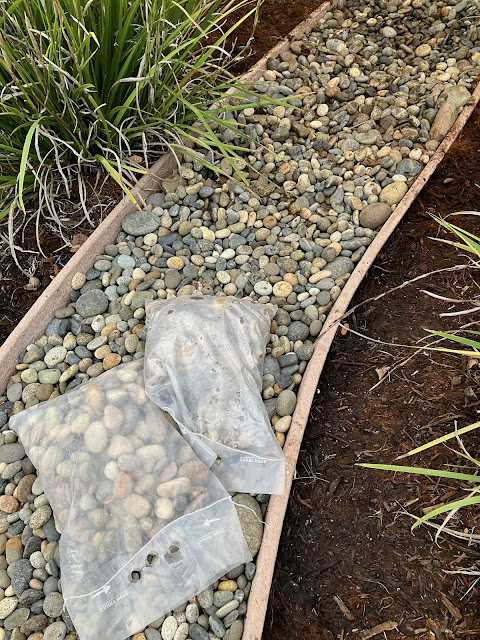
The rocks here are getting a bit thin though, so on the aforementioned run to the Home Despot, I not only picked up a bag of pea gravel, but also some beach pebbles to help fill this back in a bit more.
They don't quite match the existing rock, which is a bit more blue and a bit smaller, but it's close enough to not really stand out.
I might just get a few more bags of this rock to top off the rest of this path, since the larger and more colourful rock actually looks a bit more pleasing to my eye.
Anyway, back to irrigation again. We need to flush the crap out of the lines before it clogs up the valves and manifolds, and this is simple enough to do by just removing the valve body and diaphragm.
And then we repeat the procedure over on the... wait, why is this patch of mulch looking suspiciously soggy?
Sigh. See, this is why you trench the lines, and this is why you don't use shitty thin-wall Class200 pipe.
Or at the very least, if you use Class200, bury it. Or if you want to lay it at grade, use Sch40. Don't be cheapskate and lay Class200 at grade.
Well, I guess I'm getting more fittings after all.
Anyway, with that repair behind us, let's start laying the actual irrigation emitters. I'm using 1/4 inch flexible line tied to 1/4 inch soaker tube with 6 inch emitter spacing.
This lets me direct the water right to where the plants need it, without going too crazy with individual drip emitters. With the 1/4 inch lines buried under the mulch, you can hardly tell anything is there at all.
At least until you spot this horror from the deeps emerging at the riser.
I'm pretty sure there's a cult that worships something like this.
Over on the left side of the yard, the story is much the same. A bunch of 1/4 inch line nestled into the mulch with sections of drip line around each plant.
At least, the story would be the same if one of the manifolds that I bought hadn't been faulty. You're supposed to be able to shut off the flow to unused ports by twisting a little flag to one side, but for whatever reason on this one manifold out of six, shutting the ports only slowed the flow to a trickle instead of cutting it off completely.
So it'll be another trip to the Home Despot to exchange that for a working one. In the meantime, I've got half of the drip lines installed and I'm out of light on a Friday afternoon, so I'll just wrap things up early next week, where I'll also be diving into phase 2 of the install.
Stay tuned for that!
















No comments:
Post a Comment