On a previous post, I noted that the rear hub on Crimson Ghost was making a bit of a grinding noise when pedalling in the smaller cogs, and I decided that it was about time for me to take care of that.
So if we want to disassemble the rear hub to service it, the first step is to remove the cassette. Now, the SRAM Eagle cassettes are quite expensive, and so SRAM was thoughtful enough to include an anti-theft security measure where if a criminal tries to remove the cassette from your bike, the splines will shear off and the cassette will remain safely in place.
Unfortunately, it is apparently quite easy to accidentally trigger this security feature as the rightful owner.
Of course, later on once these cassettes became more common, SRAM removed that security feature and went back to a regular, insecure spline setup that doesn't shear off at the slightest provocation. For example, here's the one on The Stig, my gravel bike.
Unfortunately the one on The Stig is not the one I need to remove. Fortunately, I do still have ways to remove it.
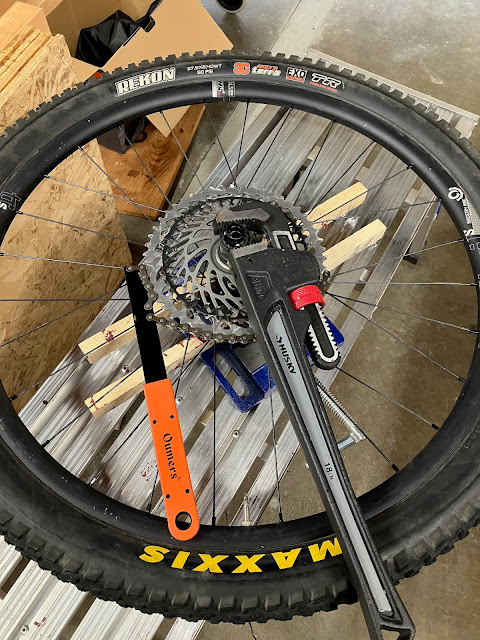
The problem solver comes to the rescue once again.
Here we can see the breakaway mechanism up close. It's very secure. But, it is not without its weaknesses.
And yes, I turned the pipe wrench around the right way after taking this photo, and yes, it did most certainly work to get the remains of the cassette removed.
Though maybe I was being a bit too drastic, there's 4 whole teeth left in this spline. I'm sure I could have made it work, right?
Anyway, the important thing is that the cassette is removed, so we can proceed with the hub service.
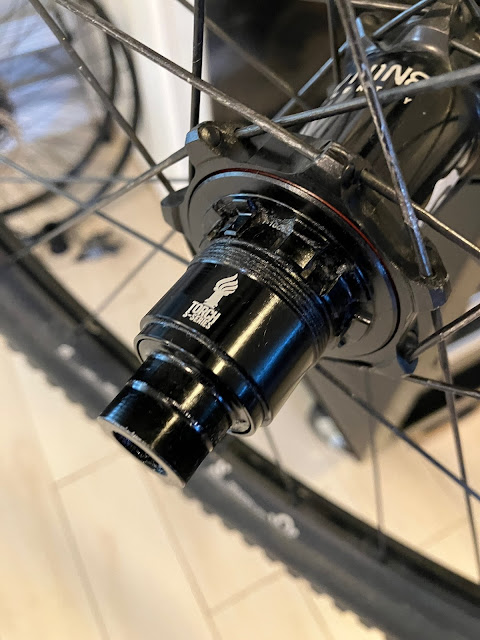
The first thing that's going to need replacement is the 17x1mm o-ring that holds the end cap on, as it very cleanly sheared itself in two during the removal of the end cap.
And with the end cap off, we can slide the freehub body off and remove the two bearings and the spacer inside it.
These bearings did, in fact, turn out to be a little bit crunchy. Not alarmingly so, but enough to warrant their replacement. Generally if a ball bearing doesn't feel buttery smooth when you spin it, it's not long for this world and needs to be swapped out.
Unfortunately, swapping it out means waiting for new parts to arrive.
This isn't gonna go up hills very well like this, after all.
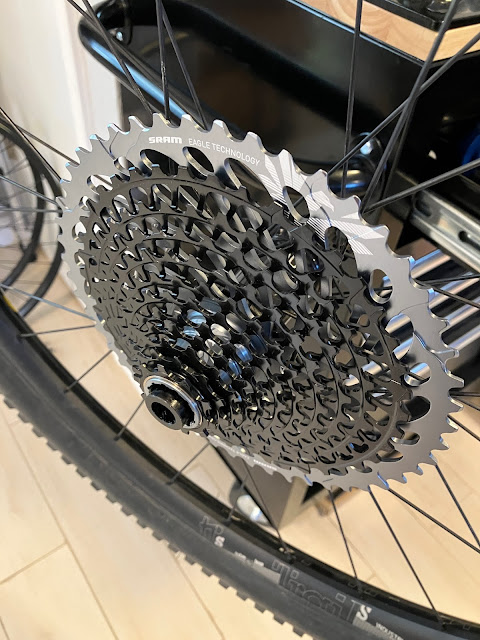
Anyway, first to arrive was the new cassette. Which did not have the anti-theft feature.
It did make a bit of a dent in my wallet, though.
The new bearings and o-ring were much cheaper, though. Thankfully.
They were very easy to seat back into the freehub body, using the appropriate bearing press tools.
And with that done, the hub could be reassembled once more.
Then the new cassette goes on.
And the brake rotor, of course.
These brakes do get a wee bit toasty on descents.
With that wrapped up, the bike is whole once more, and I can report that the operation was a success: there's no longer any creaking when pedalling in the smaller gears. Or, at least, there wasn't any I could notice on the shakedown ride. Let's hope it stays that way.


No comments:
Post a Comment