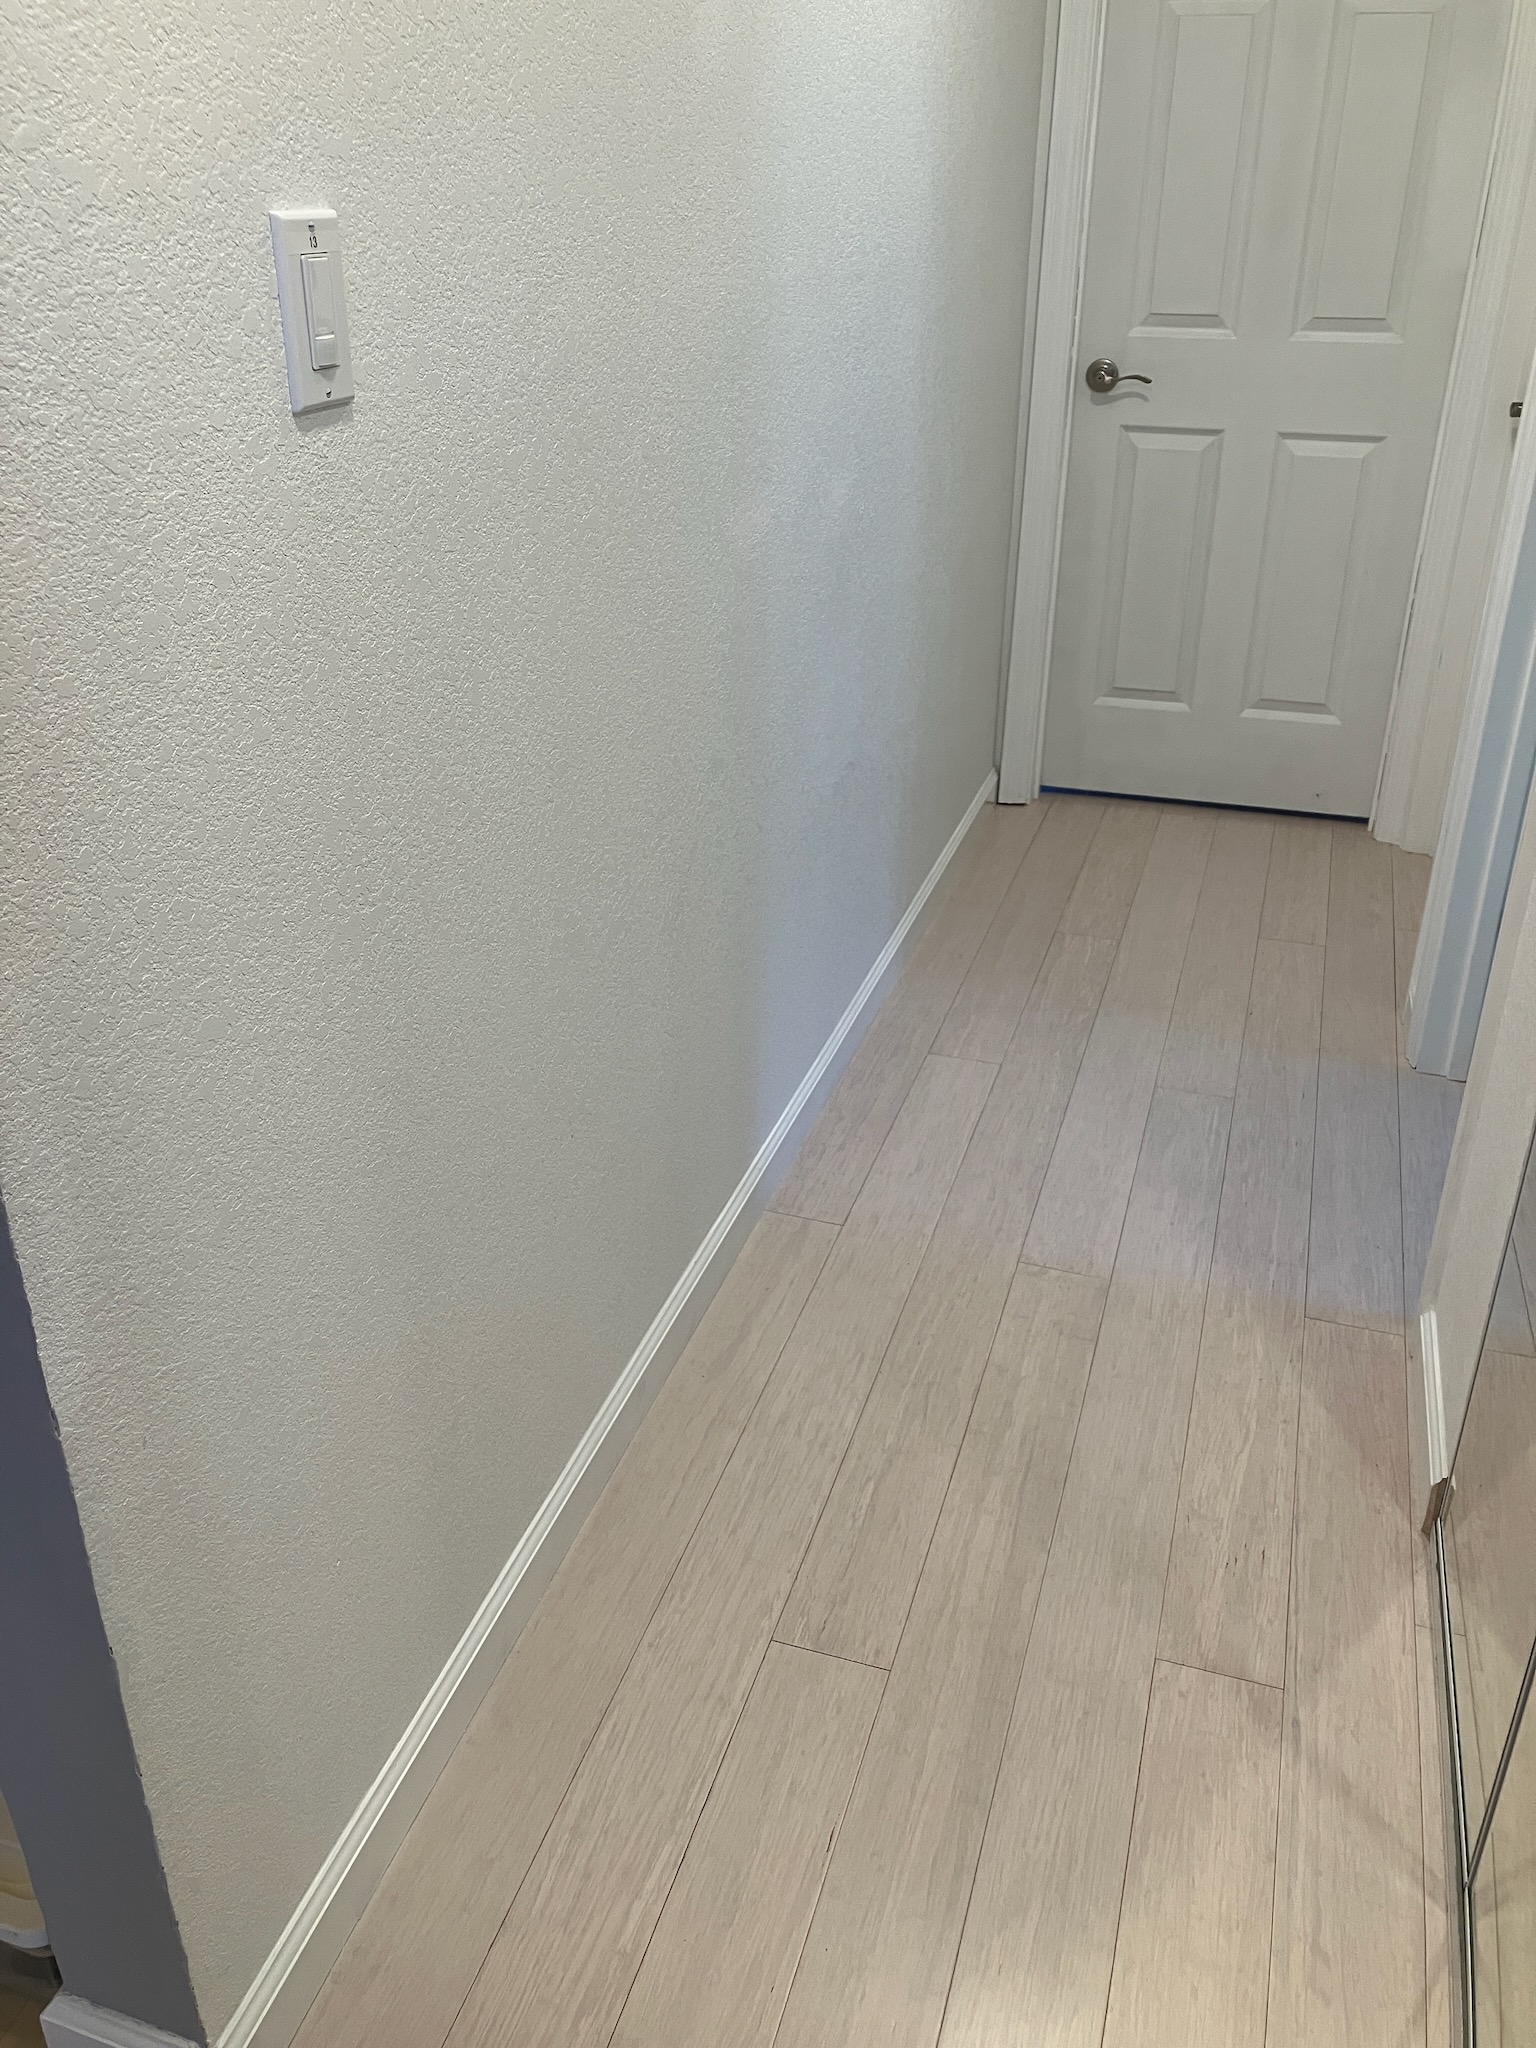
When we last left off, the door to my car hole was looking a bit like this.
Functional, yes. Weatheright, yes. But a tad ugly. It clearly needs paint.
But first, there's some outstanding issues with the existing stucco and paint that need to be addressed, namely some cracking that wasn't properly fixed. Now is obviously the time to fix it, so we'll start by veeing out the cracks a little with a utility knife.
Then we squirt in some caulking, just the regular paintable exterior stuff. The important thing here is the application technique: we want to squirt the caulking into the cracks, then use the putty knife to level it out and give it a similar texture to the surrounding stucco.
The caulk will shrink a little though, so be prepared to layer on a second coat after the first dries.
I'm also going to caulk up the edges where I scraped back the paint from the surface of the stucco. This will both help seal the edge of the old paint, as well as blend in the transition a bit better.
And we can't forget the bead of caulking around the door trim itself. This is primarily to help the paint bridge the gap without leaving an unsightly line of cracking; we already took care of making the door weathertight before we applied the stucco.
Again, leaving this more textured will help it blend in with the stucco better.
So that's the wall prepped and ready for paint.
But we're getting ahead of ourselves. We also want to fill the brad holes in the trim, and luckily you can get wood filler in white which makes it easier to cover up with white paint afterwards.
Remember to overfill it so you can sand it back without leaving a dimple.
So while this all dries, let's take a little plum break.
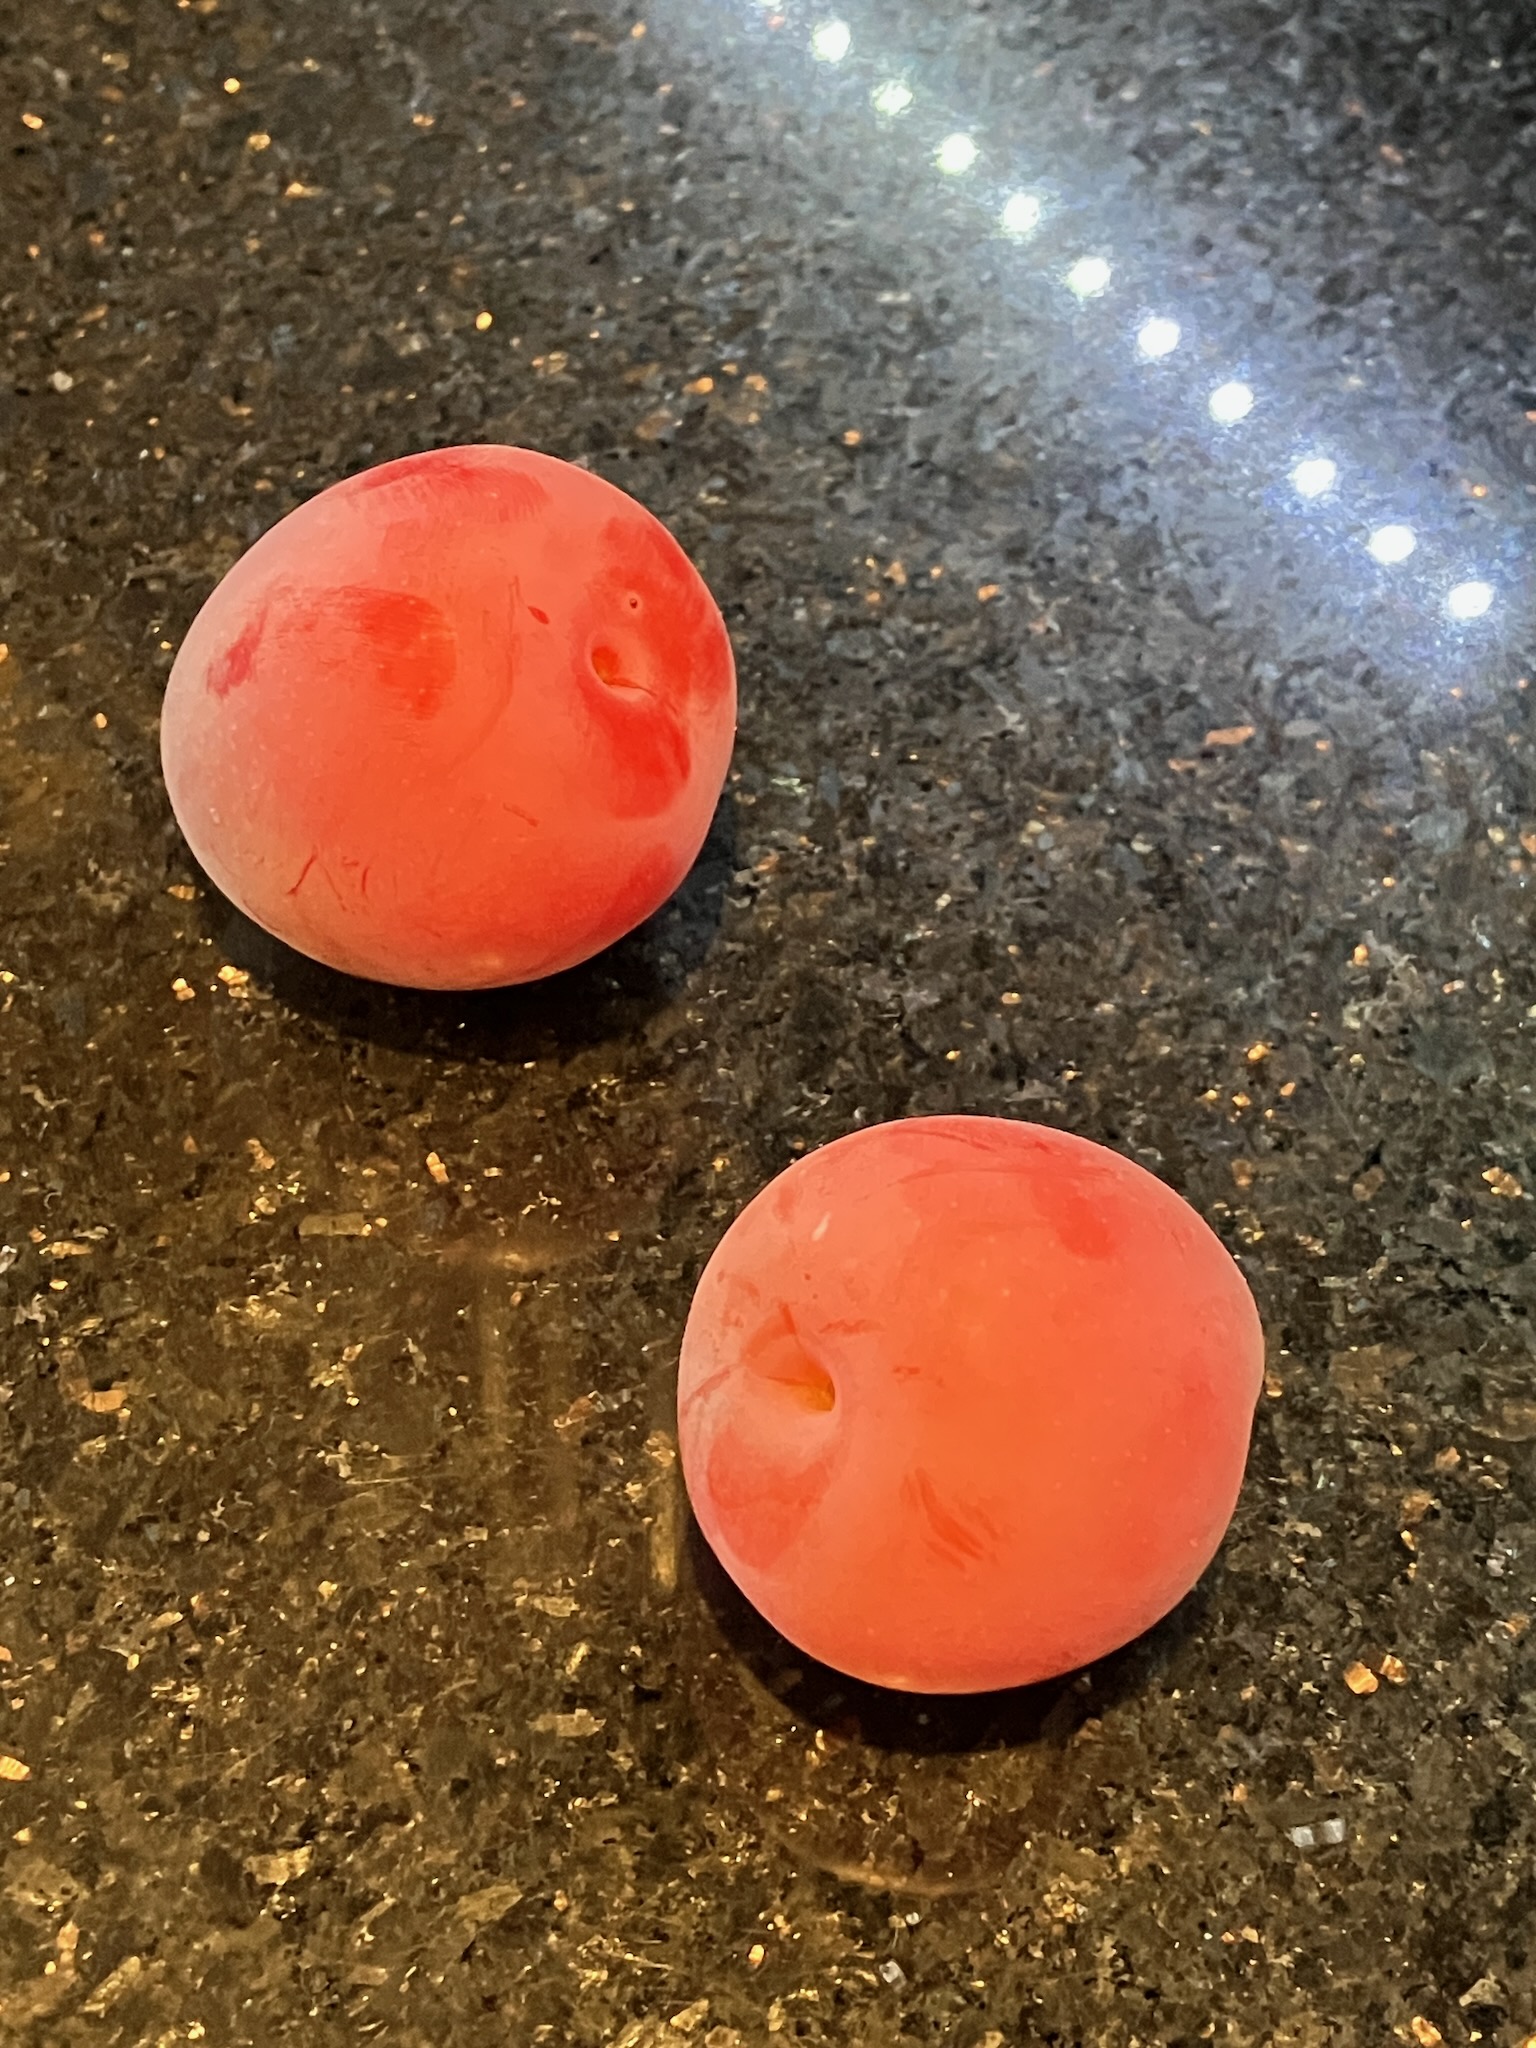
It's looking like a fairly small crop this year, but I also thought that last year and ended up with a ton of them so I guess we'll see.
And speaking of things to do outside while we're waiting for the caulking and filler to dry, let's take care of this light fixture.
It doesn't look that bad from below, and I thought I might be able to fix it with some epoxy putty but uhh...
I think I'll fix it with a new fixture instead.
That's much better. Hopefully this one lasts a bit longer.
Next up is the paint. After a quick blueberry break of course.
These are a "pink lemonade" variety and last year I lost the entire crop to some animal that came by one night and cleared out the entire bush. I've been keeping on top of munching them myself this year so as not to repeat that incident.
Anyway, I still have half a bucket of paint left over from when I redid the front of the house a few years ago, which should still be good.
Hmm, this might need a bit of stirring.
There we go, good as new. Now we slap it on the wall and while it's not a perfect match, it blends in well enough.
Then we just finish up by putting the last coat of white paint on the trim.
Which, granted, doesn't look that much different from here but trust me, when you get up close it looks a lot better.